How to Draw Doughnuts
 Monday, December 15, 2014
 Want to know how to draw doughnuts? Look no further than this easy tutorial. It's one of many adorable pastry-drawing tutorials which can be seen in more detail in this post.


 Monday, December 15, 2014
 Want to know how to draw doughnuts? Look no further than this easy tutorial. It's one of many adorable pastry-drawing tutorials which can be seen in more detail in this post.
 Sunday, December 14, 2014
 This year, I made my parents a very special early Christmas present: a portrait of them as pastries, in front of their house (yep, the one I grew up in) in New Jersey!
My mom is depicted as a sweet little cupcake with a sewing project, a fancy little handbag, and a box of chocolates from Jean Louise in Spring Lake.
My dad is depicted as a frosted brownie, with shades and a surfboard even in winter. Because yes, that is how he rolls.
Here's the reference picture I used:
First, I made a pen and ink drawing. 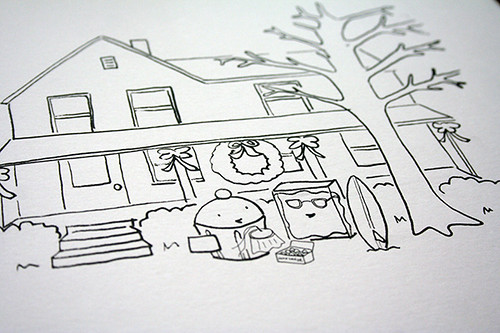 I took a break to test out various methods of applying masking fluid to make a snowy look.
 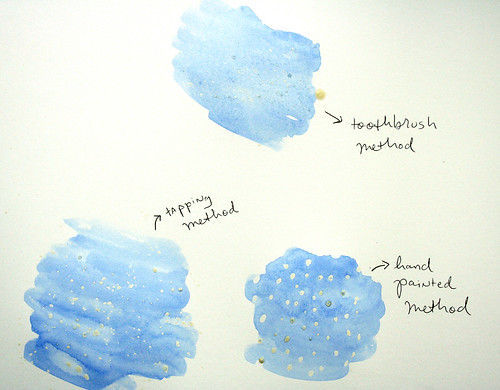 and further along:
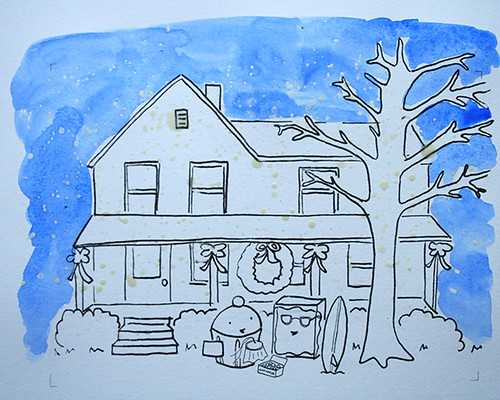
and here is the picture and the finished piece side by side.
I think it came out pretty darned cute, and I thought by posting it here, it might just make you smile. Well, did it? Hey, maybe you should hire me to make a portrait of your family next year or for an upcoming birthday. Just sayin'. Find my online store here.
 artwork
  Saturday, December 13, 2014
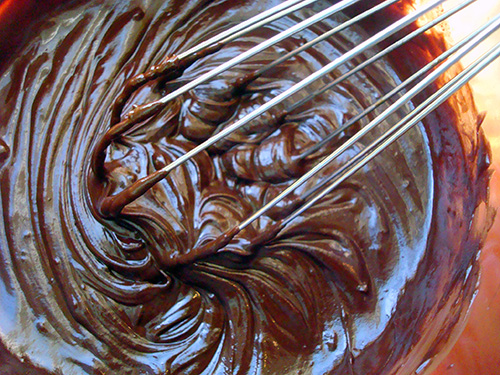
 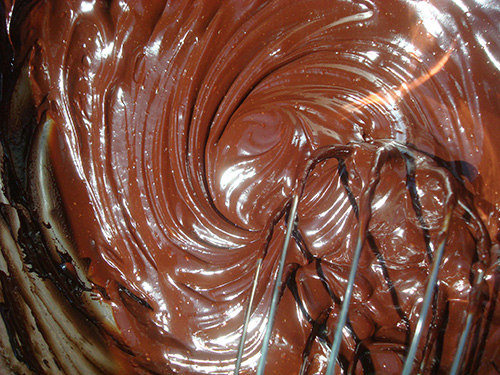 News flash: you can make ganache with cocoa powder.
I'll level with you: sometimes I am lazy. Like, when I want to whip up some ganache right this instant and I already have cream warming and I realize that I don't have any baking chocolate. This is not the moment that I really feel like up and going to the grocery store. This is the moment I wonder: "Can I do this thing with cocoa powder instead of chopped chocolate?". And inside, I am praying. Please, let this work.
Many times, this type of experimentation only ends in frustration and possibly tears. But this time, it worked. The first time I did it, it came out slightly lumpy; the second time, I sifted the cocoa powder first, and it came out fine. Overall: a success. And even better: it tastes great.
Photo via Flickr member cart_wheels
Makes enough to fully coat a 9-inch cake, 1 1/2 cups or so
Procedure
 Saturday, December 13, 2014
 How to make Marshmallow fluff from Marshmallows. A winning tutorial!
How to mix green paint. It's really quite adorable.
Learn my secrets: how to draw adorable pastries!
Tips on proper storage for the baking ingredients in your pantry. Bookmark this one for reference!
Cocktail weenies. Let me tell you how to make the best-ever ones, with an optional pig in a blanket upgrade.
 Friday, December 12, 2014
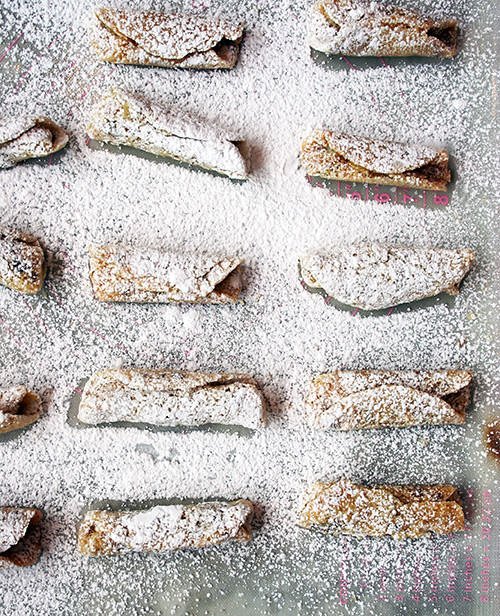
 These might just be the most dignified cookies I've ever made: lemon pistachio tuiles with olive oil.
Before the cookies, though, let me explain a bit about my experience baking with olive oil.
I made these cookies for what is quickly becoming one of my favorite companies to work for: Colavita. I've long purchased their olive oil, because I think you get a pretty good bang for your buck--they have a very good flavor but won't break the bank. I am a big fan of olive oil on bread or salads. When olive oil is drizzled over a pizza before serving...well, let me just tell you, that is my happy place.
I'm a little newer to baking with olive oil, but the more I do it, the more I love it. It gives cakes an intriguing texture, and a flavor that is something different entirely than a butter cake. I'm not saying I'm abandoning butter--that is never going to happen. But I am saying that if you want a totally new taste experience, try pound cake made with olive oil. Seriously.
First things first: how do you say the name of this cookie? Tuile rhymes with “wheel”, and ideally should be uttered in your Frenchiest accent. “Tuile” comes from the French word for “tile”; allegedly, the cookies’ resemblance to a particular type of roof tile are said to have inspired the name. While that particular connection may be a bit tenuous, the cookies are a sophisticated delight, lightly crunchy and bursting with flavor.
 Friday, December 12, 2014
Desserts that are GREEN. (CakeSpy online shop)
Yep. You can transform marshmallows into fluff. (CakeSpy for Craftsy)
A people's history of "slutty" brownies. (The Perfect Brownie)
Yogurt minute bread. Intrigued? You should be. (Love, Thyme, and Honey)
Best-ever blondies? You've got my attention. (Hip Foodie Mom)
Chocolate chip pecan pie bars. SO MUCH YUM. (The Little Kitchen)
Brown butter maple cornbread. (Tutti Dolci)
What is figgy pudding, anyway? (Good Housekeeping)
What do Mary Jane candies and Paul Revere have in common? (Necco Candy)
Refreshingly creative gift ideas for foodies. (Burlington Free Press)
Always perfect for the holidays: candy cane cookies. (CakeSpy)
Food trend forecast for 2015. What do you think? (McCormick)
Book of the week: Blue Corn And Chocolate (Knopf Cooks American Series) Every food has a story. When new foods are introduced to a new land, they become part of the old world cuisine, and are gradually absorbed in their new homeland. Sometimes they take off in a big way--like the tomato in Italy! Author Elizabeth Rozin describes how travel and trade have affected the way we eat in a huge way.
 links
links  Thursday, December 11, 2014
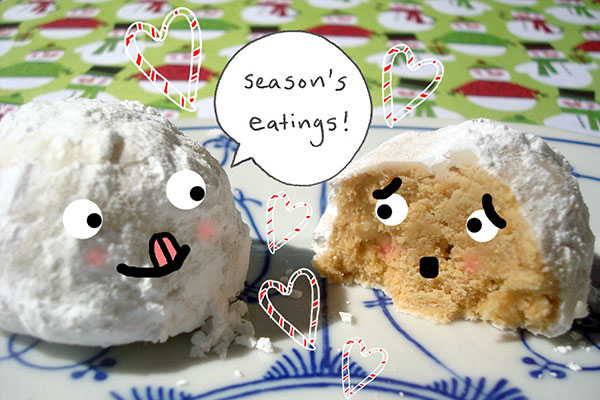
If you need a little Christmas, right this very minute, then this peanut butter snowball recipe is just the ticket to get you on a one way trip to holiday tastiness. It's also my latest creation for Peanut Butter and Company.
These cookies share the classic shape and crumbly texture of snowballs (also called Russian teacakes, Mexican wedding cakes, Armenian sugar cookies, bullets, and, oddly, moldy mice), but they have a taste that is full of peanut buttery goodness. Using crunchy peanut butter ensures good structure and offers enough bulk that they hold their shape; the lack of eggs and leavener keeps the cookies delicate, and distinctly different in character from the type of peanut butter cookies which are cross-hatched with the tines of a fork.
These cookies are a classic kissed with peanut butter to create a true holiday delight. Truth be told, though, I doubt anyone would turn these away at any time of the year!
 christmas cookies,
  recipes
  Thursday, December 11, 2014
 Well, did I intrigue you with the title? I hope so, because this sauce is IT, dudes and dudettes.
What can you dip in chocolate coconut oil maple syrup sauce? Any and everything you can think of. Cookies, ice cream, cake, pie. I haven't tried it with a hamburger and fries yet but I'm pretty sure it would manage to improve that, too. Seriously--this stuff is just that good.
This recipe was included in a preview review copy of a coming-soon novel entitled Criminal Confections (A Chocolate Whisperer Mystery). The book is super cute, exactly the type of mystery-meets-chick lit-meets foodie fiction type of book I read when I am alone (if I'm in public, it's War and Peace or something that makes me look smart, of course). I haven't finished the book so I haven't come to the recipe within the story yet, but it was included on the marketing sheet that came with the book, and I thought it sounded interesting.
This sauce comes together in oh, about two minutes, and offers many delicious rewards. I have been enjoying it as a dipping sauce served alongside cornmeal pecan cookies (I'll post that recipe soon), but like I said, it really does make everything better.
"Hayden Mundy-Moore's Chocolate Butter"
Notes from the author: the keys to this recipe are the coconut oil and pinch of salt. The coconut oil gives the chocolate butter just the right luscious consistency. The salt (flaky sea salt is great if you've got it!) adds complexity. Natural cocoa powder and Dutch-processed cocoa powder both work well in ths recipe. Honey can be substituted for maple syrup, if you prefer.
from Criminal Confections (A Chocolate Whisperer Mystery)
Melt the coconut oil in the microwave or on the stovetop over low heat. Stir in the rest of the ingredients and whisk until smooth. It will become thicker as it cools. Enjoy!
 Wednesday, December 10, 2014
 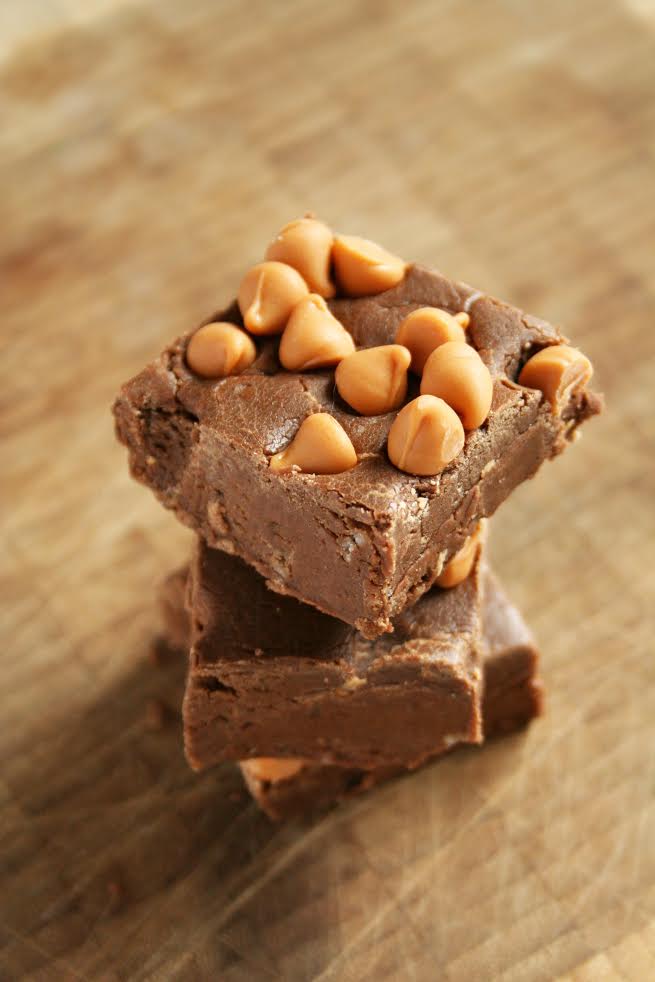 Fudge? That you can make in the microwave? Who has ever heard of such a thing?
Um, you have. On this very site, several years ago. It's OK. I understand that if you're new to the site you haven't spent all day sifting through my archives. I also understand that if you're a longtime reader...well, you forget things.
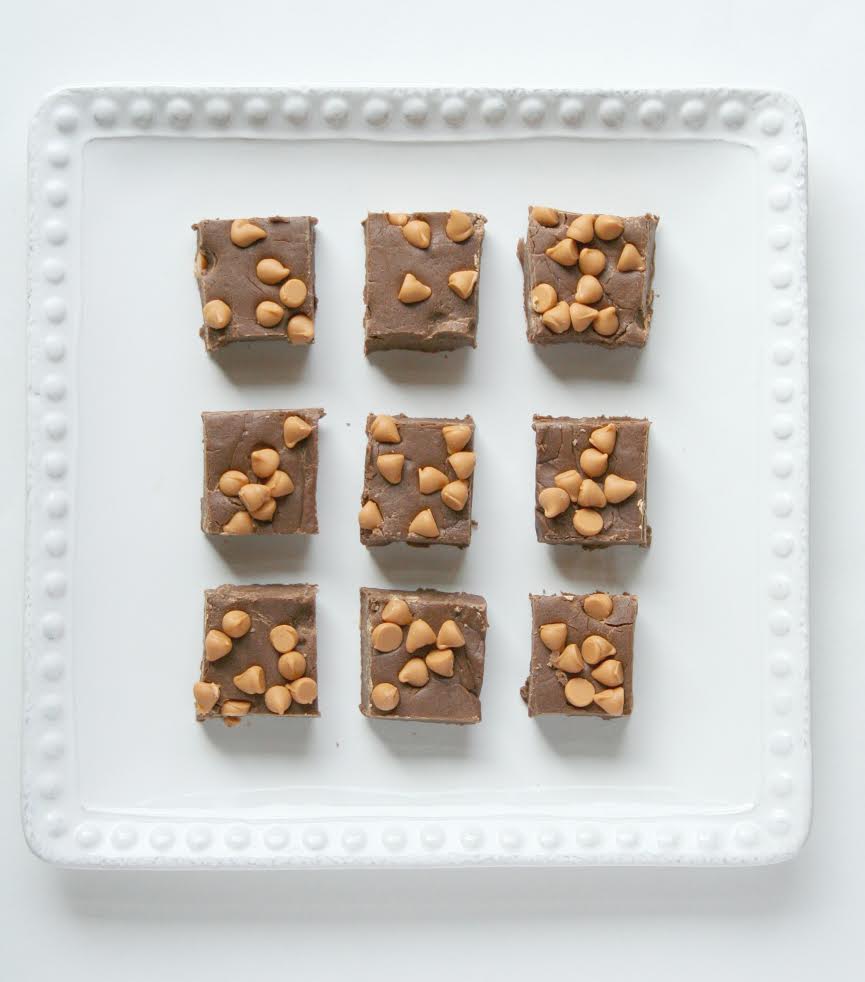
But this recipe is good enough to bring back. I made it "new" by employing butterscotch chips instead of peanut butter this time. And let me tell you, it stands the test of time. It appeals to me both on a level of novelty (it's fudge! made in the microwave!), but also on a level of taste (it's chocolatey! It's very, very sweet! It has butterscotch chips inside and on top!).
Basically, what I am getting at here is that this recipe is fun, it's tasty, and it's worth your time. It's also easy enough that if you had a cookie swap to go to in an hour, you could still make it RIGHT NOW.
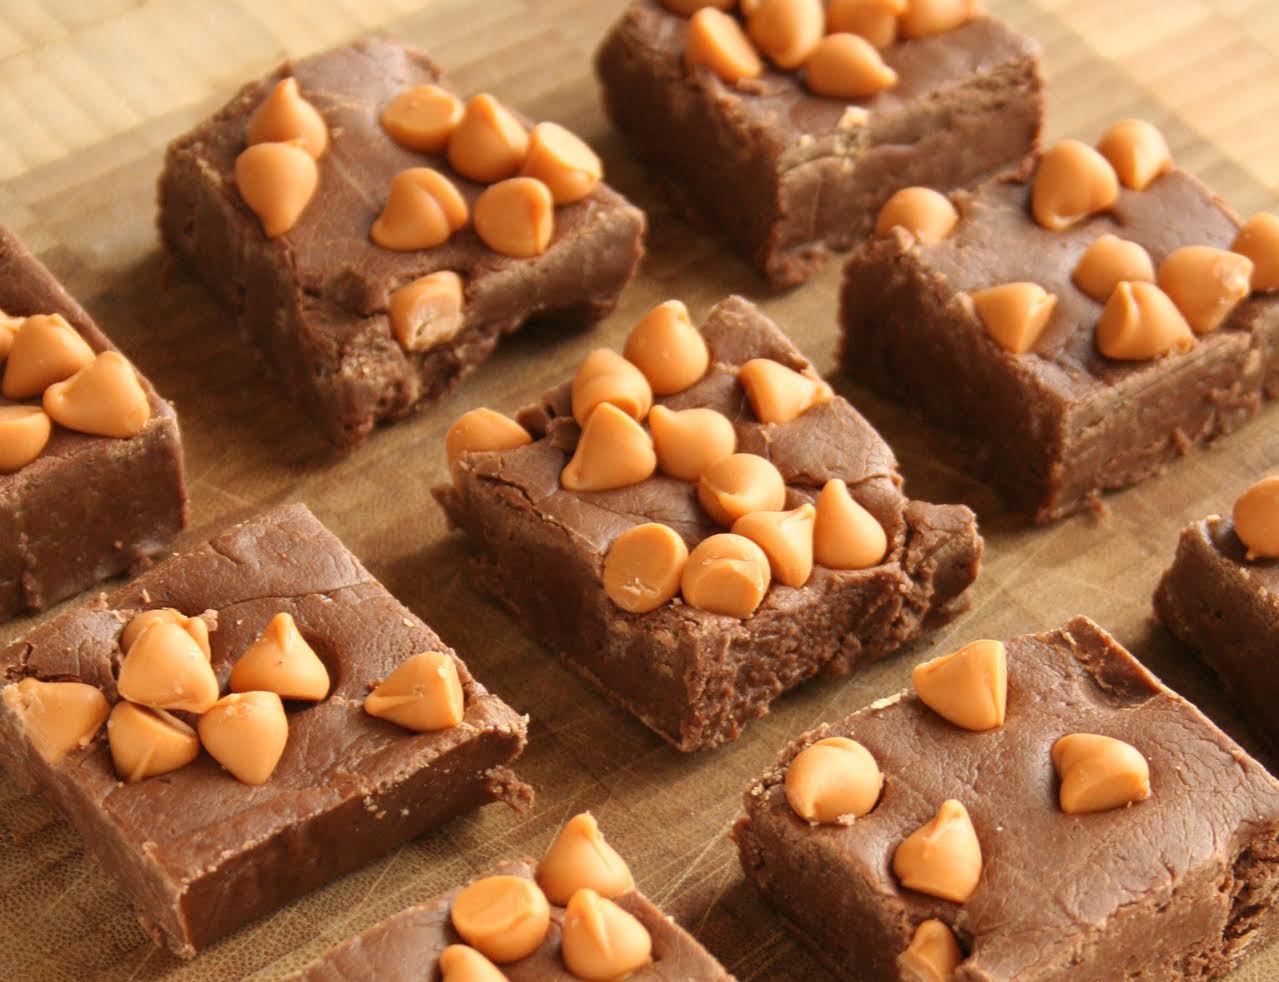
Makes about 16 squares
Procedure
 cake science,
  fudge,
  recipes
  Tuesday, December 9, 2014
 Let's be honest. When we share our baked goods with others, it's not *only* to unselflessly share sweetness and love.
It's also to show off. And for a cookie that is really good for showing off, look no further than these stained glass cookies.
Guaranteed you'll get "oohs", maybe some coos, and a lot of questions about how on earth you did it. You don't have to tell; I'm not the boss of you.
But I will tell you how to do it, right here, right now. You start with a cutout cookie, fill it with crushed candy, bake it up, and voila. Total magic. And they taste good, to boot: buttery cookies with a sweet candy middle in whatever flavor you could possibly desire.
How's that for a Christmas miracle?
Makes about 36 2 ½” cookies
Procedure
Store the cookies, layered between sheets of waxed or parchment paper, for up to a week in an airtight container.
 christmas cookies,
  recipes