Pleasuretown: Chocolate Filled Cookies
 Thursday, December 18, 2014
 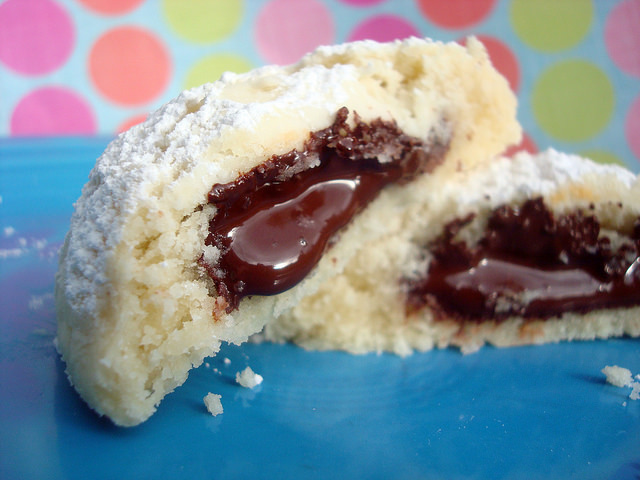 What's better than cookies? Cookies filled with chocolate. Recipe here.
 Cookies,
  christmas cookies,
  recipes


 Thursday, December 18, 2014
  What's better than cookies? Cookies filled with chocolate. Recipe here.
 Cookies,
  christmas cookies,
  recipes
  Tuesday, December 16, 2014
 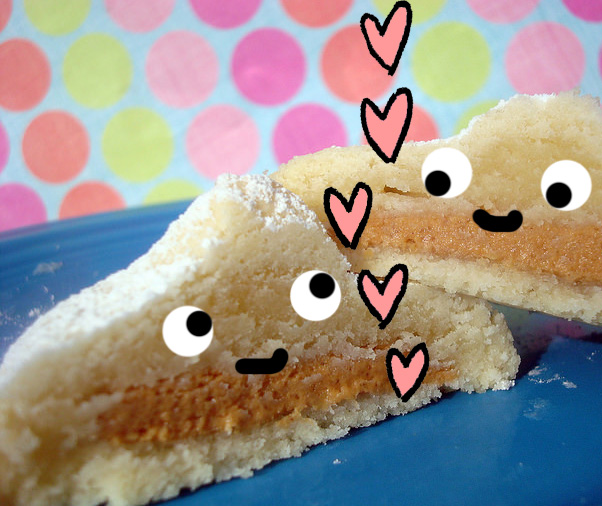 We love to stuff. We stuff our stockings. We stuff our bras (or at least we did when we were 13). Why not stuff our cookies?
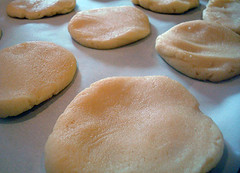
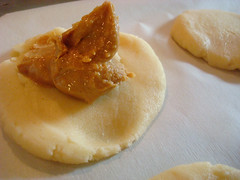
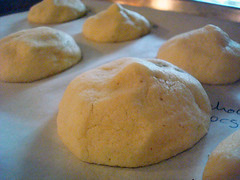
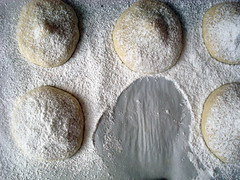
These cookies--and yes, it brings me a shiver of joy to say it--are stuffed with peanut butter. Delicious, creamy, dreamy, peanut butter. This means that when you grab one of these cookies, you're already excited, I mean, cookie! right? But then, when you bite into it, you find that the crumbly exterior gives way to a soft and gooey peanut buttery center. And that is the point which, in some sort of sweet and slightly salty and rich and peanut buttery bliss, you think "it would be OK if I died right now, because I've had this moment".
Am I talking them up too much? Go ahead, find out for yourself. Here's the recipe.
Makes about 20 cookies
 Cookies,
  christmas cookies,
  recipes
  Monday, December 15, 2014
 It's been proven time and time again in my life: cornmeal in cookies is a Very Good Idea.
By "time and time again" I mean every time I go to a bakery that has cornmeal-containing cookies. Momofuku Milk Bar and Amy's Bread in NYC are two places I can suggest reliably fantastic cornmeal cookies. They're not the only bakeries that sell cornmeal cookies; in fact, I can't think of a time I haven't enjoyed a cornmeal cookie that I purchased.
I have made cornmeal cookie bars before, too. Were they ever good.
In my opinion, the success factors are as follows: the corn-ishness adds a natural sweetness that is a pleasant departure from just sugar-sweetness, and the pleasingly slight gritty texture adds intrigue.
I know I'm not the only cornmeal cookie fan out there, so it's very likely that this recipe will be a welcome addition to many a corn cookie lover's repertoire. These corn cookies have a leg up on most because in addition to sweet cornmeal, they also include pecans, which makes them a touch crunchy. And I don't know why I haven't rhapsodized about the combo of pecan and corn before--united by a buttery front, these are twin quasars of awesome in every bite of these cookies. I want to make cornbread with pecans now! Corn and pecan everything!
I served the cookies with a side of coconut oil chocolate dipping sauce. It was a very good decision.
Oh, and it's also a good cookie recipe to use up egg yolks if you've been making meringues or another recipe that only contains whites!
Makes about 40
Procedure
 Cookies,
  christmas cookies,
  recipes,
  yolk only
  Thursday, December 11, 2014
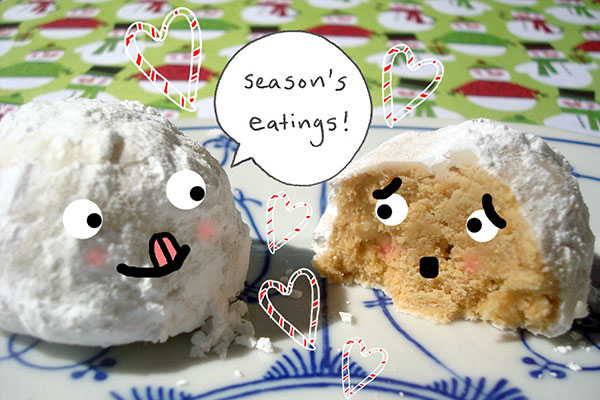
If you need a little Christmas, right this very minute, then this peanut butter snowball recipe is just the ticket to get you on a one way trip to holiday tastiness. It's also my latest creation for Peanut Butter and Company.
These cookies share the classic shape and crumbly texture of snowballs (also called Russian teacakes, Mexican wedding cakes, Armenian sugar cookies, bullets, and, oddly, moldy mice), but they have a taste that is full of peanut buttery goodness. Using crunchy peanut butter ensures good structure and offers enough bulk that they hold their shape; the lack of eggs and leavener keeps the cookies delicate, and distinctly different in character from the type of peanut butter cookies which are cross-hatched with the tines of a fork.
These cookies are a classic kissed with peanut butter to create a true holiday delight. Truth be told, though, I doubt anyone would turn these away at any time of the year!
 christmas cookies,
  recipes
  Tuesday, December 9, 2014
 Let's be honest. When we share our baked goods with others, it's not *only* to unselflessly share sweetness and love.
It's also to show off. And for a cookie that is really good for showing off, look no further than these stained glass cookies.
Guaranteed you'll get "oohs", maybe some coos, and a lot of questions about how on earth you did it. You don't have to tell; I'm not the boss of you.
But I will tell you how to do it, right here, right now. You start with a cutout cookie, fill it with crushed candy, bake it up, and voila. Total magic. And they taste good, to boot: buttery cookies with a sweet candy middle in whatever flavor you could possibly desire.
How's that for a Christmas miracle?
Makes about 36 2 ½” cookies
Procedure
Store the cookies, layered between sheets of waxed or parchment paper, for up to a week in an airtight container.
 christmas cookies,
  recipes
  Saturday, December 6, 2014
  I love love.
I also love cookies.
And furthermore, I adore a good story.
Naturally, I gravitated toward this recipe, since it combines all of the above in one tasty form. Adding to its intrigue was the fact that is was an award-winner: these bars are featured in the new book Holiday Cookies: Prize-Winning Family Recipes from the Chicago Tribune for Cookies, Bars, Brownies and More.

These so-called "H-Bars" have a mysterious story:
Victoria Weisenberg won first place in 2012 for this recip and her tale of using them to woo "a very special man". Weisenberg created the recipe as a Hanukkah give for her former beau and said the "H" stands for the first letter of his first name, though she opted to leave that name a mystery.
 This story is what intrigued me about the bars, which I might have otherwise passed over owing to the fact that they are made with a raisin filling. This t-shirt design sums up my thoughts on raisins in cookies:
Luckily (great timing!) I just received a package from the California Dried Plum Board (no, really). It didn't take me long to decide to swap the prunes for the raisins. I'm glad I did: they add a wonderful moisture and mellow flavor to the bars.

Yes, really.
The only other thing I did differently is I baked the bars in a loaf pan rather than the size specified in the recipe. Doing such, I had to increase the bake time by about 5 minutes. I have left the instructions intact though; if you want to make them look like mine, use a loaf pan, increase the bake time, and slice into fingers instead of bars.

Shortbread base:
Middle layer
Topping:
Icing (I omitted this)
Procedure
Grease or coat with cooking spray a 7½-by-11-inch baking pan. Heat oven to 325 degrees.
For the shortbread, combine butter, flour and granulated sugar in a medium bowl until crumbly. Pack into the prepared pan; bake, 15 minutes.
For raisin layer, stir together flour with the baking powder, cinnamon and salt in a small bowl. In another bowl, beat brown sugar, eggs and vanilla together until blended. Stir in dry ingredients and dried plum bits. Pour over the baked shortbread layer.
For the topping, combine ingredients in a bowl until mixture is crumbly. Sprinkle evenly over the middle layer. Bake, 22 to 25 minutes. Cool.
For the icing, combine confectioners’ sugar, 1½ tablespoons milk and vanilla in a small bowl. Add more milk, if needed, until you get a smooth, easy-to drizzle mixture. Drizzle over the top. Cut into 20 bars.
Food processor method: You do not have to wash the bowl of the processor between steps. Combine ingredients for the bottom layer with a few pulses until crumbly. Pack in pan. Bake as above. Prepare topping in the processor in the same way. Place in a bowl and set aside. Then, place brown sugar, eggs and vanilla in processor bowl and process until blended. Add dry ingredients and pulse a few times. Stir in raisins. Continue as above.
 Cookies,
  bar cookies,
  christmas cookies
  Monday, December 23, 2013
 Look, I'm not going to judge you for waiting til right now to start your Christmas cookie baking. I understand that stuff happens.

What I want to do is enable you to make delicious magic for yourself and all your friends, so I have assembled this list of 13 easy, quick, and highly delicious Christmas cookies. You might not be able to make all of them, but at least choose a couple!
1. Snowballs: no matter what you wanna call them, they're an easy, classic, and best of all, crowd-pleasing cookie.
 2. Nanaimo bars: Seriously. I can't believe you haven't made these yet!
 3. Gingerbread Nanaimo bars: the aforementioned everyday classic gets a holiday makeover. Yum!
4. Pistachio cookies: a personal favorite of mine, and a "lost" recipe I revived from family archives.
 5. Christmas Kaleidoscope cookies: Taste the rainbow...or, you know, many holiday hues at once.
 6. Berlinerkranser: I believe the official translation is "highly tasty cookie".
 7. Gingerbread men: or, make them look like characters from a TV show: Gingerbread Mad Men!
 8. Candy cane cookies: This is such a nostalgic cookie - give it a try if you've never made them.
 9. Jam thumbprints: another classic, these ones are bound to please a crowd. Nutty and with a touch of fruit from the jam, so that means they're health food.
 10. Mint candy butter cookies: Great for cookie swaps, or just stuffing in your mouth (let's be honest).
11. Eggnog Nanaimo bars! Seriously. A great accompaniment when you're sloggin' some nog.
 12. Baby buche de noel cookies: not to who off, BUT, I contributed this adorable recipe to Food and Wine.
 13. Red and green christmas cookies: like black and white cookies...but green and red! Festive!
While you're baking, kill time waiting for cookies to bake by reading about the first published Christmas cookie recipe in America, and the history of the tradition of Christmas cookies.
Season's sweetings!
 christmas cookies
  Sunday, December 15, 2013
 Somehow, it's happened: you find yourself in need of a batch of homemade cookies, STAT. It might be for the cookie swap you thought was tomorrow, not today, or the school party you totally forgot, or maybe you just want to whip up something sweet in record time.
As these cookies prove, a time crunch need not mean that you sacrifice all the fun of baking--they are actually made from "doctored" refrigerated sugar cookie dough. They're assembled in less than five minutes and baked in about 10 minutes--even with cooling time, the process of going from mere ingredients to "let's party" all happens in about 30 minutes.
ALL YOU NEED:
All you have to do? Mix that dough with mint and chocolate chips (they're easily found in the baking aisle this time of year), a teaspoon of peppermint extract and maybe a few drops of green food coloring. Roll into balls and bake as specified on the package. They bake up like a minty, buttery, sweet Christmas miracle!
Mint Chocolate Chip Cookies Using Refrigerated Sugar Cookie Dough
Makes about 24
Preheat the oven to 350 degrees F. Line two baking sheets with parchment paper.
In a large bowl, break up the refrigerated cookie dough by hand. Add the food coloring and peppermint extract. Combine well.
Add the morsels, mixing by hand to knead them evenly but gently throughout the dough.
Divide the dough into 24 equal parts. (First divide in two, then those two pieces into two to make four, then break each of those parts into three pieces, then divide those in two. You'll have 24. Don't get confused.)
Roll each piece into a ball and place on the baking sheet, well spaced. 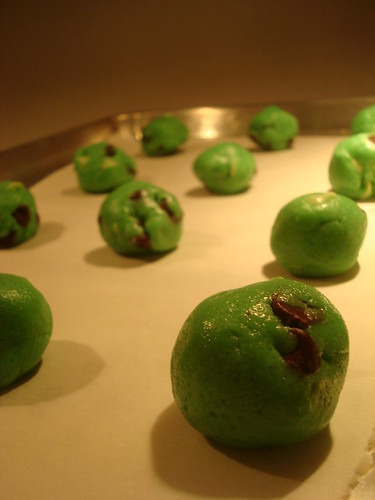
Bake for 8-11 minutes, or until soft in the center but lightly browned on the edges. I don't know how to say it other than this, but the middles might not look 100 percent set. They will bake a touch more when you remove the cookies, though, so it's ok.
Note: At this point, instead of baking, you can freeze the dough balls on the sheets if you prefer not to bake right now (if you want to do it in the morning, say). Just don't forget to turn off the oven and remember to preheat it again before you bake.
Let the cookies cool on the sheets for 6 minutes before transferring to a wire rack to cool completely. Use a spatula for the transfer; if the cookies seem too soft, wait another minute or two before transferring.
 Cookies,
  christmas cookies,
  recipes
  Sunday, December 23, 2012
 One of the most wonderful things about a recipe is all the places it can go.
Take, for instance, a recipe for two-tiered Chocolate Chip Pistachio Cookies that appeared in a women's magazine in the early 1980s. How could the recipe developer have known what a role this recipe would end up playing in the Spy family's lives?
After all, it was this recipe that struck the fancy of my mother (you know her as SpyMom) and intrigued her enough to bake a batch. And the whole family loved them. They were buttery and lightly crumbly but so soft and just ever so slightly chewy in the center, and the walnuts and pistachio and chocolate just worked so perfectly together. We all loved them so much, in fact, that the next year, she made them again. And the year after that. A tradition was born.
But somewhere along the line--was it when her children went to college, moved away, began having their own lives?--the cookies stopped being made. Every year someone (usually me) would lament the fact that they were missing from the festivities, but year after year, they did not make an appearance.
But this year, we brought the recipe out from hiberation. SpyMom found the handwritten recipe and told me that this was during her "penmanship phase", when she would stay up at night practicing perfect penmanship, trying to will her handwriting into something more perfect than it was.
Since then, her handwriting has reverted back to its old, slighly messier, but in my opinion, more charming form.
But how wonderful to encounter this little slice of the past, complete with doodlings (mine? My little sister's?) and speckled with baking debris from years past.
I baked the cookies while my parents were out, and when they returned, my mother shrieked. 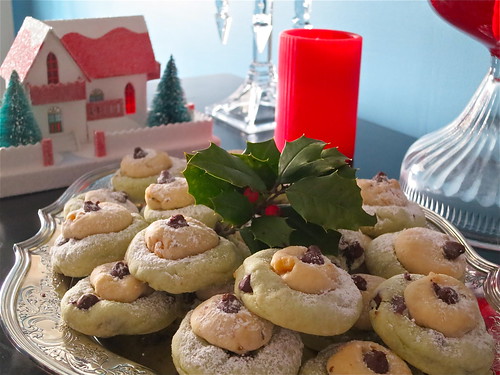 "What?" I cried out, thinking that perhaps she'd seen a mouse. But no. "They're just like I used to make!" she said. And I may be getting a bit flowery here, but I think that she and my dad both had a little moment, thinking sweet memories. And that made me extremely happy, in turn.
How's that for season's sweetings?
Chocolate Chip Pistachio Cookies
Makes about 24
Procedure
 Cookies,
  christmas cookies,
  recipes
  Monday, November 26, 2012
 It's been days, absolutely days, since the Thanksgiving feast, and you're looking awfully skinny.
Luckily, we have officially entered Christmas Cookie Season, so it won't be hard to remedy this situation. My esteemed sugary suggestion? Holiday Magic Cookie Bars with a Shortbread Crust.
Now, if you already know what a Magic Cookie Bar (or 7-layer bar, or Hello Dolly Bar, etc) is, then you know that these decadent bar cookies, made with a buttery graham crust topped with a slurry of condensed milk, nuts, chocolate and/or butterscotch morsels, and coconut, are pretty much heaven on earth.
But there's always room for more magic, right?
I got the idea for these bars when I spied Nestle Toll House Holiday Morsels (have you ever seen them? I hadn't!) in the grocery store, accompanied by recipe cards. Naturally I thought the bars would look adorable all dressed up for the holidays, and considering I still had a ton of shortbread from Walker's Shortbread (who sent me samples, and with which I've already made one of my new favorite things, Million Dollar Shortbread Bars), I decided to do a recipe mashup.
And I can now report that yes, the bars get even better when you swap the graham crackers for crushed-up shortbread cookies in the crust. This magical union of shortbread, butter, and all of the delightful toppings makes for a sort of no-holds-barred extreme richness on all sides that will make your mouth and soul happy.
These are an ideal morsel for a cookie exchange or holiday party, as they're decadent to eat and festive to look at, too. As for the coconut haters? Sorry, but they're just not the same without!
Here's the recipe, adapted lovingly from "Yuletide Layer Bars" by Nestle Toll House.
Holiday Magic Cookie Bars with a Shortbread Crust
Makes about 24 - Active time 10 minutes, total time 1 hour 30 minutes, includes cooling
Procedure
 Cookies,
  christmas cookies,
  recipes