Bread with Corn and Avocado Honey

I need to tell you: my life is so totally sweet sometimes.
Like recently, I was contacted by the National Honey Board. It's true: I love the fact that I am someone who is contacted by the National Honey Board.
They asked if I'd like some cool honeys to sample and test out in my baking, and I guess you can surmise what my answer was. Yes! Of course! I love baking with honey.
So they sent me this little package of some very interesting honeys...including buckwheat, tupelo, alfalfa, and AVOCADO HONEY. Have you ever heard of such a thing? Apparently these varietals refer to the plants which the bees buzzed around (that is my paraphrased version of what happens).

Whoa!
Here they are, all in my hand. When is the last time you had a handful of honey?

Since I've been very into baking bread recently, I thought that using some of the honey as part of the recipe (and to top it, with butter) would be a fine idea.
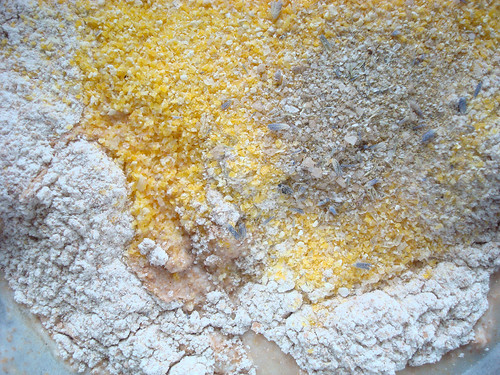
I wanted to try a bread with part ground corn, so I thought the avocado honey would be a nice complement.
So I mixed up my dough...
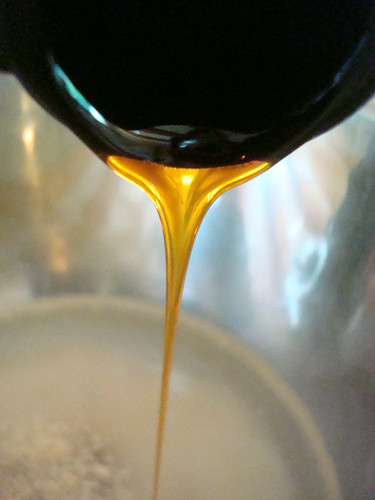
of course, this included the honey...
let it rise...
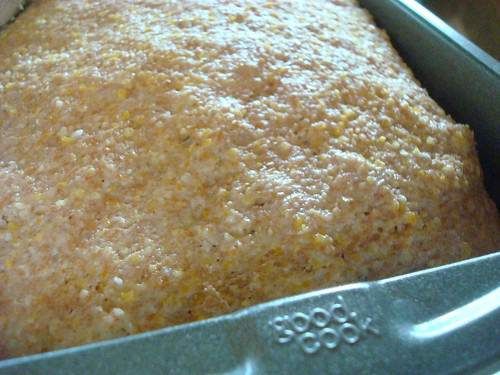
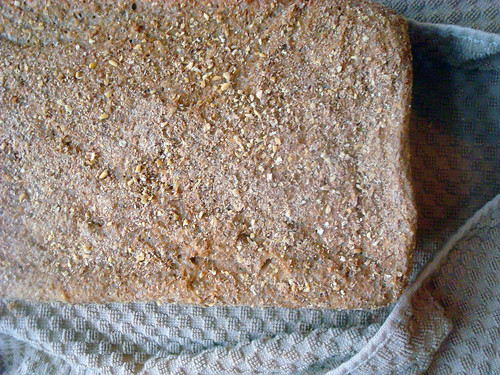
and baked it up.
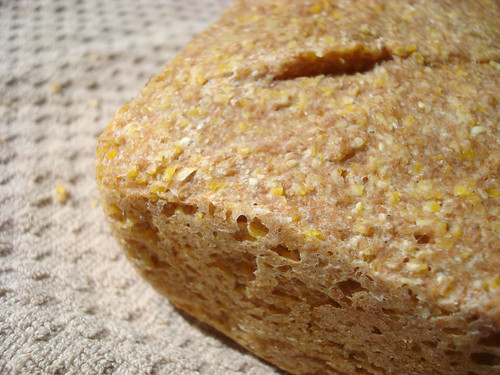
Wow, my friends. I need to tell you that this was some of the nicest bread I've ever put in my mouth, and I've eaten my fair share of carbohydrates.

The mix of whole wheat and corn flour gave it a nutty yet lightly sweet flavor, and it had just a touch of a nubbly texture to keep things interesting. I can't say I tasted any soupcon of avocado-ness per se, but the honey definitely had a complex and rich flavor.
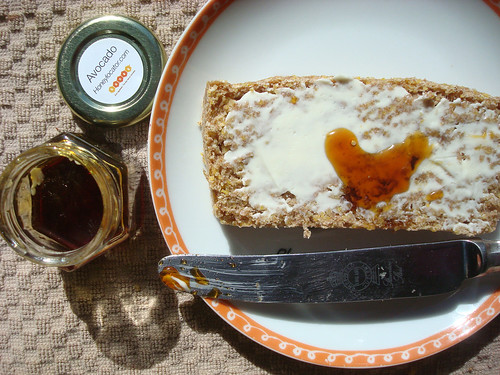
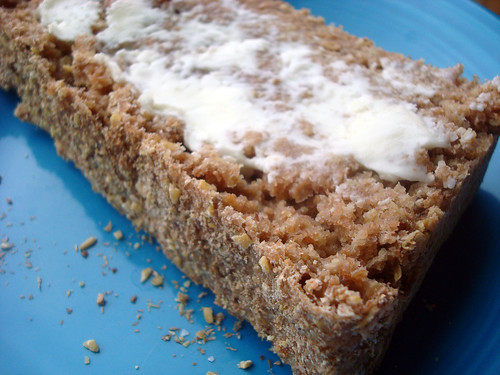
When topped with a pat of butter that melted instantly because the bread was still warm from the oven, and a dab of more avocado honey, it was just perfect.
As a topping, the avocado honey was very interesting. It was almost like molasses honey--it was heavy and rich, but without the slight bitterness nature of molasses. Smoother. If you enjoy tasting different honey varietals (I do, it turns out!) this one is definitely worth seeking out.
Oh, and here's that bread recipe. Lucky you!
Bread with corn (not corn bread)
Adapted from King Arthur Flour
Yield: 1 large loaf
- 2 cups lukewarm water
- 2 1/4 teaspoons instant yeast (1 packet)
- 1 tablespoon honey (I used avocado honey)
- 2 teaspoons salt (I got all fancy and used lavender rosemary salt)
- 3 tablespoons soft butter
- 3 cups whole wheat flour
- 1 cup coarse grind cornmeal (I used Bob's Red Mill)
Procedure
- Combine the water and yeast. Once the yeast begins to bubble lightly, proceed.
- Mix all of the remaining ingredients with the yeast mixture in the order listed.
- Knead, either by hand with a dough scraper or with a stand mixer, until it has progressed past a shaggy texture to a solid, slightly sticky mass. This can take up to 5 minutes by hand; less when using a mixer. It will never quite take on the smooth elasticity of the honey-wheat variation of this bread, but the extra moisture is necessary as the whole grains will absorb it. Place the dough into a lightly greased bowl, cover it, and let it rise at room temperature until it’s quite puffy and doubled in size, 1 to 2 hours.
- Gently deflate the dough with your hand (a gentle pressing, not a knockout punch), and shape it into a fat 9″ log (it may still be slightly sticky; I used lightly oiled hands). Place it in a lightly greased 9″ x 5″ loaf pan.
- Cover the pan, and let the dough rise for 2 hours or even overnight, or until it has formed a crown which extends 1 inch or slightly more over the rim of the pan. Toward the end of the rising time, preheat the oven to 350°F.
- Bake the bread uncovered for 20 minutes. Tent it lightly with aluminum foil, and bake for an additional 15 to 20 minutes, or until it is golden brown on top, and when knocked lightly, yields a slightly hollow sound.
- Remove the bread from the oven, and turn it out onto a rack to cool. When completely cool, wrap in plastic, and store at room temperature.
 7 Comments


;)


;)


;)