Halloween is all about sweets, right? And costumes, I guess. But I am most concerned about the sweets.
Here is a collection of 33 (cos that's how old I am this year) Halloween recipes that are bound to make it a year of trick or SWEET for sure!
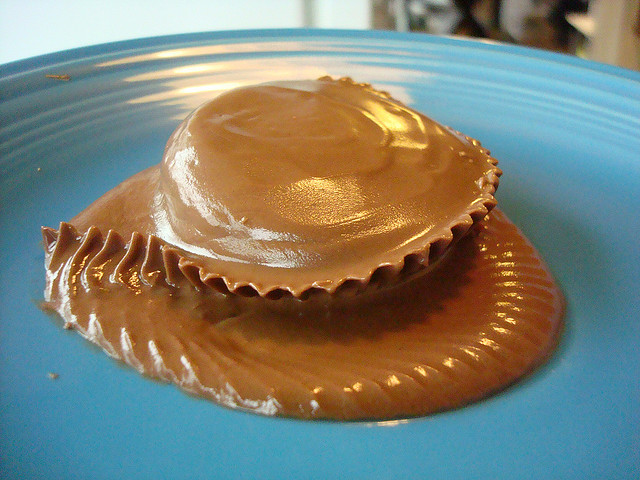
1. Mega fun-size candy bar.
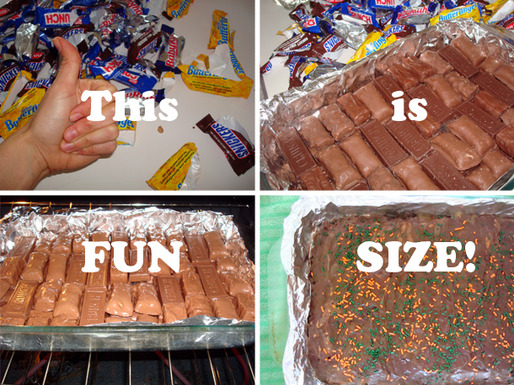
What happens when you melt together a bunch of fun-size candy bars to make a mega mass of chocolatey goodness? Find out here. (CakeSpy)
2. Candy corn pecan pie.
What could make pecan pie even sweeter? How 'bout a nice serving of candy corn? (CakeSpy for Serious Eats)
3. Frankenstein monkey bread.
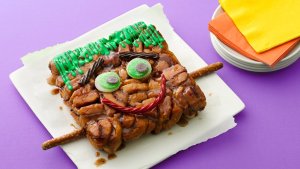
Monkey bread gets Halloween-ified with this spooky treatment. (Pillsbury)
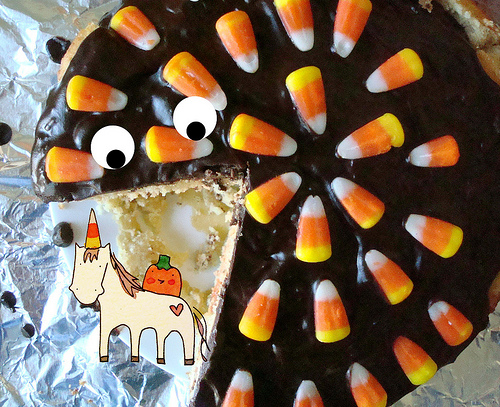
4. Candy corn cookie cake.
It looks like a pie, but this spy knows the truth: it's a cookie coated with candy corn! (Culinary Concoctions by Peabody)
5. Candy corn cookies.

This clever adaptation of Kaleidoscope cookies is sweet and cute. (CakeSpy for Serious Eats)
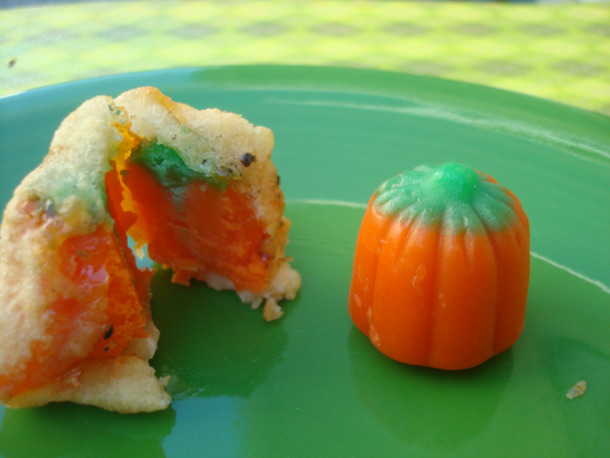
6. Homemade mellowcreme pumpkins.
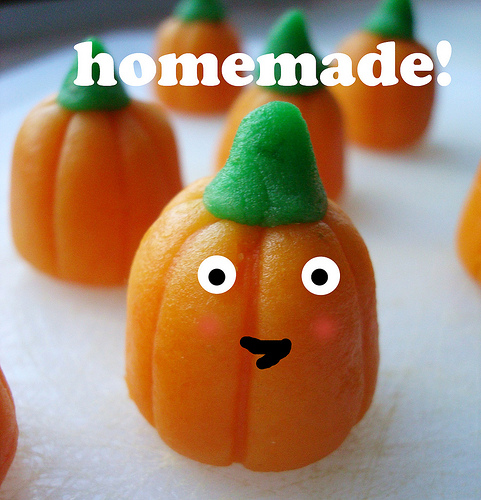
Because the homemade version blows store-bought out of the water! (CakeSpy for Craftsy)
7. Candy corn boston cream pie.
Even fancy desserts like to play dress-up on Halloween. (CakeSpy)
8. Cake baked in a pumpkin.

Are you still eating cakes baked in pans? Not this month, sucker! Make yours in a pumpkin for Halloween. (CakeSpy for Serious Eats)
9. Microwaved halloween candy.
How do different treats fare when put in the microwave at high power? (CakeSpy)
10. Glow in the dark buttercream.
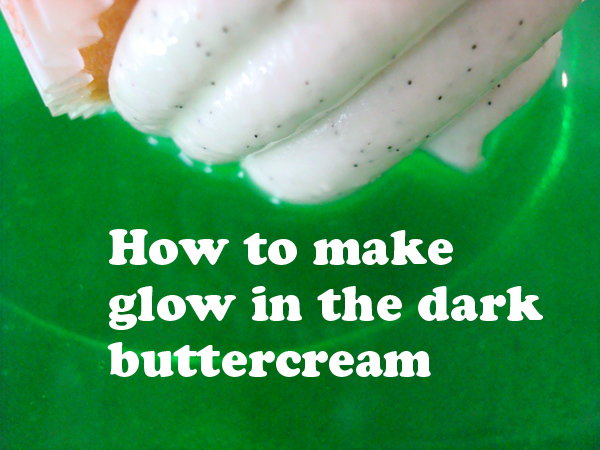
Illuminate your treats--um, literally. (CakeSpy for Craftsy)
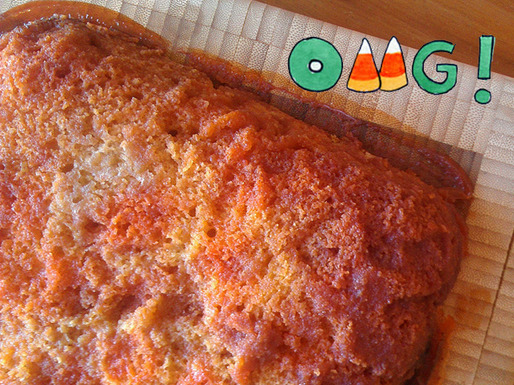
11. Pumpkin bread.
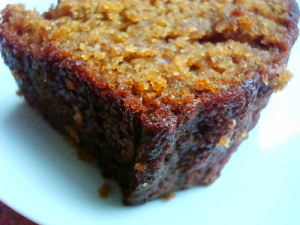
Plain and simple. In case you like more wholesome treats, no tricks. (CakeSpy)
12. Homemade candy corn.
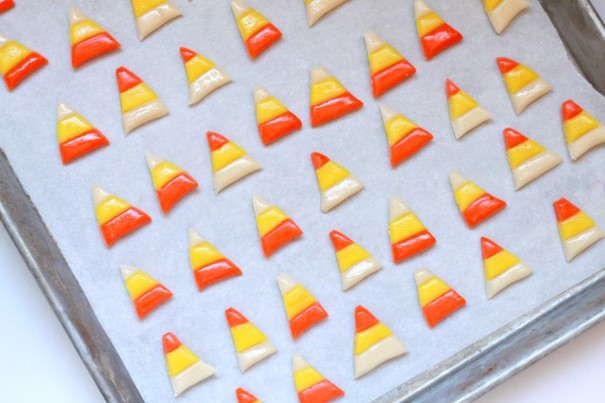
An awesome DIY version of everyone's favorite Halloween tricolor triangles! (Shauna Sever via CakeSpy!)
13. Creamy Candy Bar Sauce.
It's just such a good idea. (the Kitchn)
14. Candy corn Nanimo bars.
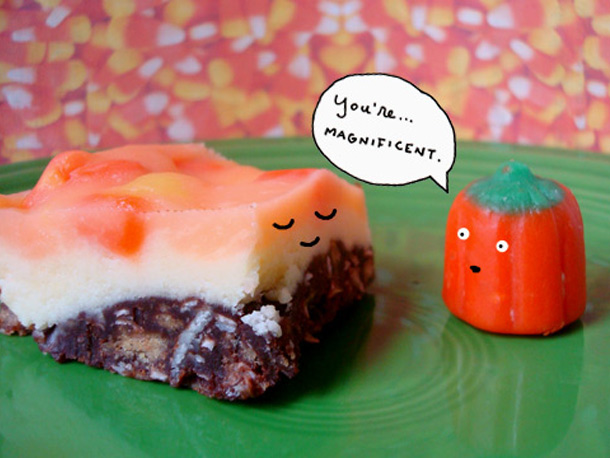
Nanaimo bars like to get dressed up for Halloween, too! (CakeSpy for Serious Eats)
15. Zombie graveyard cake.
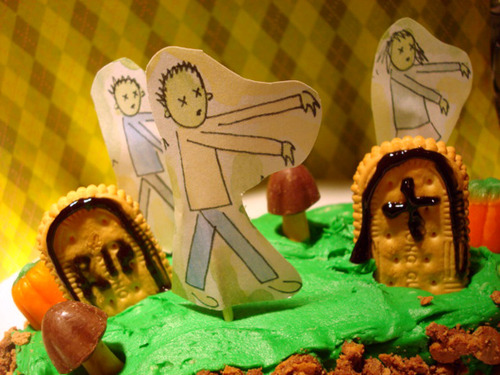
Make a ghoulish cake for people, not zombies! No brains included in the ingredients. (CakeSpy for Serious Eats)
16. Deep fried halloween candy.
Take Halloween candy...and deep-fry it. Like, whoa. (CakeSpy for Serious Eats)
17. Homemade halloween oreos.
They have orange filling = instant Halloween! (Smells Like Home)
18. Scaredy-cat brownies.
Oreos become cute cats on this adorable brownie presentation. (Martha Stewart)
19. Candy corn and spider web cake pops.
She's the queen of cute cake pops, and these ones are a good example of just why she's considered royalty. (Bakerella)
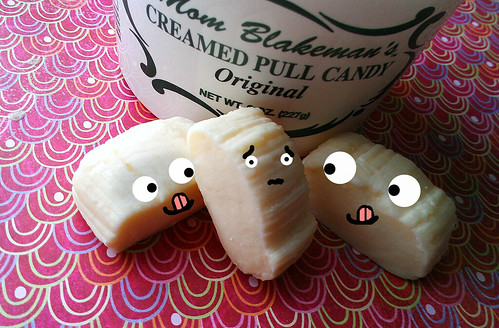
20. Creamed candy corn.
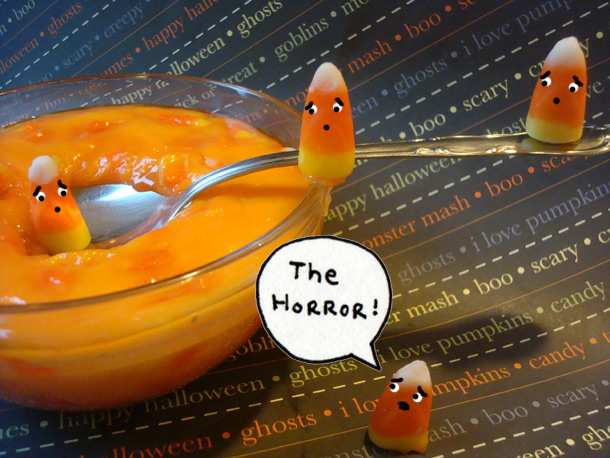
Yes, I went there. You'll like it more than you think you will, I promise. (CakeSpy for Serious Eats)
21. Candy corn milk.
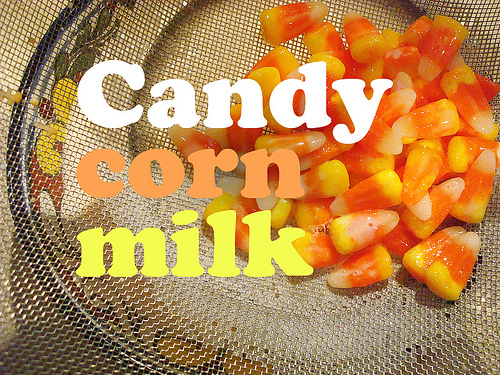
If creamed candy corn is too thick, perhaps you will like the easy drinking quality of candy corn infused milk.(CakeSpy)
22. Candy corn cupcakes.
These are just adorable: tricolor delights of cake! (Chocolate Moosey)
23. Glittery pumpkin cupcakes.
Add a little glitz and plenty adorableness to a Halloween party with these dazzling cupcakes. (Real Simple)
24. Candy corn tuxedo cake.
I don't know if I can express how worthy this is of clicking over to see. It's truly stunning. --> (Sprinkle Bakes)
25. Pumpkin Pie Milkshake.
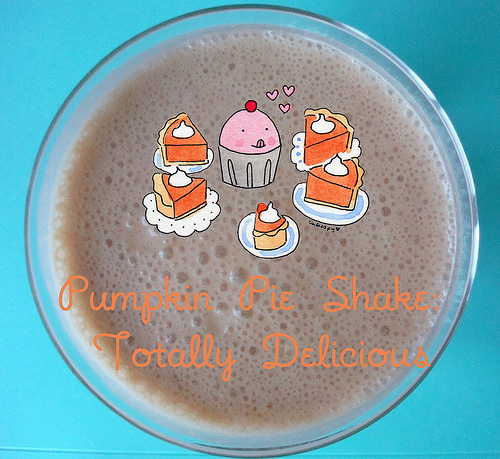
I say it's appropriate through all of the pumpkin holidays: Halloween thru Thanksgiving. (CakeSpy)
26. Crescent witch hats.
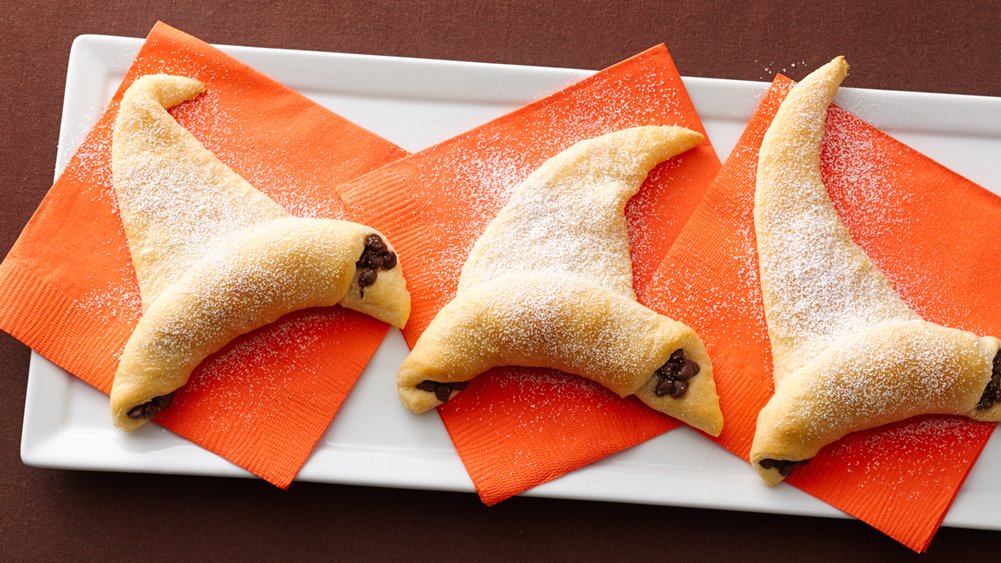
These crescent witch hats are not only cute, but they're easy. Really! (Pillsbury for CakeSpy)
27. Ghost cupcakes.
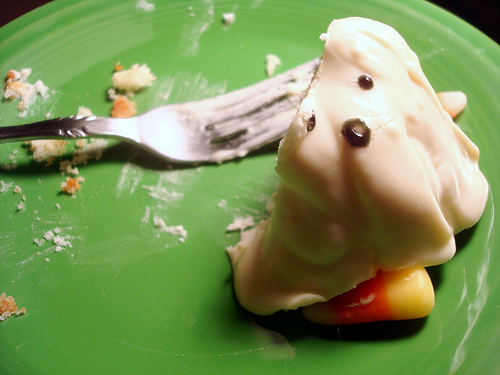
These are ghoulish, but the taste is all sweet thanks to an enrobing of white chocolate! (CakeSpy)
28. Brownie spider web cake.
Yummy, easy, cute, Halloween-y, and brownies are included. What more do you need? (Heather's French Press)
29. Peanut butter haystacks.
It's the eyes that make them look like little monsters. Delicious little monsters, that is. (The Girl Who Ate Everything)
30. Candy corn upside down cake.

Like pineapple upside-down cake, but replace "pineapple" with "candy corn". Yes indeed. (CakeSpy for Serious Eats)
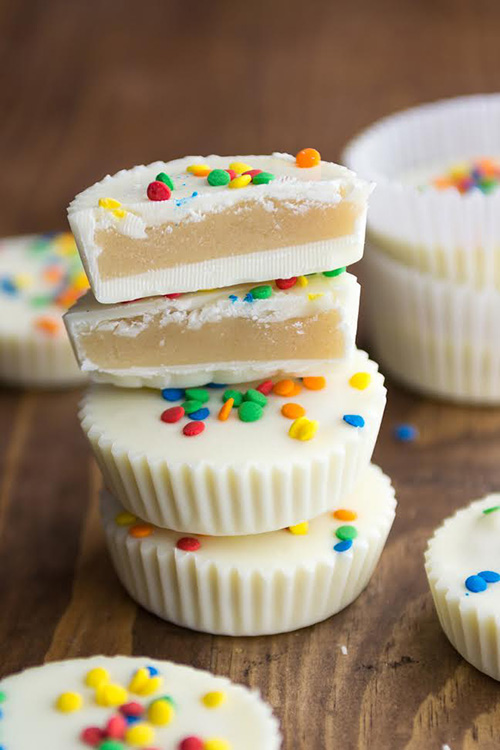
31. Halloween fudge.
It's not only super-sweet, but also highly adorable. (Crazy For Crust)
30. Halloween jell-o Jigglers.
These are amazingly easy to make, and they will make everyone happy when you serve them. (CakeSpy for Serious Eats)
31. Candy corn popcorn balls.
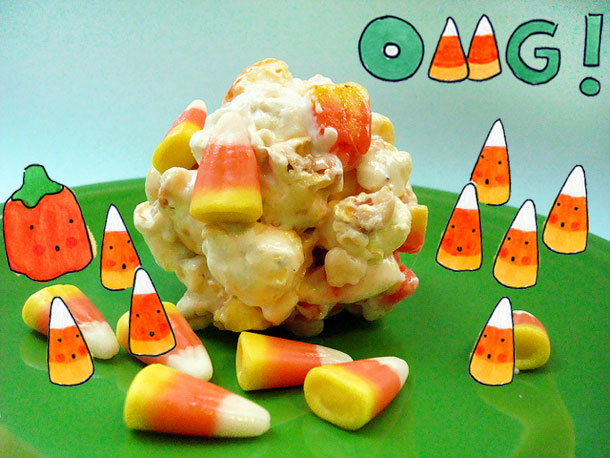
Like popcorn balls, but with the added Halloween joy of candy corn. Hooray! (CakeSpy for Serious Eats)
32. Bell pepper jack o'lanterns.
This savory treat is allowed because they LOOK so sweet (figuratively, of course). Promise me you'll check 'em out. (itsyummi.com)
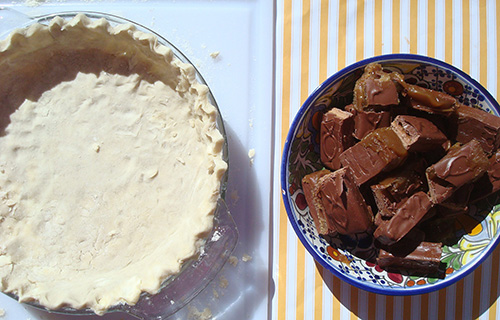
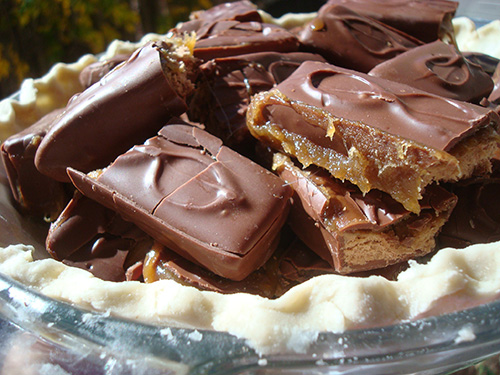
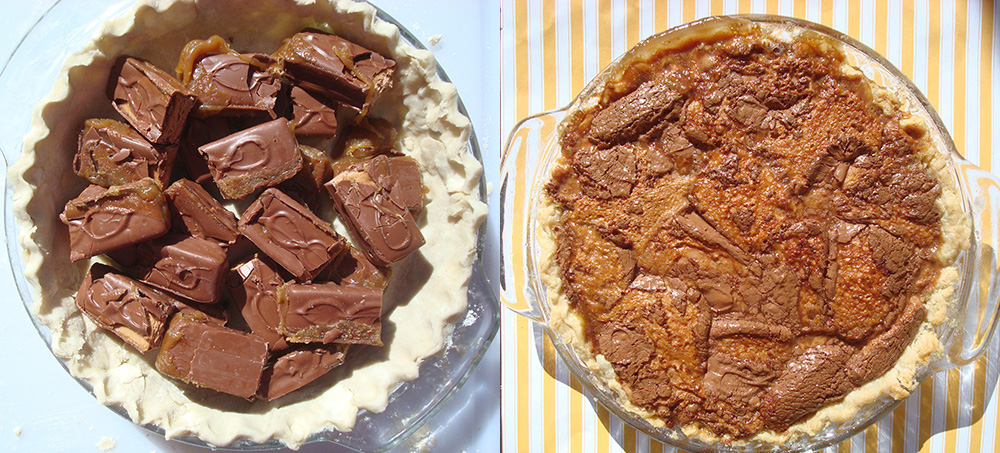
33. Leftover halloween candy pie.
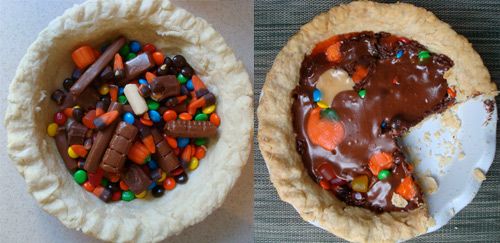
It's awful and awesome all at once. Just like a horror movie. Gulp. (CakeSpy for Serious Eats)


 3 Comments
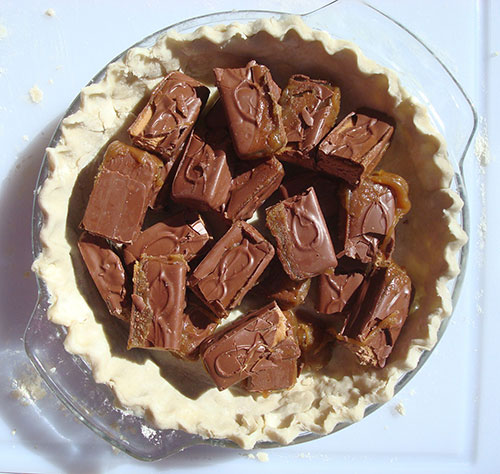
;)

;)