Home Home Home Home Home Home Home
CakeSpy

Featured: 

My adventure at Ben & Jerry's in Vermont!


Unicorn Love: the Eating Disorder Recovery Blog


 Buy my brilliant books!

Buy my new book!

Buy my first book, too! 

CakeSpy Online Retail!


Archives
Gallery

Fantastic appliance for cake making on DHgate.com

everyrecipe.co.nz

Craftsy Writer

Entries in recipes (704)

Saturday
Feb072015

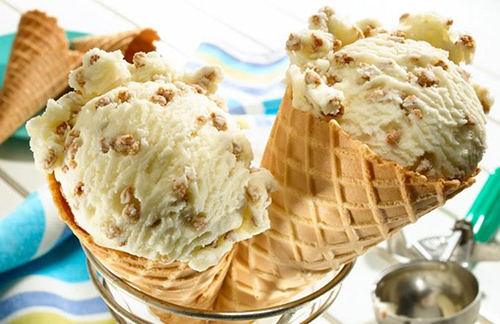
2/7: Happy National Ice Cream For Breakfast Day

Photo via Post Foods

Did you know that February 7th is National Ice Cream for Breakfast Day? I know, I know: best holiday ever. Finally, a reason for ice cream stores to open early! Because one of my true laments in life is that ice cream stores open too late. Surely I'm not the only one who craves ice cream at 9:00 in the morning, right? 

But I digress. To celebrate this wondrous day, I'd like to present an easy way to "breakfast" up your ice cream--by adding Grape Nuts.

Believe it or not, Grape Nuts ice cream not only exists, but can be quite common in parts of New England. Weird as it might sound, it works: the ice cream basically does to grape nuts what takes milk at least 40 minutes to do: it softens it, so that you can eat and enjoy the nutty, somewhat wholesome flavor without breaking your teeth. It works very nicely as an ice cream flavor.

If you're not in New England, however, you can do it the easy DIY way, by mixing Grape-Nuts into existing vanilla ice cream. Here's how.

Easy d.i.y. Grape-Nuts Ice Cream

Adapted from Post Foods

  • 1/2 cup Grape-Nuts Cereal
  • 1 pint (2 cups) vanilla ice cream, softened 
  • Additional mix-ins of your choice: caramel, chocolate chips, etc.

Procedure

  1. Mix the cereal and softened ice cream in freezer proof bowl until the cereal is equally dispersed; cover.
  2. Freeze until firm.
  3. Store leftovers in freezer.

What flavor will you have for breakfast on National Ice Cream for Breakfast day?

Thursday
Feb052015

Mini Peanut Butter Baked Alaskas

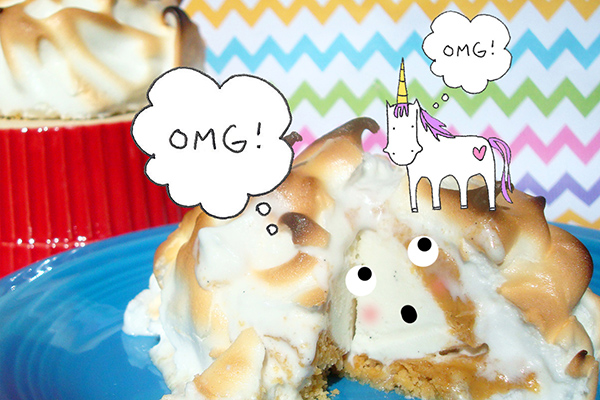
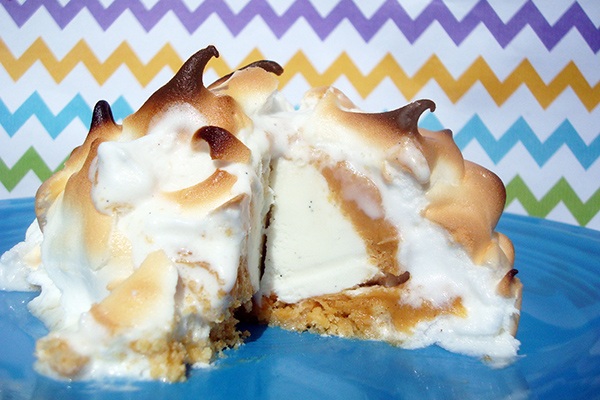
I will have you know, fine people, that I made mini peanut butter baked Alaskas for one of my favorite companies ever, Peanut Butter and Company. It was an honor!

Baked Alaska, to the uninitiated, is not only dessert, but SCIENCE. Cold ice cream sits atop a cake (or in my recipe, a cookie) base, and is coated all over with a meringue mixture. The meringue totally seals the ice cream in, and allows the whole thing to be popped in a very hot oven long enough to crisp the meringue, making for an improbable and impressive dessert that is hot and cold all at once.

And this version is even better because it features delicious peanut butter. And because it's served in mini portions (no sharing!).

For the recipe and more, click here.

Sunday
Jan252015

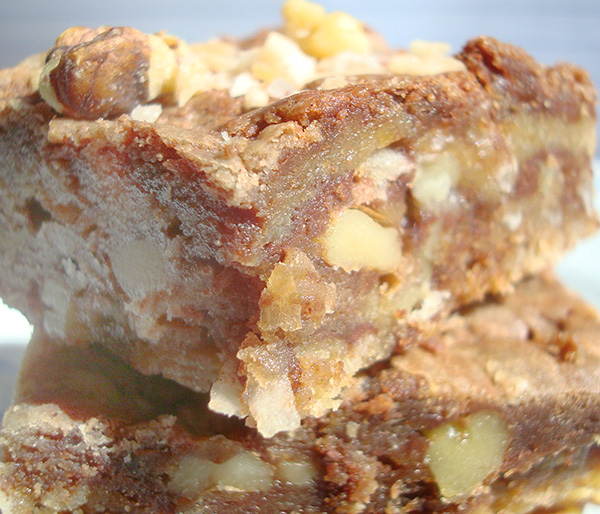
Incredibly Delicious: Congo Bars

Congo bars aren't really all that African. Honestly, they're more like blondies, with the addition of coconut. So how on earth did their tropical name come to be? Well, I can share a few theories. 

1. Coconut is key. This hard-shelled fruit or nut (I'm not actually sure which it is, in spite of this helpful blog post) is most readily found in the tropics. The Congo is a tropical rainforest area in Africa, and coconuts do grow there, among other crops. 

2. "Congo" sounds way cooler than other tropical names. As I mentioned, the Congo is hardly the only area where coconuts grow. Personally, I picture the person who dreamed up the name making a list of tropical places and then eliminating names one by one because they didn't sound quite right. I mean, do "Jamaica bars" or "Phuket bars" sound as cool as "Congo Bars"? I personally think not.

3. Someone wanted to call them "bongo bars" because the sight of them makes your heart beat like a drum, but accidentally misspelled it on the recipe card.

Personally, I'll go with a variation on #2: it just sounds cool. 

Really, though, who cares about why they're called Congo bars? The important stuff is how insanely delicious they are. Congo bars are a gloriously tricked-out version of the classic blondie, characterized by a satin-finish top which gives way to a decadent butterscotch-flavored, brown sugar-rich interior, generously flecked with chocolate morsels, nuts, and coconut. Curious name aside, you'll adore eating these sweet treats.

Recipe here.

Monday
Jan192015

15 Foods that Unicorns Would Definitely Eat

If you've ever had an unexpected unicorn visitor at your home, you've probably wondered: what can I feed this mystical creature? Are unicorns vegan? Do they prefer foods that are pink? Are they gluten-free? What gives?

I tell you, I've looked and looked but there is no mention of such a thing in any Emily Post book.

Even if you haven't faced this magical mystery of social etiquette, you never know when a unicorn might appear in your life.
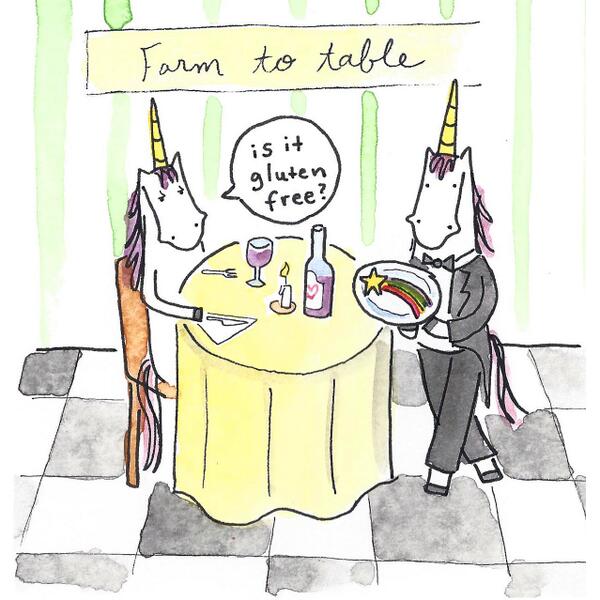
Don't worry. They're not *all* gluten-free or vegan.

To this I must say, dear readers, I care. I really do. And so whether it's helping you prepare for future unicorn visits or just the possibility of a unicorn appearance, I'd like to share what I've learned from all the unicorns I call friends.

These fifteen scrumptious sweet treats would definitely pass their magical standards, if you ask me. Of course, if you are a human, you can still eat these treats, and they might help you attract unicorn friends. It will also help if you wear these

Fifteen Foods that Unicorns Would Definitely Eat.

You can trust me, because I am pretty sure I'm part unicorn. 

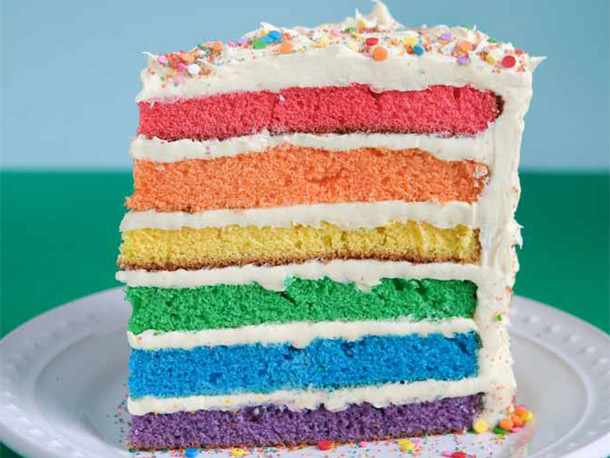
Rainbow cake.

Well, duh, right? There's a recipe for this delectable treat in my first book, CakeSpy Presents Sweet Treats for a Sugar-Filled Life, and also online here

Jell-o pudding cups

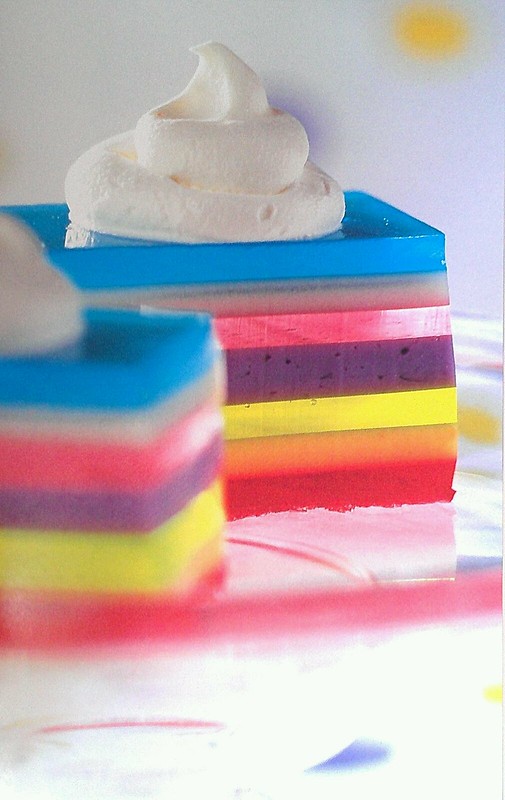
Unicorn food

Yep. Unicorns love rainbows. So they're pretty big fans of these rainbow gelatin squares

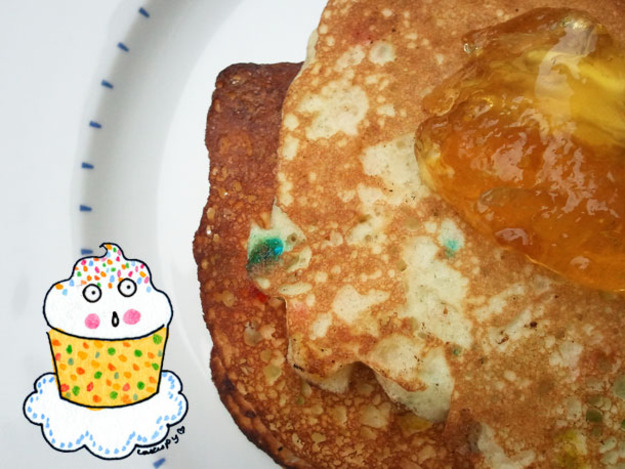
Funfetti pancakes

"Fun" is part of the name of funfetti, and unicorns love all things fun, especially if they also come with a rainbow color scheme. So you can pretty much rest assured that they will love to carb-o-load on funfetti pancakes

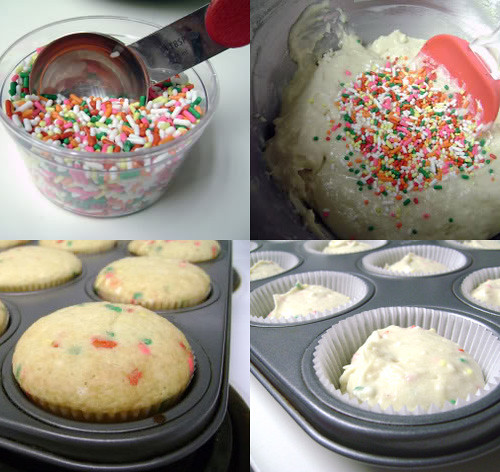
Homemade funfetti cupcakes

Guest post from iheartcuppycakes

As you might have guessed based on the funfetti pancakes, unicorns also adore funfetti cake. Especially cupcakes, because they don't have to share them. Because as giving as they are of magic, they're not so generous with their personal sugar stash. Recipe here

Rainbow donuts

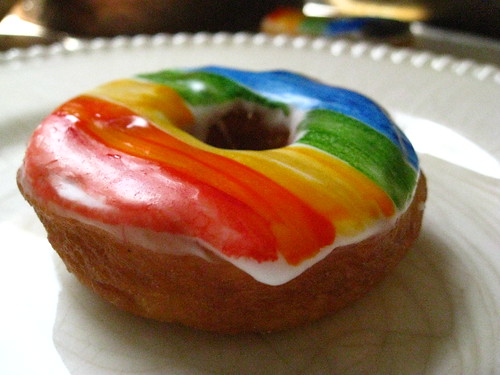
Donut I

Photo via Flickr member Jordanpattern

Unicorns love rainbows. They love doughnuts. But a doughnut with rainbow frosting? You've got yourself a grand slam of a unicorn-pleasing snack. Make DIY rainbow doughnuts by purchasing vanilla frosted doughnuts and "painting" them with food coloring!

Unicorn doughnuts
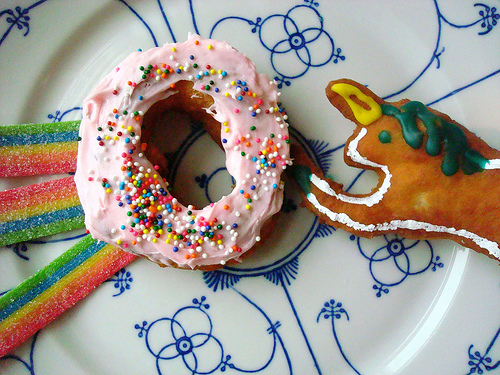

Well, OK, rainbow doughnuts are not the only type of fried treat you can serve unicorns and receive a standing ovation. You can also serve doughnuts which are shaped like unicorns. All you need is a little time and a unicorn shaped cookie cutter. Oh, and this recipe. You'll have unicorn friends for life if you serve these, I promise. 

Unicorn Pop-Tarts
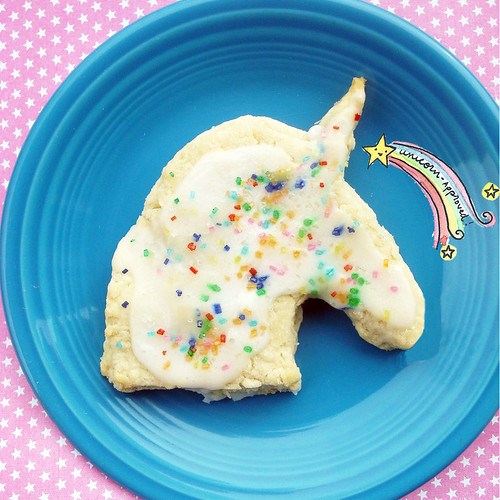
Unicorn pop tarts

Unicorns love breakfast, in case you hadn't guessed. But they're pretty much over Pop-Tarts, even homemade, because everyone offers them those. But a unicorn-shaped Pop-Tart? You'll have trouble getting them to ever LEAVE!

Rainbow cookies filled with chocolate chip cookie dough
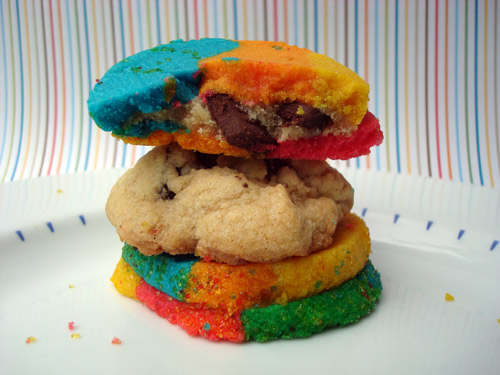
Listen up. You've already gathered that unicorns love rainbows, sweets, and carbs. But to find chocolate chip cookie dough nestled within a rainbow? A unicorn might faint (with pleasure, that is). Recipe here.

Jelly bean pop-tarts
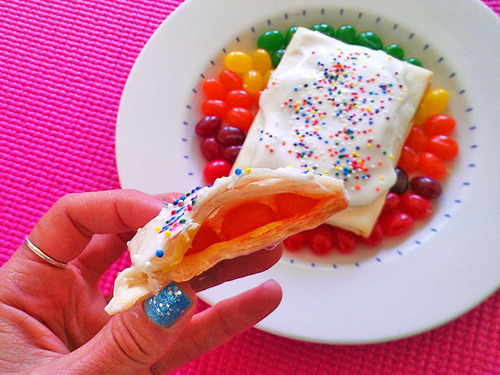
It doesn't have to be Easter for unicorns to enjoy a delicious jelly bean-filled treat. Especially when it combines super-sweet jelly beans with delicious homemade Pop-Tart perfection! You might just get these unicorns to invite over the Easter bunny! Recipe here.

Cupcakes in ice cream cones 
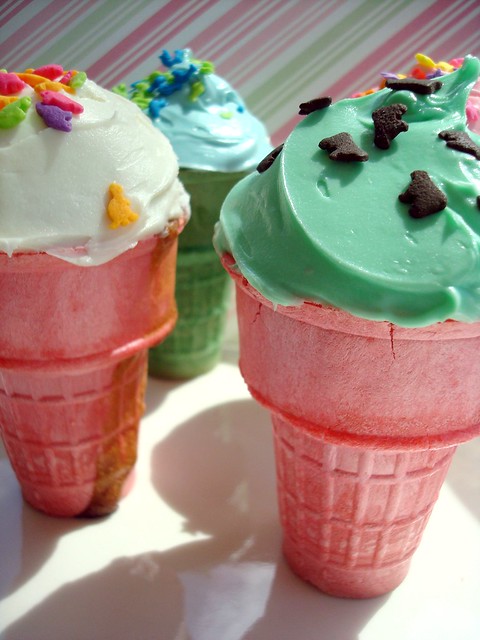
Cupcakes baked in ice cream cones

Unicorns like a little trick with their treat. So they'll be delighted to discover that these colorful cones are not actually ice cream, but cake! 

Rainbow pancakes
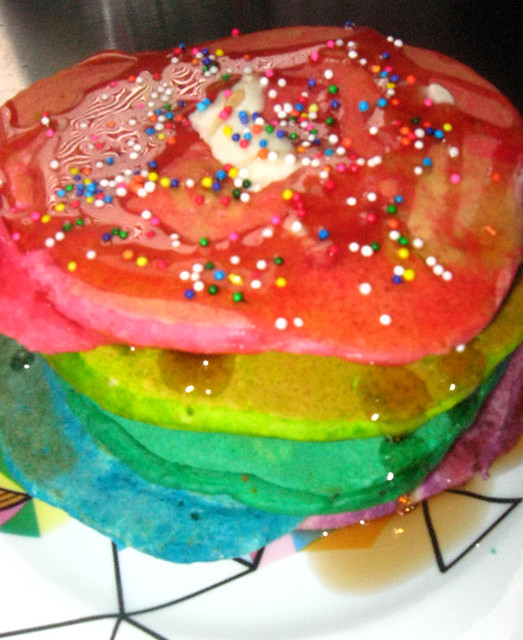
rainbow pancakes
Photo via Flickr member globochem

In case you haven't gotten it yet: unicorns love breakfast, and they love carbs. If you're serving pancakes that are NOT funfetti, be sure to add some food coloring to your pancakes. Instant rainbow, instant party!

Candy salad
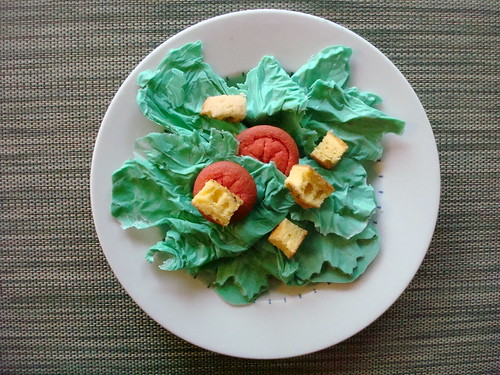
Sweet Salad

What's better than eating your veggies? Eating candy that looks like veggies. This salad is totally sweet--it's actually made with a melange of tinted candy melts, cookies, and fried cake crumb croutons!

Rainbow cookies
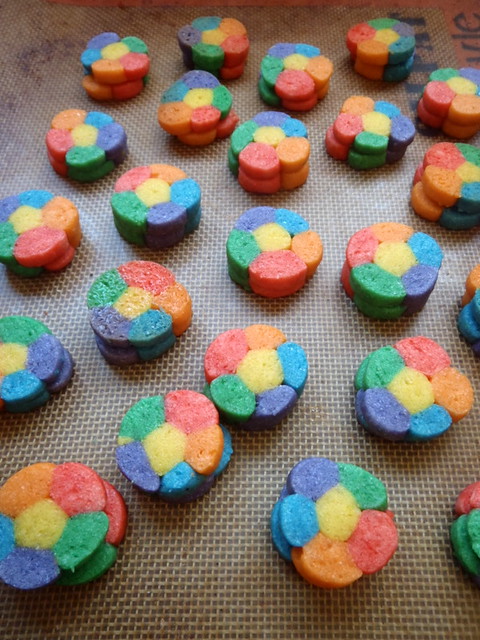
Rainbow cookies

Photo via Flickr member Joyosity

A unicorn would be so psyched to eat these morsels of sweet multicolored joy. Best of all? The recipe is easy.

Rainbow candy bowls
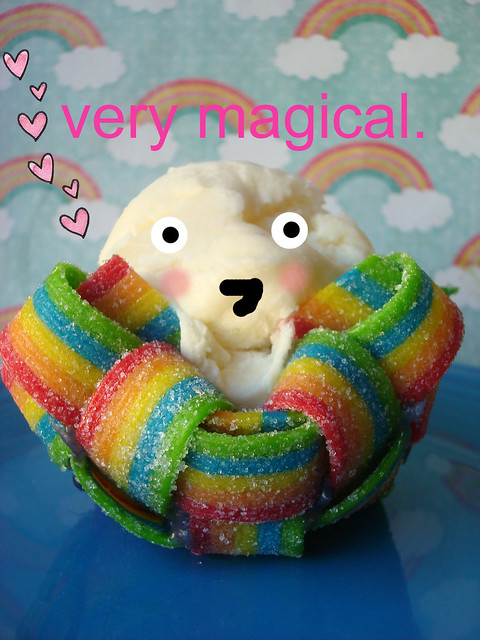
Rainbow candy baskets

I don't know a unicorn who wouldn't be psyched about rainbow candy bowls. They are highly magical.

Rainbow sprinkles
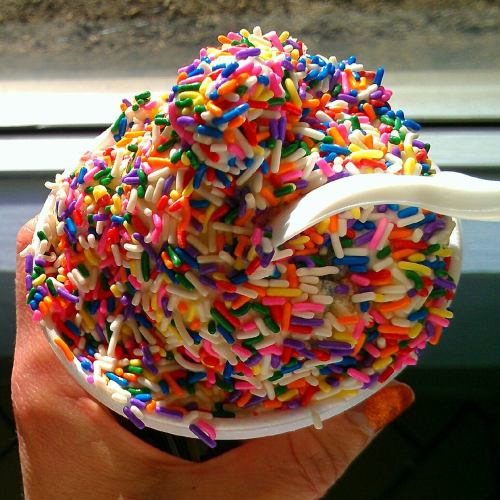
It's easy and it's quick, but if a unicorn arrives and you're in a pinch, this is your ultimate instant hospitality trick. Cover any and everything you serve in rainbow sprinkles. They'll love it, I promise. 

Which food do you think unicorns would like best?

Monday
Jan122015

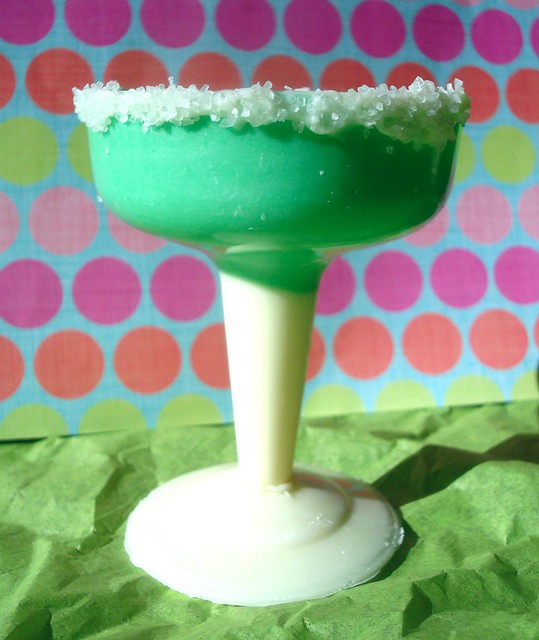
White Chocolate Dessert Cups that Look Like Margarita Glasses

Edible dessert cups

Today, let's forget about everything else and focus on a life skill that will serve you as long as you are breathing and are able to feel delight:

How to make edible dessert cups that look like margarita glasses.

This is a riff on a "How to make edible chocolate dessert cups" post I wrote for Craftsy--whilst I was writing it, I realized that, OMG, the plastic champagne coupes I was using as molds actually kind of resembled margarita glasses, too. So I decided to amp up the association by tinting the chocolate so that it would resemble a margarita in a cup.

Don't try to take a sip: this is solid white chocolate, decorated with a salty (that's real salt--I think dessert loves salt!) rim. While yes, it's fine for out-of-hand eating, I think it's extra special when you fill it with a pudding (how about a margarita pudding?), mousse, or even whipped cream. It's a whimsical and true delight-giving treat. 

How to make a chocolate cup

Makes 4-6 dessert cups

Adapted from Taste of Home

Ingredients

  • 12 ounces (1 bag) white chocolate morsels
  • flavorings or food colorings of your choice (optional)
  • coarse sugar for the "rims"

Equipment

  • Dollar store champagne coupes with removable bases

1. Divide the chocolate into two portions: 1/4 and 3/4. I found it easier to melt each batch separately; the small portion plain, and the larger portion with green coloring. You can learn how to melt white chocolate here.

2. Separate the removable bases from the cups of your champagne coupes. Start with four of them, and if you still have a good amount of the mixture when you’ve filled all of them, you can use the other two coupes (this will depend on how thickly you apply the candy).

3. Fill each hollow stem with your melted white chocolate mixture, up the stem. Switch to the green chocolate. Now, use a pastry brush or spoon to brush the sides and "bowls" of the cups (author's note: I started with a spoon for filling the stem, and then graduated to a pastry brush to apply chocolate to the sides of the cup). Set the tops back on the bases (they'll remain upright this way), and place in the refrigerator for about 15 minutes, or until set.

4. Once your 10 minutes are up, remove from the refrigerator and give them a generous second coat with the green, putting emphasis on the sides of the cup. Place back in the refrigerator on the bases until set.

5. Remove the tops from the bases; the chocolate should be set to the point where you can set the coupes on their sides while you proceed. Grab those bases, and invert them.

6. Fill each of the bases with most of the remaining melted white mixture, leveling the top. Place them with the coupes in the refrigerator. You should have a little white chocolate left — keep it on hand.

Chocolate bases

7. Once everything is set (that is to say, the chocolate is completely hard and firm), remove from the refrigerator (to keep things cool, remove the coupes and bases one at a time). Gently, using a sharp knife, ease the edges of the plastic from the chocolate. The pieces should come out without too much trouble.

If the plastic cracks or breaks, that’s ok — you only spent a dollar on these! If there is some breakage on your candy cups, don’t panic. You can place the cracked bit in place, and press it together using the remaining white chocolate mixture as “glue”.

Base attached to top

8. Use a little white chocolate or icing along the edge of the top of the cups, and adhere some coarse sugar along the rim.

9. Adhere the bases and cups using the remaining white chocolate as glue. Let them set again in the refrigerator for about 20 minutes before filling with the dessert of your choice. If not using immediately, let them rest in the refrigerator until ready to serve your dessert so that any ambient heat doesn't make the base and top separate.

What is your favorite whimsical dessert?

Sunday
Jan112015

Besitos de Coco: Coconut Kisses from Puerto Rico

I'm pretty sure that a cookie in Puerto Rico known as "Besitos de coco" translates as "awesomely ginormous coconut macaroons baked in cupcake tins". I should, of course, note that this is without the aid of a dictionary or translation, it is just what comes from my heart.

Fine. If you want to get all technical, it means "coconut kisses". But these are not a peck on the cheek. They're a big fat kiss, from someone you love, and not your aunt or Grandma. A kiss with a little squeeze. 

Technically, you can make these any size, from fairly small to very large. That's why I left off a count on the recipe, because if you want modest portions you'll get many; if you want jumbo confections, you'll get 12 or so.

Besitos de coco

Adapted from Sandra's Kitchen

  • 5 1/2 cup sweetened shredded coconut
  • 2/3 cup all-purpose flour
  • 1 teaspoon salt
  • 1 teaspoon vanilla
  • 1 can (14 ounces) sweetened condensed milk 

Procedure

  1. Preheat the oven to 325. Line a cupcake tin with liners.
  2. In a large bowl, combine the coconut, flour, and salt. Mix to incorporate.
  3. Now, stir in the condensed milk and vanilla. Stir until totally combined (the mixture like a slightly more liquid consistency than rice krispie treats). 
  4. Place a heaping tablespoon of the coconut into each cup, or get fancy and load it into a piping bag with a jumbo star tip like they do in Rincon. 
  5. Bake for 40 minutes, or until browned and toasty on top. Let cool in the pans completely before removing. These freeze beautifully, or will keep at room temperature in a sealed container for several days. 

Do you like coconut in your sweets?

Wednesday
Dec242014

The Only Flourless Chocolate Cake Recipe.

If you believe my mother (and she's a pretty honest person), my first word as a baby, aside from "mama" and "papa"...was "chocolate". Apparently, it occurred following an incident where my grandma gave baby-me a fat spoonful of chocolate frosting, against my mother's wishes. As the story goes, my eyes lit up and I said the magic word: "chok-lit". True story.

So clearly, chocolate has played an important role in my life. It's been a lifelong friend.

In spite of that, however, I don't consider myself a "chocoholic". I would more often choose a blondie than a brownie, and I like the cookie part better than the chocolate chip part of cookies. But when I do get a chocolate craving, it is fierce, and I want chocolate and nothing else in my mouth.

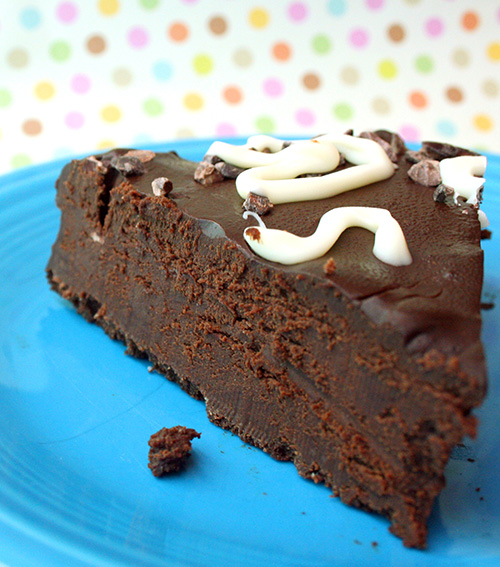
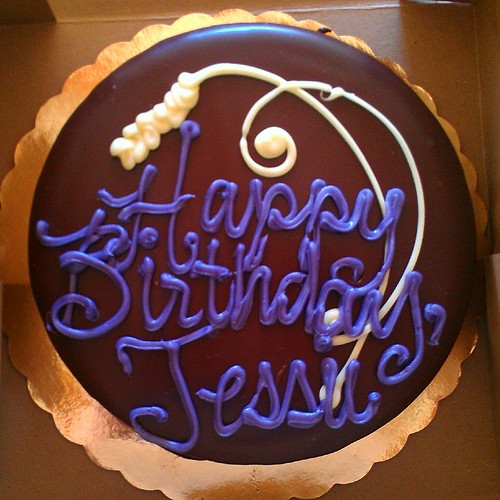
In Santa Fe, where I currently reside, I have been introduced to one of my favorite chocolate cakes, which always satisfies chocolate cravings: the flourless decadence cake at Whole Foods. It's a very dense chocolate cake with (because, why not) a thick ganache topping). I don't know exactly what it is about this cake, but it is GOOD. Here's a picture of it:

Birthday cake

When I recently wrote an article for New Mexico Magazine (out in January!), one of the recipes I developed was for a decadent flourless chocolate cake. When I made it, I was surprised at how close the cake part was to the Whole Foods variety, so I tried a new variation which featured not only flourless chocolate cake, but an all-over ganache topping.

Well, my friends, it worked, and I believe I have found the perfect homemade hack of the Whole Foods decadence cake.

Flourless chocolate cake

I don't know how to express it in words, quite, but I will try. This cake is very, very, very, very, very, very, very, very, very, very, very chocolatey. If you have a chocolate craving, this will do the trick. There's more than a full pound of chocolate encased in its glossy ganache-coated exterior. This cake means chocolate business.

The salt is key in this recipe, as it brings out the chocolatiness. If you want, you can add a teaspoon of coffee powder to amp up the chocolate flavor even more, but I don't find it necessary.

If you love chocolate, this is the only flourless chocolate cake recipe you'll ever need. If you don't love chocolate, this might be he one that makes you a believer.

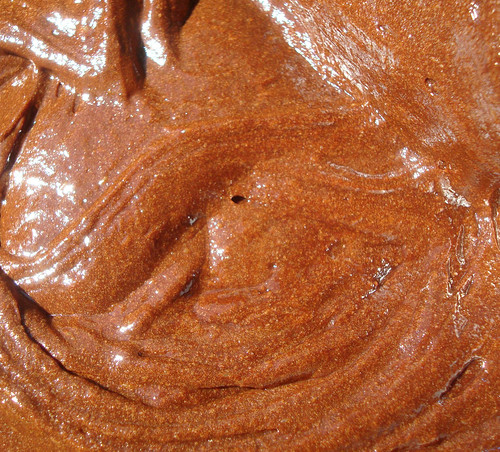
Process shots from cake making: Flourless chocolate cake

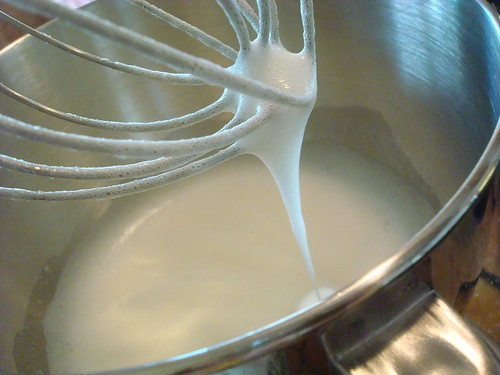
Whipping the egg whites

Flourless chocolate cake

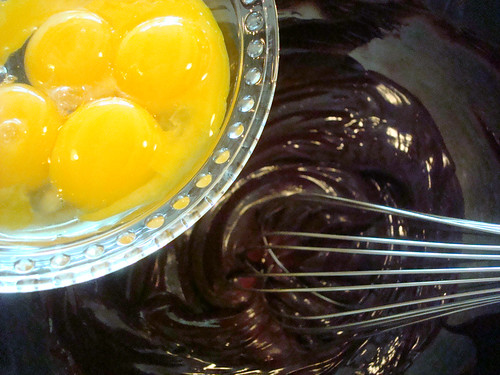
Adding the eggs to the chocolate Flourless chocolate cake

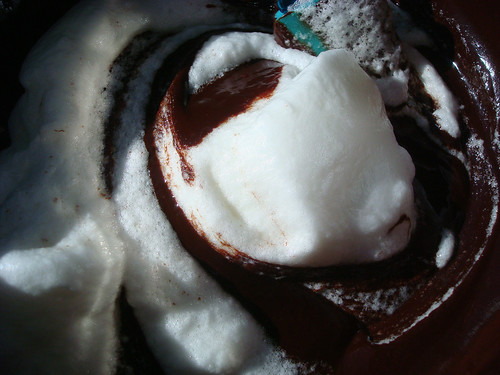
Folding the egg whites into the chocolate

Flourless chocolate cake

Pour into the pan

Flourless chocolate cake

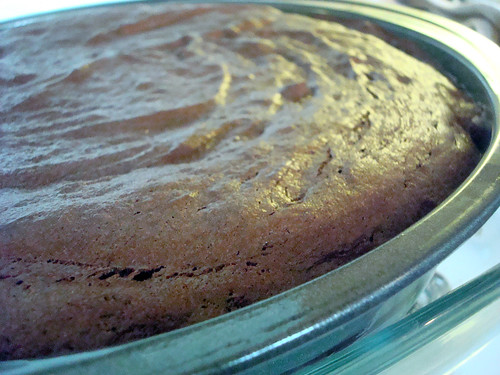
Baked cake

The only flourless chocolate cake recipe.

Makes one 9-inch round cake

For the cake

  • 1 pound bittersweet or semisweet chocolate, coarsely chopped
  • 11 tablespoons (1 stick plus three tablespoons) unsalted butter, cut into ½ inch cubes
  • 5 large eggs, divided
  • 1 teaspoon vanilla extract
  • ¼ teaspoon salt
  • 2 tablespoons sugar

For the sauce

Procedure

  1. Preheat the oven to 325°F. Grease a 9-inch round cake pan and line the bottom with parchment paper. Grease the top of the parchment paper.
  2. In the top of a double boiler or in a large bowl set atop a saucepan of lightly simmering water with 2 inches between the top of the water level and the bottom of the bowl, melt the chocolate and butter. Stir frequently until the chocolate and butter have melted to the point where there are only a few small lumps. Remove from heat and continue stirring until these unmelted bits have melted in the residual heat.
  3. Whisk in the egg yolks into the still-warm chocolate mixture. Whisk quickly so that the eggs will be incorporated without beginning to cook (nobody likes scrambled eggs in their cake). Stir in the vanilla extract.
  4. In a separate bowl using a hand mixer, or the bowl of a stand mixer, beat the egg whites and salt until soft peaks form. Once soft peaks form, stop the mixing and add the sugar. Scrape down the sides of the bowl if necessary to make sure no sugar has stuck to the sides of the bowl. Continue mixing until the whites have attained firm peaks, but not so long that they become dry.
  5. Using a rubber spatula, fold the egg white mixture into the chocolate mixture in two separate additions (it’s just easier to manage that way). Mix only until there are no more traces of white and the mixture is fully combined.
  6. Using the same rubber spatula, scrape the thick chocolate mixture into your prepared baking pan.
  7. Place the pan in a larger baking dish or roasting pan, and fill the larger pan with water until it reaches halfway up the cake pan’s height.
  8. Place the entire unit (cake pan within bain-marie) into the oven. Bake for 30 minutes. The top and sides will be set, but the middle may jiggle a bit. This is OK.
  9. Remove the cake from the pan of water (the water level should have reduced making it easier to remove). Let the cake cool in the pan. When ready to remove from the pan, run a sharp knife around the perimeter of the cake pan to loosen the edges. Place a serving platter on top of the cake pan, and flip both the pan and the plate so that the cake is on top. It should come out easily. The parchment may stay in the pan or it may come off with the cake; remove from the cake if so. Store in the refrigerator until the cake has completely set.
  10. While the cake cools, make the ganache as specified in the recipe. Let it cool until it has thickened to a spreadable but thick consistency, and spread all over the cake. 
  11. Keep the cake in the refrigerator until ready to serve; let it come to room temperature before serving.

Do you like flourless chocolate cake?

Sunday
Dec212014

"The Cake"

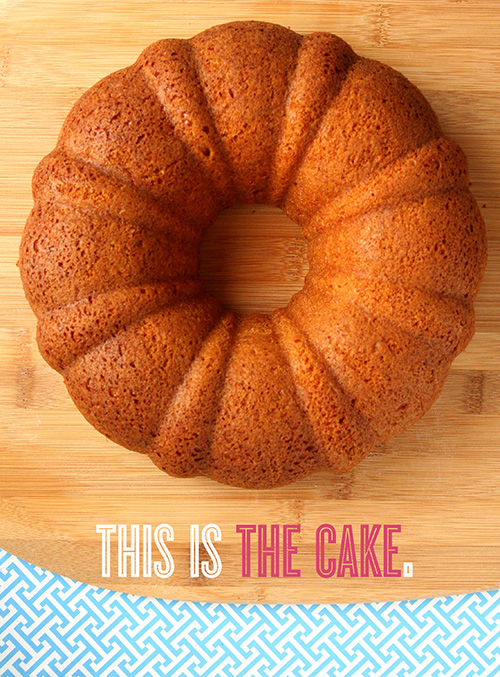
I need to tell you about something called The Cake.

Here's the story: my darling one has a handwritten book of family recipes, and one is definitely more captivating than any others, because its name is simple, mysterious, and a bit imperious...

It has a credit of Claire Goddard. I have never had the pleasure of meeting Claire, but based on her cake, I'm pretty sure I would like her. 

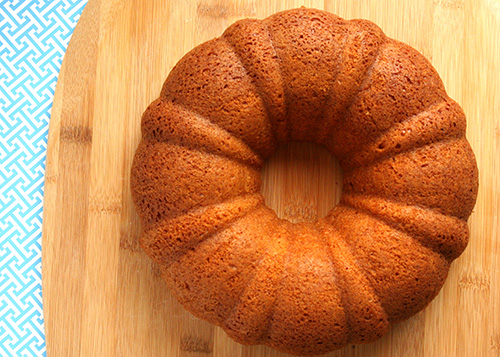
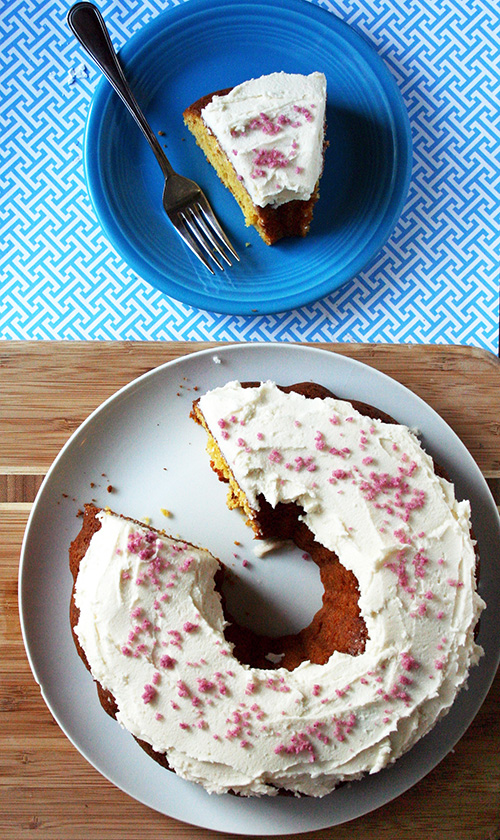
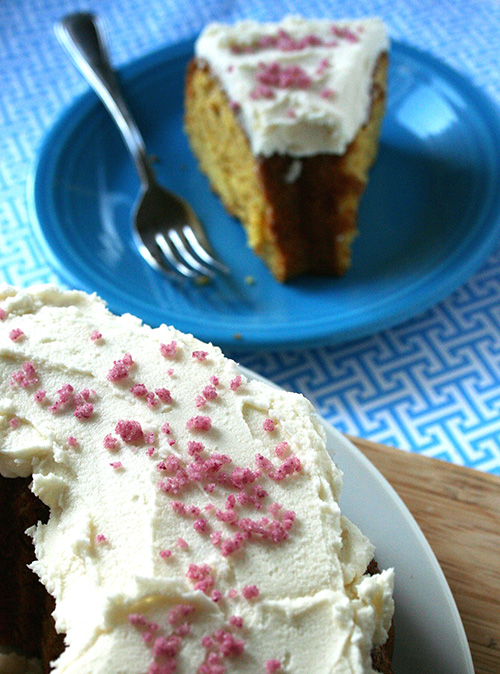
This cake is pretty, but perhaps not exceptional to look at: it just looks like a pleasant cake baked in a doughnut shape.

But one bite will tell you that there is something special about the cake. It's rich, probably owing to the high amount of eggs, and it is a bit tipsy, owing to the whopping 3/4 cup sherry (or rum, thankyouverymuch). It also has that certain addictive quality that boxed yellow cake always seems to impart on a cake (evidence: gooey butter cake). It's the sort of cake that doesn't need frosting...

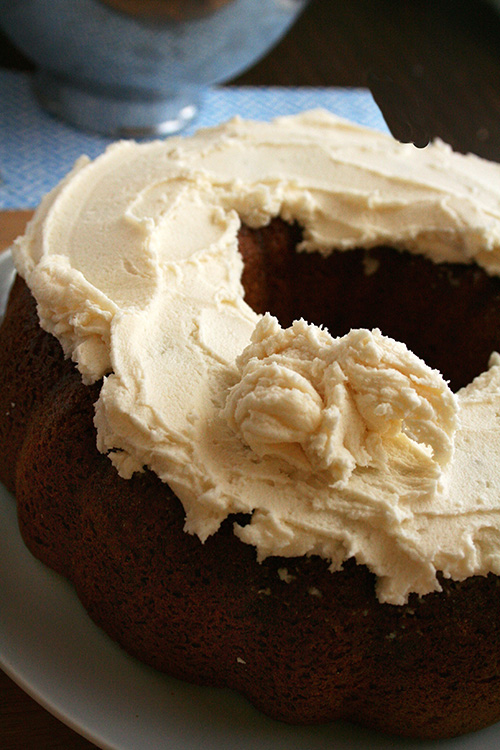
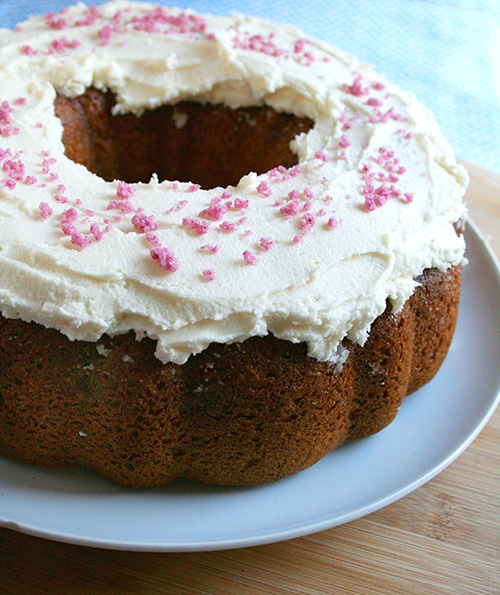
but hey, why not?

Even in spite of the above selling points, I'm not sure how exactly to explain the pleasure of The Cake. It isn't the fanciest dessert you've ever had, but it's got star quality--a certain je ne sais quoi that you can't quite put your finger on, but you're drawn to nonetheless.

The Cake is worth your time--I promise. A little treasure from my family's memory box to yours.

"The Cake"

Slightly adapted from Claire Goddard

Note: the original recipe calls for 3/4 cup vegetable oil; we used part coconut oil. You can use 3/4 cup vegetable oil if you prefer.

I used Pillsbury Super Moist Yellow Cake Mix for this recipe. 

  • Serves 6-8 
  • Prep: 10 minutes
  • Baking time: 45-50 minutes

Ingredients

  • 1 box yellow cake mix
  • 1 package vanilla instant pudding
  • 4 unbeaten eggs
  • 1/2 cup vegetable oil
  • 1/4 cup coconut oil plus 1 tablespoon 
  • 3/4 cup sherry or rum
  • 1 teaspoon nutmeg
  • 1 1/2 cups buttercream frosting, for topping (optional but suggested)

Procedure

  1. Preheat the oven to 350 degrees. Grease a tube or bundt pan; set to the side.
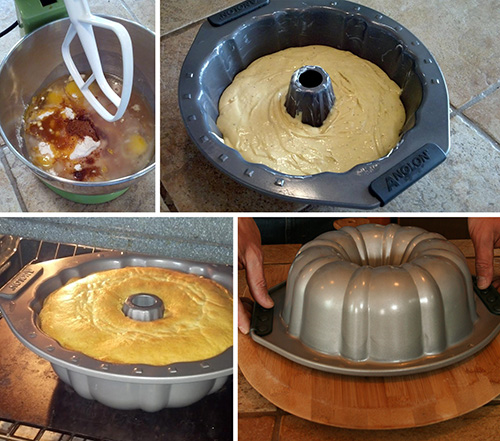
  2. Combine all of the ingredients in the bowl of a stand mixer. Beat on medium speed for 5 minutes.
  3. Transfer to a greased tube pan (we used a bundt pan). 
  4. Bake for 45-50 minutes. Let cool for about 20 minutes before inverting on to a serving rack. Serve as-is, or covered with frosting (that is my suggestion) or with ice cream. 

Do you have any mysterious family recipes?

Saturday
Dec202014

Stacked Cinnamon Roll Christmas Tree

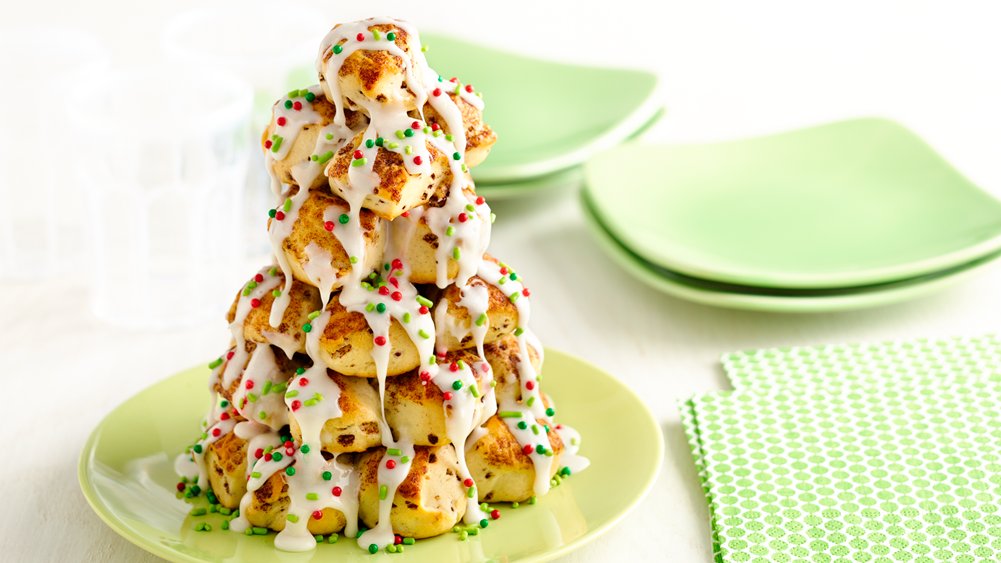
When Pillsbury sent me their latest grouping of seasonal recipes, I knew I had to share this one. It's so cute, and it's composed of cinnamon rolls. I mean, I don't see any other necessary components to make this awesome.

This recipe is courtesy of Pillsbury - check out their other holiday ideas. Enjoy!

Cinnamon Roll Christmas Tree

Ingredients

  • 1 can (12.4 oz) pillsbury refrigerated cinnamon rolls with icing
  • 1/2 teaspoon colored sugar

Procedure

  1. Heat oven to 400°F. Spray large cookie sheet with cooking spray. Separate dough into 8 rolls. Use kitchen scissors or knife to cut each roll into 4 pieces.
  2. Shape each piece into small ball, and place on cookie sheet. Place 10 balls in a single layer, clustered and touching together to form a round disk shape. Continue with a formation of 8 balls, then 6 balls, then 4 balls, 3 balls and finally a single ball. There will be a total of 6 disks (including the single ball), which will form the layers of the tree after baking.
  3. Bake 8 to 10 minutes or until browned. Cool on cookie sheet 2 minutes. Meanwhile, transfer icing to microwavable liquid measuring cup. Microwave uncovered on High 10 to 15 seconds or until pourable.
  4. Use large, flat spatula to transfer largest disk to serving platter or cake plate. Drizzle with small amount of icing, then top with next largest disk. Drizzle with small amount of icing. Continue with remaining disks, ending with single ball. Drizzle remaining icing over tree. After drizzling, immediately sprinkle with colored sugar.

What's your favorite holiday breakfast?

Thursday
Dec182014

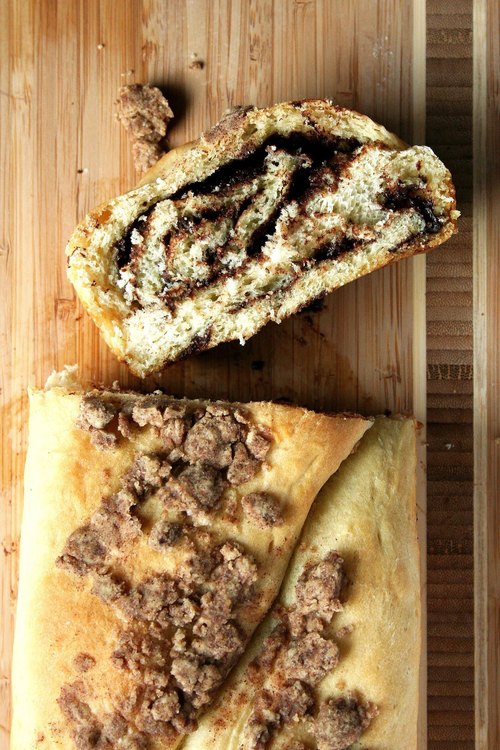
Chocolate Babka is the Best Thing Ever

RECIPE HERE!

The best thing ever? Cake that masquerades as "breakfast bread". And my new favorite? Babka. Chocolate babka, to be specific.

Chocolate babka first entered my consciousness when it was the subject of a Seinfeld episode. It wasn't until a couple years later, when I lived in New York City, that I tried the stuff--from Zabar's, naturally. 

I'll tell you how I felt about babka: I liked it. 

Babka makes for sweet eating: a lightly sweetened yeast bread with a feathery texture which is weighted down to seriously sweet territory with an inner swirl of dark chocolate. It makes for an addictive combination, let me tell you. 

Apparently, the babka we eat stateside is a bit different from "the original", you know, from the old country. I'm willing to believe that one is good, too, but I am pretty sure I'd still prefer the American version, stuffed with chocolate. 

When I paired up with Colavita to make some recipes for their website using their olive oils, I was super-psyched to try out babka sans butter. I have to say, the olive oil works tremendously in this recipe--it has a smooth, lightly fruit-like flavor that brings out the best parts of the bread and chocolate, marrying them in the most delicious way. 

To read more about babka, check out the post on the Colavita blog. And here is my awesome babka recipe.

© Cakespy, all rights reserved. Powered by Squarespace.