Home Home Home Home Home Home Home
CakeSpy

Featured: 

My adventure at Ben & Jerry's in Vermont!


Unicorn Love: the Eating Disorder Recovery Blog


 Buy my brilliant books!

Buy my new book!

Buy my first book, too! 

CakeSpy Online Retail!


Archives
Gallery

Fantastic appliance for cake making on DHgate.com

everyrecipe.co.nz

Craftsy Writer
Monday
Apr132015

My Delicious Adventure with Ben & Jerry's

Vermont topper

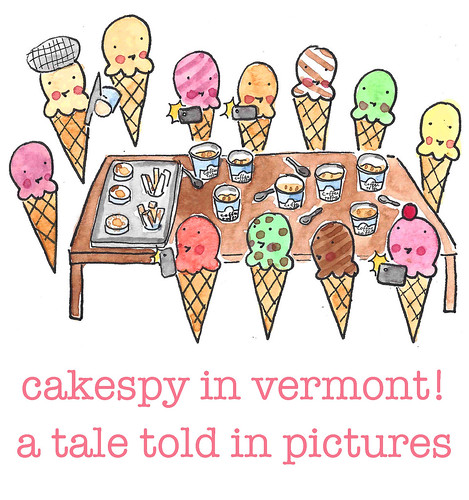
So, I recently went to Vermont. As a guest of Ben and Jerry. You might know them from the ice cream in your supermarket. Let me guide you through the experience in PICTURES. 

My Ben & Jerry's Adventure in Vermont

Vermont! I didn't know who else would be there for the event, and I was a little nervous. But I felt a bit better after I found an awesome goodie back including all sorts of made-in-Vermont treats and a fleece jacket emblazoned with the Ben & Jerry's logo in just my size, and after I had turned on Law and Order, of course.

Vermont trip

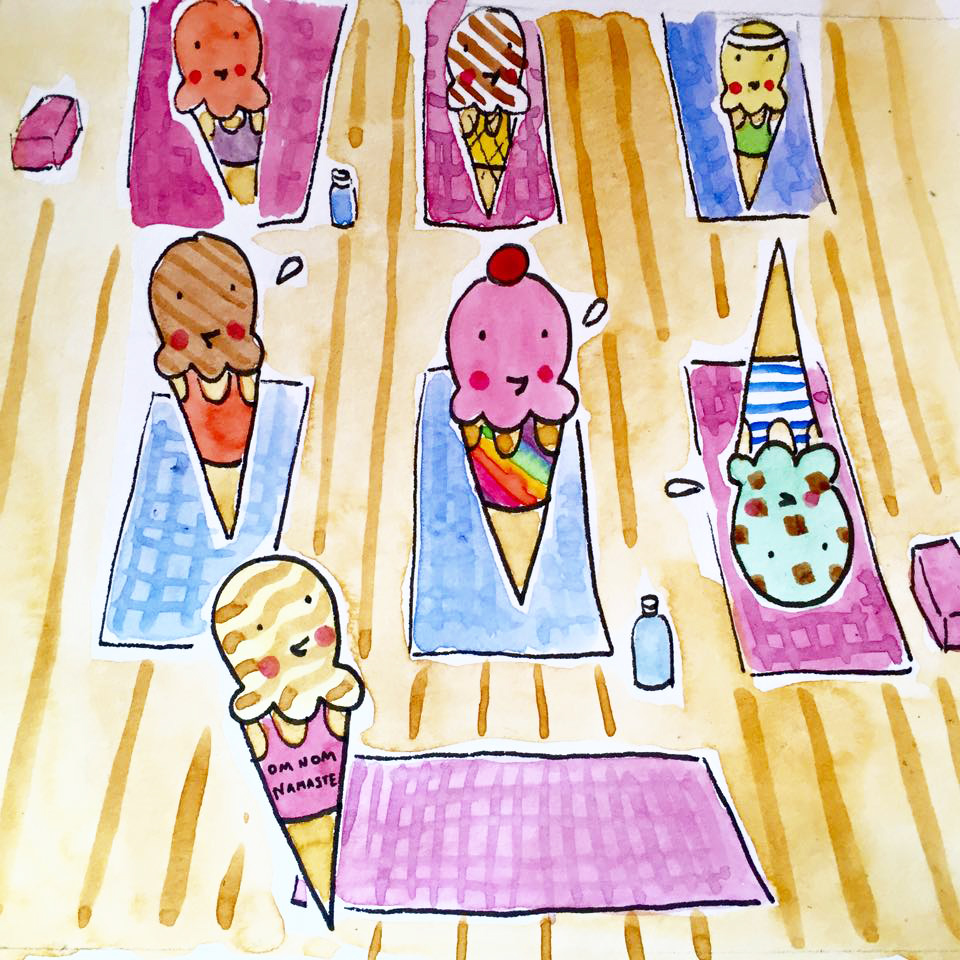
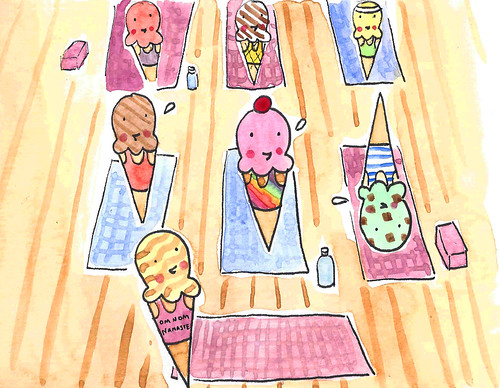
The next morning, I took a yoga class at a nearby studio before the Ben & Jerry's events started. Om nom namaste!

Vermont trip

Afterward, I returned to the hotel, got ready and headed down to the lobby, where I found who else but BAKERELLA! I did kind of tackle her. That part is factual. Vermont trip

We all went to the Penny Cluse Cafe, which used to be one of the first Ben & Jerry's scoop shop locations. Perhaps most importantly: we ate in the room where chocolate chip cookie dough ice cream was invented. Vermont trip

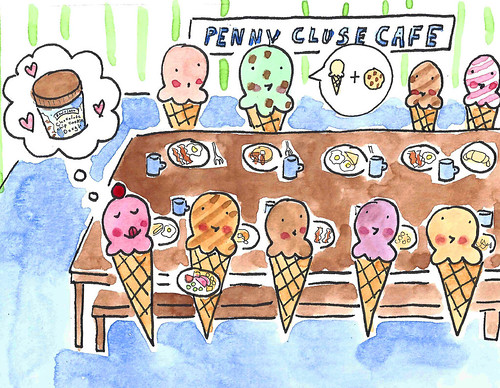
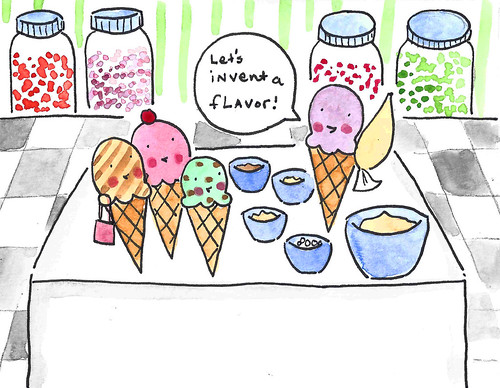
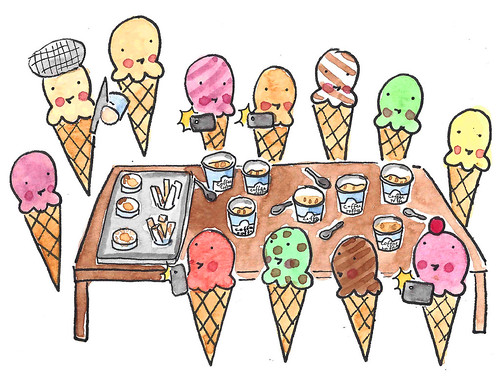
We headed to the corporate offices of Ben & Jerry's, where we split into teams. Mine included Bakerella (my darling!) and Nick from On Second Scoop. We got to invent an ice cream flavor with a flavor specialist who looked just like Alan Arkin. You can't really see it in ice cream form, but trust me on this one.

Vermont trip

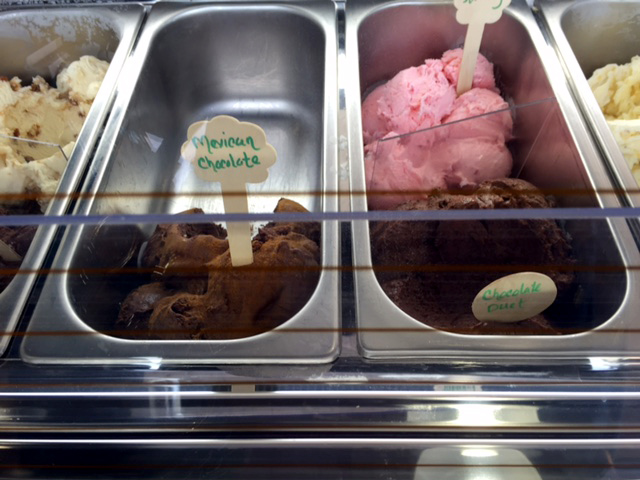
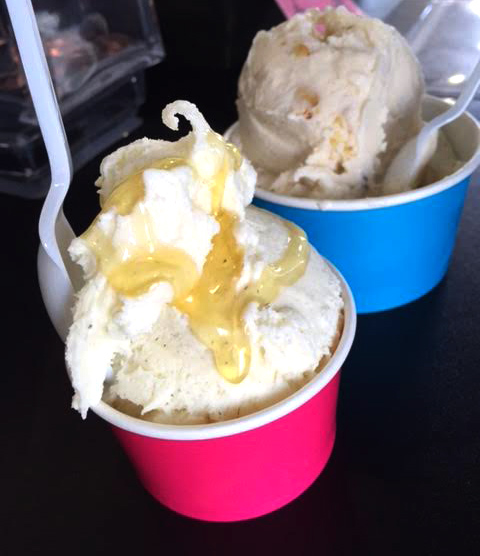
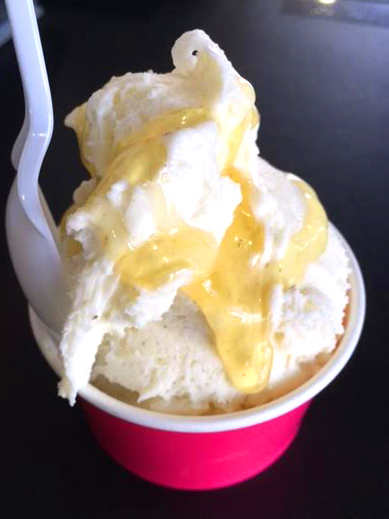
We got to see the faux scoop shop in their HQ where they train franchisees. We also got to eat ice cream. Vermont trip

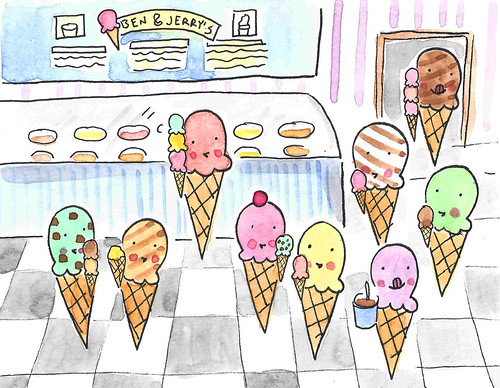
After our flavor adventure, we had a nice dinner out. Most importantly of ALL: it was on this fateful evening that I was exposed to some cultural phenomena I had not been previously: first, the term "lumbersexual"; second, the term "throwing shade". I now strive to use these terms in at least every other sentence. Vermont trip

The next morning, we got to visit one of Ben & Jerry's dairies. As long as you have absolutely no follow up questions, this is exactly what it was like. Vermont trip

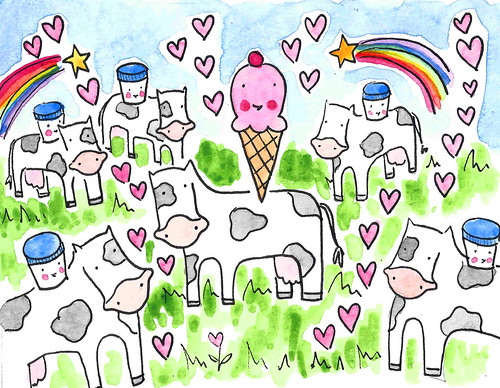
After that, we got to go to their factory and see the ice cream made. For no particular reason, men wearing nets in over their hair hack ice cream for a job there!

Oh, I'm kidding. They slice the pints at random to make sure the fillings are evenly distributed. It does look like a Damien hirst ice cream art installation when they do it, though. 

Vermont trip

Since we were in Vermont, it was the law that we go snowshoeing. Since we were at Ben & Jerry's, our journey ended at the Flavor Graveyard, where they pay homage to flavors no longer in circulation. Vermont trip

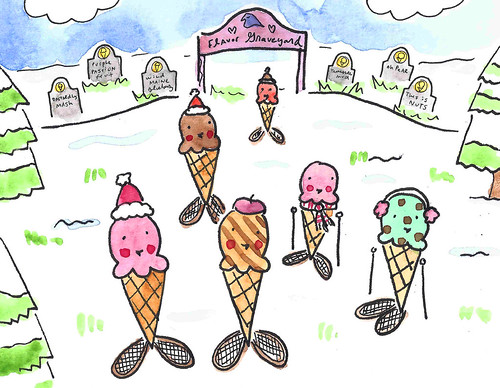
WE GOT TO MEET BEN. As in, Ben & Jerry's. He was a really nice guy and he gave us each a stamp so that we could stamp dollar bills with political statements. I'm not kidding. Vermont trip

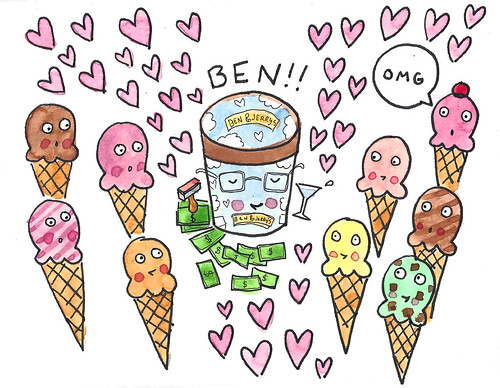
When it was time to go, I didn't want to leave.Vermont trip

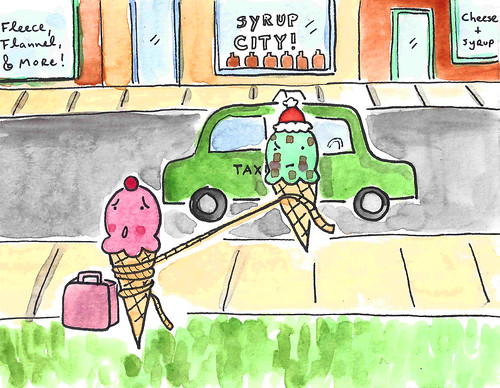
But I did. I missed Porkchop and my sweetie too much to stay in Vermont, so I took a plane back home.

The End. 

Vermont

Monday
Apr132015

CakeSpy Undercover: Cloud 9 Creamery, Sante Fe 

I get excited about ice cream. And I know, especially in the safe place of this website, I am not alone.

So when I was hired to write an article about ice cream for New Mexico magazine, I was super excited about the part of the article where I would be writing about the ice cream establishments of the state. Being a very hands-on person, I took it upon myself to try as many in person as I could.

One establishment that impressed me in particular? Cloud 9 Creamery.

Talking to someone in yoga class about how I was going there after class (I really like to brag), another student chimed in and implied that I was in for a real treat. 

Dramatization:

So what makes Cloud 9 so special? Let me give you the 411. 

Cloud 9 Creamery shares retail space with another purveyor of tasty sweets, Cocopelli, in a large strip mall near the movie theatre.

When they first started, Cloud 9 Creamery was making ice cream in single servings using liquid nitrogen to make the ice cream. I don't know how it works exactly, but I know that when I tried the ice cream at Smitten in San Francisco, it amounted to pricey ice cream that took a long time to make. It was very, very smooth and creamy, yes. I was very glad I'd gone. But it took a long time to make, and I was hungry. I still remember that part.

Apparently, this was the reaction at Cloud 9, so they switched to more traditional methods of making ice cream--and gelato and sorbet, too. 

Well, I don't have the benefit of being able to compare the different methods side by side, but what I tasted at Cloud 9 Creamery seriously knocked my socks off.

Made in fairly small batches, owner Nicole uses local ingredients whenever possible, and will follow whimsy or special produce finds to make limited edition flavors (a great score on strawberries in the produce market? There's gonna be strawberry ice cream or sorbet today). This is to say that on the day you visit, there might be something special to try--do yourself a favor and try it, because it might not be there next time.

On the day of our visit, since I was focusing on the New Mexico aspect, we stuck to local flavors: for me, the honey-lavender, for my companion, the toasted almond and Sante Fe Pinon. We also tried the salted caramel (awesome), pistachio, and strawberry in little sample spoon sizes. 

How can I explain this ice cream to you?

Well, at the risk of sounding like I've lived in Santa Fe too long: this ice cream tasted happy

I'm a big believer that the maker can impart a flavor on their finished result--no, not by spitting in it or anything, but just by transferring their good vibes. And there were plenty of good vibes in this ice cream. It felt like a place that you could bring your kids, but as adults, you'd love it, too. This is totally in line with the owner's goal to create a family-friendly establishment--and to bring awesome ice cream to Santa Fe.

The flavors were well-balanced, interesting, and very creamy. Crave-worthy. 

We strolled along a sidewalk near the store that had spring blossoms in bloom, and we could almost ignore the commercial hardware store and general mall generic-ness in the sweet bliss of our ice cream moment. 

We both agreed: this ice cream was a keeper. I know I'll be back, and if it's accessible to you, I suggest you check out Cloud 9 Creamery. 

Cloud 9 Creamery, 3482 Zafarano Drive, Santa Fe. On Facebook

Sunday
Apr122015

Homemade Sugar Cubes

Do you want to be the fanciest person in the room by far? It's easy: make homemade sugar cubes. It's amazingly, incredibly easy, and everyone will instantly raise their pinkie and keep it raised as long as you're in the vicinity. I promise.

Learn how to make homemade sugar cubes here.

Friday
Apr102015

Baker's Dozen: A Batch of Sweet Links

Let me teach you how to draw pastries. (Craftsy)

Win a pack of my "Ice cream love" notecards! (CakeSpy's Facebook page)

10 fun facts about the Japanese sweet tooth. (University of Kansas)

How to draw from memory. Fun and useful! (CakeSpy for Craftsy)

Funfetti cream pie. This girl knows me so well. (The Domestic Rebel)

Strawberry mousse. Looks like the perfect spring dessert! (Pumpkin 'n Spice)

A Dubai store unveils the world's most expensive dessert. Spoiler: I won't be buying it any time soon. (Inquirer.net)

Everybody must get sconed: how to make maple walnut scones. (CakeSpy for Craftsy)

Orange sunshine cake. Seriously, one of the prettiest things I've seen. (Baked Bree)

Butterscotch pudding cookies. YES YES YES. (Bake.Frost.Repeat)

How to draw block letters. (CakeSpy for Craftsy)

In case you have any left (yeah right): how to use up your leftover Cadbury Creme Eggs. (Yahoo AU)

Candied vanilla sugar wafers. Awesome. (In Good Flavor)

Salted caramel beer cake with pears. Interesting! (Honest Cooking)

How to paint bunnies. You need this tutorial. By my amazing mom. (Margie Moore)

Book of the week: Cookie Love. You can get a glimpse of the book from the excerpt I posted, a recipe for Fleur de Sel shortbread with halvah. Like, whoa. The recipes only get better as you go through the book! It's a victory from Mindy Segal, who also owns Chicago foodie landmark Hot Chocolate.

Thursday
Apr092015

Fleur de Sel Shortbread with Vanilla Halvah

Cookie Love by Mindy Segal

You guys. I was super excited to receive a review copy of Mindy Segal's new book, Cookie Love. Why?

Well, a few reasons. 

For one, she's the proprietress of Chicago foodie landmark Hot Chocolate. Even if you've never been there, if you go to their website, the establishment is explained thusly: "Restaurant. Dessert Bar. Pastries." You should already be halfway in love. If you ever go, I promise you'll be the rest of the way in love.

Second, the recipes look AWESOME. You could seriously just buy this book and look at the pictures for the rest of your life, it would be worth the investment just for that.

But your life would be even better still if you made these cookies: Fleur de Sel Shortbread with Vanilla Halvah. 

Discover them here with this awesome excerpt recipe. 

A note from Mindy: 

I AM ALWAYS ON a quest to find more ways to use halvah in desserts. Coffee, chocolate, and cocoa nibs are my usual pairings with the Middle Eastern sesame confection, but one day I shifted gears in favor of vanilla and fleur de sel. It worked—halvah anchored the vanilla-flecked frosting, for a sweet, salty, nutty result. To finish the cookies, I dip them partially in dark milk chocolate and then place a shaving of halvah on top. The frosting is seasoned well to balance its sweetness, but because the cookies themselves carry a noticeable salt level, you may prefer to add less. 

Fleur de Sel Shortbread with Vanilla Halvah

makes approximately 28 sandwich cookies

SHORTBREAD
11⁄2 cups plus 2 tablespoons (13 ounces) unsalted butter, at room temperature 11⁄4 cups confectioners’ sugar, sifted
2 extra-large egg yolks, at room temperature
2 teaspoons pure vanilla extract
3 cups unbleached all-purpose flour
2 tablespoons sea salt flakes

FROSTING
8 ounces plain or vanilla halvah, cubed
2 ounces white chocolate, melted
11⁄4 cups (10 ounces) unsalted butter, at room temperature 1 cup confectioners’ sugar, sifted
1⁄2 teaspoon pure vanilla extract
1⁄2 teaspoon kosher salt
1⁄2 teaspoon sea salt flakes, or to taste

TO FINISH
Piece of plain or vanilla halvah, for garnish 8 ounces milk chocolate, melted

Step #1: Make the Shortbread
In the bowl of a stand mixer fitted with the paddle attachment, mix the butter on medium speed for 5 to 10 seconds. Add the sugar and mix on low speed to incorporate. Increase the speed to medium and cream the butter mixture until it is aerated and looks like frosting, 3 to 4 minutes. Scrape the sides and bottom of the bowl with a rubber spatula to bring the batter together.

Put the yolks in a small cup or bowl and add the vanilla. In a bowl, whisk together the flour and salt.

On medium speed, add the yolks, one at a time, and mix until the batter resembles cottage cheese, approximately 5 seconds for each yolk. Scrape the sides and bottom of the bowl with a rubber spatula to bring the batter together. Mix on medium speed for 20 to 30 seconds to make nearly homogeneous.

To cut out the cookies, you will need a rectangular cutter approximately 13⁄4 by 21⁄2 inches. To pipe the frosting, you will need the Ateco tip #32. 

Cookie Love by Mindy Segal page1image22832

Add the flour mixture all at once and mix on low speed until the dough just comes together but still looks shaggy, approxi- mately 30 seconds. Do not overmix. Remove the bowl from the stand mixer. With a plastic bench scraper, bring the dough completely together by hand.

Stretch two sheets of plastic wrap on a work surface. Divide the dough in half and place each half on a piece of the plastic wrap. Pat each half into a rectangle, wrap tightly, and refrigerate until chilled throughout, at least 2 hours or preferably overnight.

Let the dough halves sit at room tempera- ture until the dough has warmed up some but is still cool to the touch, 15 to 20 minutes.

Put a sheet of parchment paper the same dimensions as a half sheet (13 by 18-inch) pan on the work surface and dust lightly with flour. Put one dough half on top.

Using a rolling pin, roll the dough half into a rectangle approximately 11 by 13 inches and 1⁄4 inch thick or slightly under. If the edges become uneven, push a bench scraper against the dough to straighten out the sides. To keep the dough from sticking to the parchment paper, dust the top with flour, cover with another piece of parchment paper, and, sandwiching the dough between both sheets of parch- ment paper, flip the dough and paper over. Peel off the top layer of parchment paper and continue to roll. Any time the dough starts to stick, repeat the sand- wiching and flipping step with the parchment paper.

Ease the dough and parchment paper onto a half sheet pan. Repeat with the remaining dough half and stack it on top. Cover with a piece of parchment paper and refrigerate the layers until firm, at least 30 minutes.

Heat the oven to 350°F. Line a couple of half sheet pans with parchment paper.
Let the dough sit at room temperature for up to 10 minutes. Invert the dough onto a work surface and peel off the top sheet of parchment paper. Roll a dough docker over the dough or pierce it numerous times with a fork. Using a 1 3⁄4 by 2 1⁄2-inch rectangular cutter, punch out the cookies. Reroll the dough trimmings, chill, and cut out more cookies.

Put the shortbread on the prepared sheet pans, evenly spacing up to 16 cookies per pan.

Bake one pan at a time for 10 minutes. Rotate the pan and bake until the cookies feel firm and hold their shape when touched, 3 to 5 minutes more. Let the cookies cool completely on the sheet pans. Repeat with the remaining pan.

Step #2: Frost the Cookies
Blend the halvah in a food processor until fairly smooth. Drizzle in the white chocolate and blend until incorporated. The halvah will turn into a thick paste.

In the bowl of a stand mixer fitted with the paddle attachment, mix the butter briefly on medium speed for
5 to 10 seconds. Add the sugar and beat until the butter mixture is aerated and pale in color, 3 to 4 minutes. Scrape the sides and bottom of the bowl with a rubber spatula to bring the frosting together. Briefly mix in the vanilla and salts until incorporated, approximately 1 minute. Add the halvah paste and mix until smooth, with a little texture left from the halvah.

Fit a pastry bag with the Ateco tip #32 and fill with the frosting.
Make pairs of similar-size cookies. Turn half of the cookies over. Leaving an 1⁄8-inch border, pipe rows of dots 
onto the cookies. The frosting should be approximately as thick as the cookie. Top each frosted cookie with a second cookie and press lightly to adhere.

Step #3: Finish the Cookies
Freeze the piece of halvah until chilled, 30 minutes.

Line two half sheet pans with parchment paper. Dip a quarter of the long side of each sandwich cookie into the milk chocolate, shake off the excess, and place on the prepared pans. Using a vegetable peeler, shave
a piece or two of halvah and place onto the chocolate- dipped part of each cookie. Refrigerate until the chocolate is firm, approximately 1 hour.

The cookies can be refrigerated in an airtight container for up to 1 week. 

Enjoy! 

Buy the book here: Cookie Love

Wednesday
Apr082015

CakeSpy for Craftsy: Delicious Maple Walnut Scones Recipe

In general, I don't like scones. Because most of them are like cardboard with icing, especially at commercial coffee shops.

But homemade is a different thing entirely. Homemade scones are biscuit-y, crumbly, and nice and hefty and rich. And this recipe, for maple walnut scones with maple glaze (made using the good stuff, from Vermont!), is a winner.

They're easy to make and will make your mouth happy, so what are you waiting for?

Find the recipe here. 

Monday
Apr062015

Wedding Cake Flavor Infographic

Saturday
Apr042015

Za'atar Bread Recipe Inspired by Bedouin Tent in Brooklyn

I know you typically come to this site for sweets, but I need to tell you something. Za'atar bread is where it's at, man.

If you've never heard of za'atar spice, let me briefly explain.

Za’atar is a spice mix which is in frequent rotation in Middle Eastern cooking. It can be used as a flavoring ingredient in a recipe or treated as a condiment. In this za’atar bread recipe, it’s the key ingredient.

Typically, the flavorful mix includes thyme, sesame seeds, and sumac, but it’s one of those things that everyone mixes just a little differently. Some mixes may include oregano or marjoram; some might even call for lemon zest. There isn’t necessarily a right or wrong; it’s something that if you decide to make yourself, you can play with the ratio of ingredients to find the precise mix that works for you.

This recipe is based on a type of bread served at Bedouin Tent, the Middle Eastern restaurant in Brooklyn I worked at during college. If I do say so myself, I did a pretty good job.

Recipe here. 

Friday
Apr032015

Baker's Dozen: A Batch of Sweet Links

First, let's Easter. You do it like this:

Now, on to other links. 


In my opinion, the world's best vegan buttercream. (Craftsy)

If you live by the Jersey Shore...take an art class with my amazing mom! (Art Tank Asbury Park)

I want my bike to be like this. (Distractify) - thank you Stephany!

LOVE these color-block sugar cookies. So pretty! (Love and Olive Oil)

This book announcement video is just too cute. (Sarah Coates) - thanks Jameson for the tip!

Have you heard? I'm an "ultimate cake blogger". (Craftsy)

I want a donut collar. (Craft Magazine) - thanks Rosalie for the tip!

7 ways to use (and misuse) Cadbury Creme Eggs. (Food and Wine)

What happened at Ben & Jerry's? Find out here. (On Second Scoop)

Thursday
Apr022015

Homemade Ruby Gem Candy a la Erin Bakes

Homemade candy gems

Your snacks should be just as fancy as you are. And you're fancy, I can just tell.

While diamonds are dandy, rubies make a more delightful inspiration for candy. These bright red candy gems look super fancy, but don't require a trip to Tiffany or Cartier to obtain. All you need is a candy mold, a little time, and hopefully some aggression (don't worry, I'll explain). 

Homemade candy gems

This easy and fun craft/snack is inspired by Erin Gardner, a cake decorator extraordinare who led me through the process on her awesome blog, Erin Bakes.

Homemade candy gems

Candy gems

Adapted from Erin Bakes

  • red translucent hard candies (I used Brach's cinnamon candies, but you could use jolly ranchers or life savers)
  • Small zip-top bags
  • Rolling pin
  • a heatproof candy mold with gem-like vessels

Procedure

  1. Position a rack in the middle position of your oven. Preheat the oven to 275 degrees F.
  2. Unwrap a bunch of candies and place them in your sturdy bag.
  3. Using the rolling pin, take out your aggression (remember? You need it now!) on the poor candy that never did anything to you. Go ahead, show it who's boss. 
  4. Since I used a silicone mold, I didn't grease the vessels, but Erin Bakes suggests that if you use a more firm candy mold, you should "Spray pan spray onto a paper towel and use the greased towel to wipe the cavity of your gem mold. This provides enough of a barrier to pop the gem out later, but not so much grease that it makes your gems cloudy."
  5. Fill the molds with your candy bits. 
  6. Gently place the filled molds on top of a cookie sheet, then pop it in the oven. Heat for as little as 5 minutes, or as much as 15 minutes, depending on the sturdiness of the candy you use (start checking after 5 minutes). It will progress from droopy candy to totally melty. Once totally melty, remove the pan from the oven. Erin advises, "If the gem is not as full as you’d like, sprinkle in a little more candy and place the tray back into the oven for another minute or so. Just long enough for the additional candy to melt."
  7. Let the molds cool for several minutes before handling the molds. About 10-20 minutes after they've been removed, your candies will be ready to remove. I simply inverted the mold and kind of squeezed them out. 

Ruby gem candy

You've got yourself a glamorous little snack here! 

© Cakespy, all rights reserved. Powered by Squarespace.