Homemade Ruby Gem Candy a la Erin Bakes
 Thursday, April 2, 2015
 Your snacks should be just as fancy as you are. And you're fancy, I can just tell.
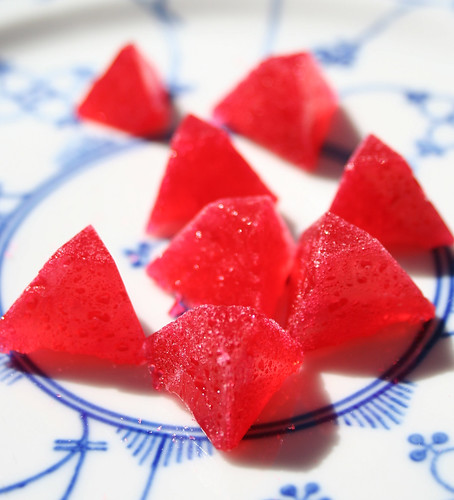
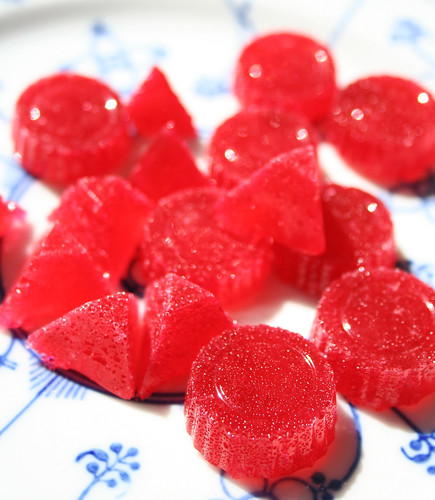
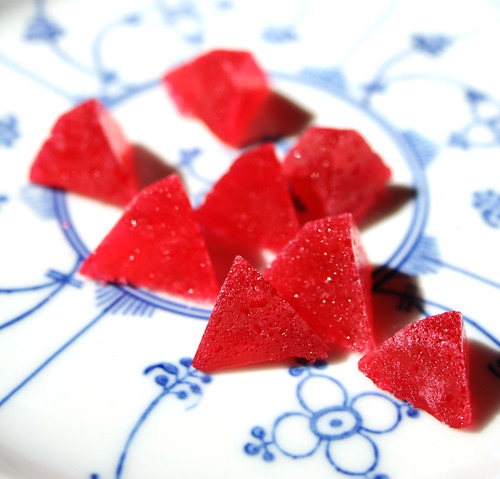
While diamonds are dandy, rubies make a more delightful inspiration for candy. These bright red candy gems look super fancy, but don't require a trip to Tiffany or Cartier to obtain. All you need is a candy mold, a little time, and hopefully some aggression (don't worry, I'll explain).
This easy and fun craft/snack is inspired by Erin Gardner, a cake decorator extraordinare who led me through the process on her awesome blog, Erin Bakes.
Candy gems
Adapted from Erin Bakes
- red translucent hard candies (I used Brach's cinnamon candies, but you could use jolly ranchers or life savers)
- Small zip-top bags
- Rolling pin
- a heatproof candy mold with gem-like vessels
Procedure
- Position a rack in the middle position of your oven. Preheat the oven to 275 degrees F.
- Unwrap a bunch of candies and place them in your sturdy bag.
- Using the rolling pin, take out your aggression (remember? You need it now!) on the poor candy that never did anything to you. Go ahead, show it who's boss.
- Since I used a silicone mold, I didn't grease the vessels, but Erin Bakes suggests that if you use a more firm candy mold, you should "Spray pan spray onto a paper towel and use the greased towel to wipe the cavity of your gem mold. This provides enough of a barrier to pop the gem out later, but not so much grease that it makes your gems cloudy."
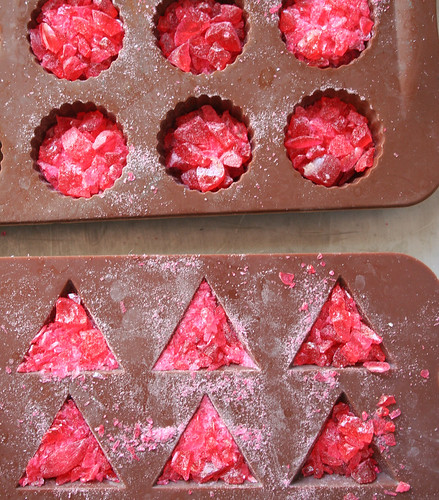
- Fill the molds with your candy bits.
- Gently place the filled molds on top of a cookie sheet, then pop it in the oven. Heat for as little as 5 minutes, or as much as 15 minutes, depending on the sturdiness of the candy you use (start checking after 5 minutes). It will progress from droopy candy to totally melty. Once totally melty, remove the pan from the oven. Erin advises, "If the gem is not as full as you’d like, sprinkle in a little more candy and place the tray back into the oven for another minute or so. Just long enough for the additional candy to melt."
- Let the molds cool for several minutes before handling the molds. About 10-20 minutes after they've been removed, your candies will be ready to remove. I simply inverted the mold and kind of squeezed them out.


Reader Comments (2)