Home Home Home Home Home Home Home
CakeSpy

Featured: 

My adventure at Ben & Jerry's in Vermont!


Unicorn Love: the Eating Disorder Recovery Blog


 Buy my brilliant books!

Buy my new book!

Buy my first book, too! 

CakeSpy Online Retail!


Archives
Gallery

Fantastic appliance for cake making on DHgate.com

everyrecipe.co.nz

Craftsy Writer

Entries from October 1, 2010 - October 31, 2010

Friday
Oct222010

Baker's Dozen: A Batch of Sweet Links

Image courtesy mrsprinklesLet's get this weekend off to a sweet start, shall we? Here's a baker's dozen of sweet links to send you hurtling into sugar shock:

Are you in Vancouver? Are you near Vancouver? Can you get there by 11 am tomorrow? The Baker's Market is happening, and CS buddy Jenni will be showcasing her delicious baked goods!

Some like it hot: Watermelon Ghost Pepper candies! (Discovered via TastingTable)

Big Kahuna: The "Hawaiian" Pie is made with chocolate, macadamias, coconut, and rum (and as baker Wendy Sykes says, "It's as healthy as it sounds.")

Trick or Sweet: Did you know that Godiva makes fancy Halloween Treats?

In Cleveland, Jack Frost Donuts makes Candy Bar Donuts (yeast donut, filled with cream, covered with chocolate glaze, sprinkled with crumbled candy bar, and then topped with a nice dollop of mousse). Oh yes.(thank you Anne!)

Still excited: Barack Obama now owns some of my cards! Thanks to Jody from Cupcake Royale for making it happen!

Nanaimo Bars take London by storm (or so they hope!). I say, let Nanaimo Bars take over the world.

OMG: These flowers are edible! Sugar flowers by Wild Orchid Baking.

Um...Bakerella's world takeover (I mean BOOK TOUR) is going amazingly.

Sweet...no, savory! I keep hearing great things about Chicago's Meatloaf Bakery. (thanks Suzette!)

Sweet. Tart. Rich. Cranberry tart with hazelnut crust? Yes please. (via The Kitchn)

Seeking croissant perfection in NYC? Serious Eats has done the legwork for you.

Sweet memories: remember when a car crashed into my house and I ended up getting a great cookie recipe out of the deal?

Thursday
Oct212010

Ask CakeSpy: Transporting Cheesecake on an Airplane?

Dear CakeSpy,

I have a cheesecake question for you! I am traveling across the country and hoping to bring a mini cheesecake with me on the plane for my boyfriend's birthday. Any advice on traveling on a plane with cheesecake? I'm worried about spoilage as well as it being crushed... I could sit with it on my lap the whole ride I suppose. Any tips would be appreciated!

-Cheesecake Traveler

- - - - - - - - - - - - - -

Dear Traveler,

First off, one important aspect to consider is that you may be your own worst enemy in this situation. I mean, depending on the flight time, the cheesecake might get mighty tempting.

But trusting that you have a very strong will, let's talk turkey. Or...you know, cheesecake. I can't say that this is the best method, but based on consulting some trusted friends and looking deep into my own cake-loving soul, here is what I would do if I were in your shoes. 

  1. First of all, you have to let your cheesecake cool completely after baking it. I do this at room temperature. And since you'll be transporting it, I am going to suggest putting it on a cardboard round (you know, the kind it would be on if you bought it at a supermarket or bakery). I would also suggest cutting out a circle of parchment paper and putting it on top of the cheesecake, and along the perimeter of it. This is because in the next step, you'll put it in plastic wrap, and the parchment will keep the wrap from sticking if it thaws too much.
  2. Like I said, plastic wrap. You need to wrap it very tightly in plastic wrap. 
  3. Next, you're going to freeze it. Like, deep freeze. Overnight. 
  4. On the day of travel, wait til as close to departure as you can to take it out of the freezer. Now, you're going to add a layer of foil, wrapped all the way around the whole (plastic-wrapped) thing. And you're going to put it in a box. Seriously. Find a box that fits it snugly. Or cut a box so that it fits.
  5. Put it in your carry-on, not on a checked bag. Don't you dare. 
  6. Keep it under your seat if possible, to prevent unwanted jostling in the overhead bin. Actually this is preferable to keeping it on your warm little lap too, because you want to prevent it from getting too warm.
  7. Travel safe and godspeed to that dear, dear cheesecake.

Love, CakeSpy

Thursday
Oct212010

Bright Lights, Big City Cupcakes

It's totally awesome when friends go on a trip and send you a postcard. 

But it's a zillion times awesomer when they bring you back cupcakes.

I'm talking, of course, about some of my favorite people in the world, Denise and Nick, who recently went to Vancouver and brought back cupcakes for myself and Mr. Spy.

The cupcakes were from Big City Cupcakes, a business which appears to be taking over Canada, and they were delectable.

Here's a review of the specimens sampled:

First, the Strawberry Cheesecake. Comprised of a strawberry cupcake with a big ol' gob of cheesecake filling baked inside (do you hear that, Bake It In a Cake?), and topped with strawberry cream cheese frosting. Now, after that description I probably don't even need to tell you it was delicious, but I still will. It weighed roughly as much as a brick, but in like, the best way possible. Rich, creamy, and delectable.

Second, the "Red Carpet"...their version of Red Velvet--described as being "vanilla cake with a hint of chocolate", the cake was very dense and rich--if not very cocoa-y--and it was topped off with basically an ice cream scoop's worth of cream cheese frosting. YES!

Check them out (and find a location!) at bigcitycupcakes.com.

Thursday
Oct212010

Batter Chatter: Interview with Heather Rousseau of SugarHigh Bakery

It's time to go to Michigan. Well, virtually, at least--unless you're lucky enough to live near Frankenmuth, MI, which is where 
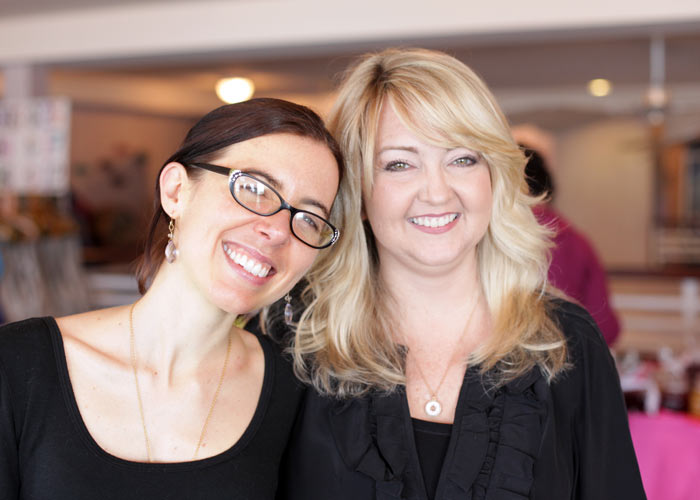
SugarHigh Bakery is located. The gorgeous cakes are enough to inspire a road trip alone, but let's get to know the owner and business a bit more, shall we? Here's the CakeSpy interview with owner Heather Rousseau:
CakeSpy: Since I can't be in Michigan right now, can you give me a quick rundown of what I'd see if I were to walk into your bakery?

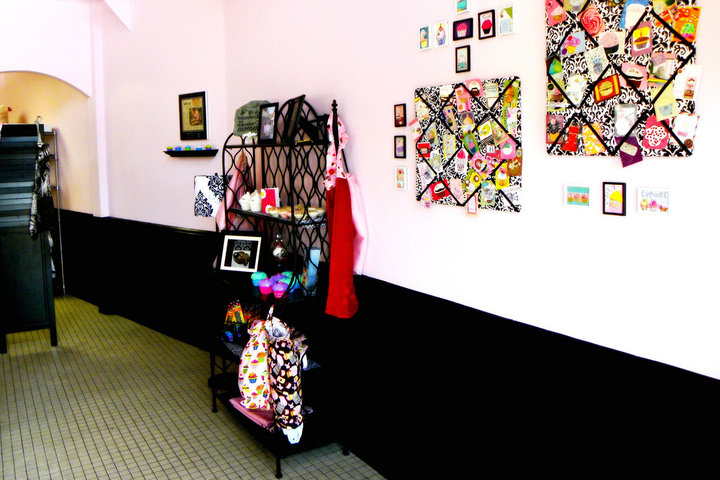
Heather Rousseau: Our colors are pink, black, and white and everything is decorated accordingly. I try to include everything and anything I think is "cool." The wall to the right of our entrance is decorated with a mini gallery of Artist Trading Cards (ATCs), which you may be familiar with. They are mini works of art with the main requirement being that they are the size of a playing card. I collect cupcake-themed ATCs, so this is where I display my collection.

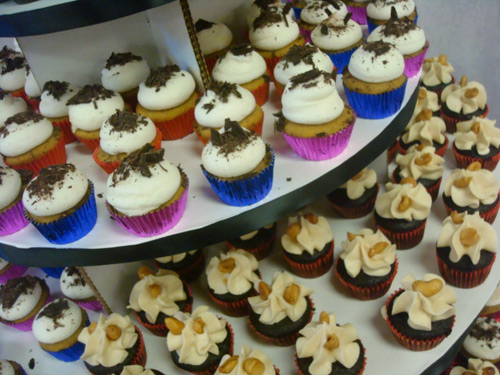
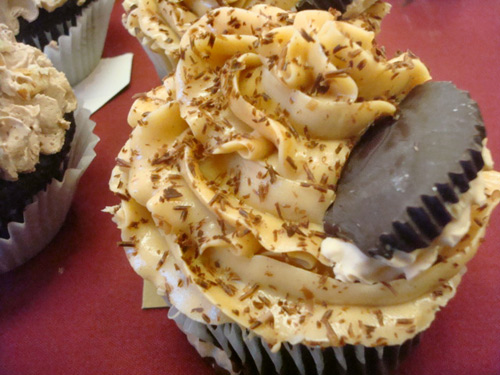
When you walk into the bakery you will run into our 12-flavor gelato case. We make our gelato in-house, using all fresh fruits and no artificial flavorings. You'll then see one display case holding 30 flavors of cupcakes--jumbo size, because bigger is better.

Next to that case is our case where we have generally about 5 different flavors of cookies and also have chocolates, BIG buckeyes, chocolate covered bacon and other miscellaneous goodies.

CS: What is your first baked good memory?

HR: The first thing that comes to my mind was at my best friends 8th birthday party when I saw my first gourmet cake. Her mom brought in a cake that was ROUND...(not a sheet cake!?) and had ribbon wrapped around the sides. On the top was fresh flowers. I was completely in awe. Even more so when she served the cake and it had a layer of cream cheese and a layer of strawberry filling. I didnt even know it was possible! From then on, I was hooked.

CS: What made you decide to open your own bakery?

HR: I've always wanted to open a bakery. It was always in the back of my mind. Every time I worked somewhere else the entire time I always thought, "I can do it better, I can do it faster, I can do it more efficient, I can sell more, etc. etc. etc." The final push was last year when I was working at a bakery in my home town after I moved back from Chicago and she did not want to decorate the cupcakes - she said, "We will sell them anyway so don't waste your time" That was when I really realized nobody was EVER going to do it the way I wanted to, and doing it myself was the only option.

CS: If you could go back a year, what advice about opening a bakery would you give yourself?

HR: I guess most importantly I would tell myself to delegate tasks. I still struggle with this. I try to do everything myself, and sometimes that causes areas to lack since it doesnt get my undivided attention.

CS: You recently got married. What kind of wedding cake did you have? 

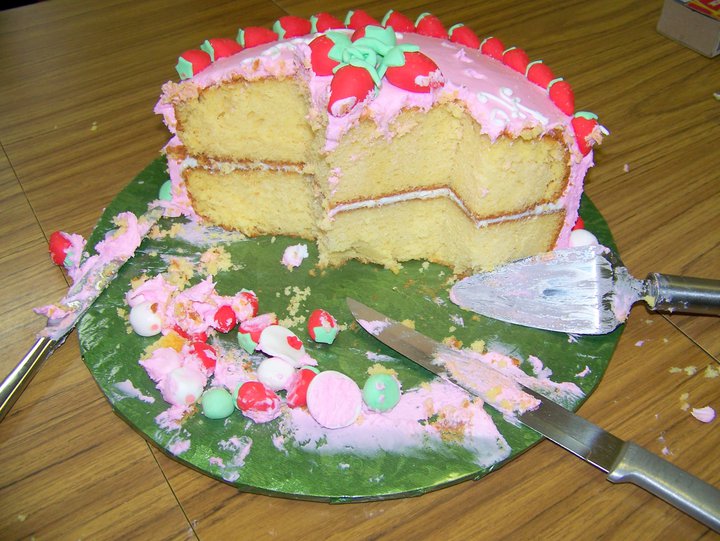
HR: Yeah I did! We actually got married in Riviera Maya, Mexico last August 6th. I actually had two wedding cakes - First cake was at our actual wedding in mexico and our wedding package came with a cake...and it was so guady. It was amusing to us to think that I decorate cakes and we had an ugly cake :) It was two single-layer "tiers" so it was very flat. Maybe 4" tall total. It had no borders, but very large and over sized marzipan "roses" stuck sporadically throughout the entire cake.

Our second cake I made for our reception we had in Michigan. At the time we were living in Chicago (I went to The French Pastry School) and I arrived in town the night before. I got to baking. I made the entire cake tres leches. I had all these plans of design, but my husband and I could not agree on a single design. He wanted very traditional and simple. I wanted something a little loudee - after all, finally I had a blank canvas in front of me that I could do WHATEVER I wanted, try out new techniques, etc. and my husband was being boring.

SO, I settled on the idea of just doing a simple upside down cake. Because we were so rushed, I brought the un-iced cakes to the reception and then started looking around the hall for things I could use to decorate it with...lol There was no plan, but here is what we came up with. Im sure we were a site to see, husband and wife, dressed up, assembling our cake :)

CS: For those interested in pursuing baking as a career, how important do you think it is to attend culinary school?

HR: I think that formal schooling is important depending on what specifically you want to do with baking. Doing what I do - mostly cake decorating, etc. I think art classes would be more beneficial. If you want to work in a fine dining restaurant or in a fancy hotel, then schooling, degrees, training is more important in landing a job. In any baking specialty area, I think on the job training is key and most important above all. I recommend working at as many places as possible, learning as much as possible - even if it means working for free.

CS: In your opinion, what makes a perfect sugar cookie?

HR: I'm definitely not a "cookie-eating" person, so the perfect sugar cookie to me has to taste decent, but most importantly hold its shape when baking, so that when I decorate them, they have nice clean edges and you can tell what the shape is even before icing is added.

CS: Cake gossip alert! At a previous catering job, you created cakes for many a celebrity. Which was the most exciting job and why?

HR: Definitely the most exciting job for me was catering for Semi-Pro that was filmed in Flint, Michigan. That one was the most exciting for me for a number of reasons: one, this was the first movie production that I catered for, so it was all "new" to me; two, this was my first pastry job, and I was getting to make desserts for real live celebrities; three, it was one of the longest jobs we worked on, and four--we were able to interact alot with the cast and crew and I got to meet Will Ferrell & Woody Harrelson among others. 

CS: Are there any types of baked goods or sweets that you would consider regional specialties in your area? 

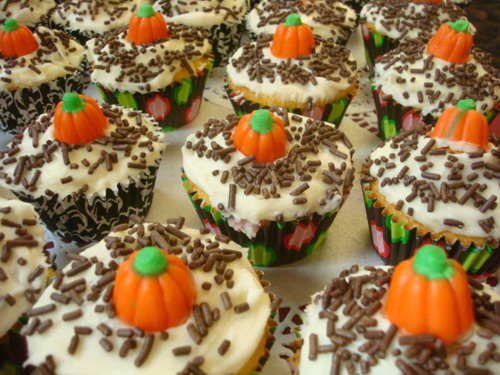
HR: There are always cherry products and apple products around, so I try my best to incorporate local ingredients as much as possible. Right now I have pumpkin cupcakes from a local farmer, caramel apples and caramel apple cupcakes for sale.

CS: What's next? 

HR: As I sit here typing there is pounding and saws being heard next door to me - we are in the middle of expansion and will be doubling our store. We are going to extend our store front, enlarge our kitchen and begin offering lessons and birthday parties, among other ideas.

In Michigan? Get your sweet self over to SugarHigh Bakery for a visit, they're located at 925 S. Main Street, Suite G1, Frankenmuth, MI!

For more, check out their website and Facebook page! Oh, and you know, follow them on Twitter!
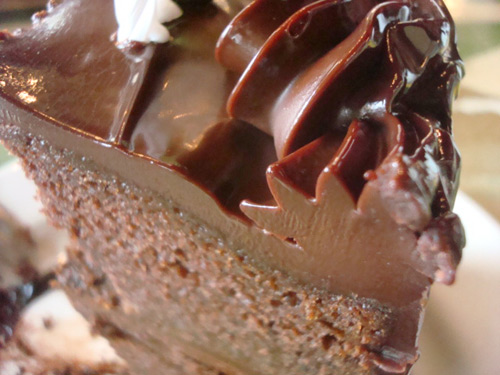
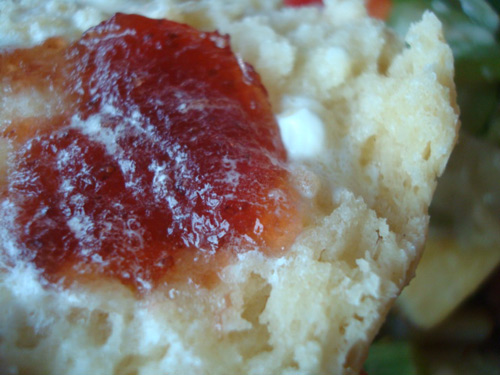
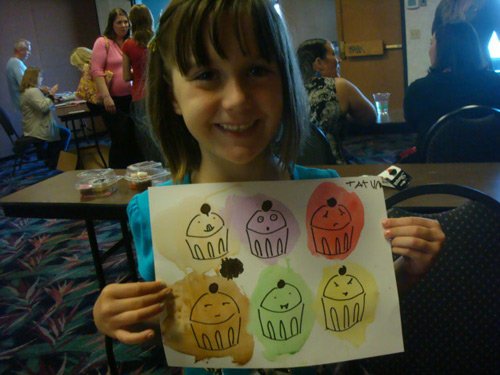
Thursday
Oct212010

Cake Byte: Cupcake Royale's Jody Hall to Meet With President Barack Obama

Today is a very sweet day indeed.

Remember the above design which I did to celebrate President Barack Obama's inauguration? Well, today it will be part of a gift basket given to a very appropriate recipient--Barack Obama himself!

You see, Cupcake Royale's owner, Jody Hall, is meeting with President Obama today, and she'll be giving him some CakeSpy gear in a sweet little gift basket she put together!

Say what, you say? Well. As you may know, a very active supporter of small businesses--and now, she has the opportunity to talk with a VIP -- the VIP -- President Barack Obama!

Per the Cupcake Royale folks:

Today, Jody Hall, owner of Cupcake Royale and a member of the Main Street Alliance of Washington, will participate in a backyard conversation with President Barack Obama and Senator Patty Murray, focusing on women and the economy. Hall will share the story of the successful growth of her business despite the recession.

Of course, there is a delicious way you can help toast this amazing opportunity. In case you didn't know, Cupcake Royale's super popular Salted Caramel cupcake was actually launched in honor of President Obama's inauguration (it's his favorite flavor!), so why not drop  by the closest CR location and enjoy one today in celebration?

As a cupcake enthusiast and small business owner, I'd like to offer a very big congratulations to Jody for helping to make it happen!

Keep updated via Cupcake Royale's twitter account and their website!

Wednesday
Oct202010

Fry, Baby: Deep-Fried Halloween Candy for Serious Eats

It's a funny thing about Halloween candy: it actually makes you hungrier. At least, that's my theory behind how the same person who can't finish off an entire candy bar can easily put away ten "fun size" candy bars or 30 mellowcreme pumpkins in one sitting.

But there's a way to bring a substantial dimension of deliciousness to your Halloween candy: deep-fry it.

That's right. Batter up your Halloween candy and fry it in hot oil, and you've got yourself little nuggets that are beyond decadent, and bound to satisfy—one or two of these morsels is more than enough.

Note: I tried a variety of Halloween candies in this experiment, including candy corn, mellowcreme pumpkins, Reese's Peanut Butter Cups, Twix, Kit-Kats, and Whoppers. The biggest hit by far was the Peanut butter cups.

For the full entry and recipe, visit Serious Eats!

Wednesday
Oct202010

Cake Byte: Mini Bacon Maple Cupcakes by Mini Empire Bakery Now Available!

This revolution may be mini, but when it comes to flavor, these cupcakes are maxed out (now, just to clarify, when I wrote that I really intended for it to be said in a booming, "Sunday, Sunday, SUNDAY!" sort of voice).

That's right: Mini Bacon Maple Cupcakes by Mini Empire Bakery. Starting with a biscuity-cake base, these are topped with a rich daub of maple buttercream and topped off with bacon for a perfect sweet and salty union that tastes like a sort of breakfast-meets-dessert party in your mouth.

And they're available for purchase at Seattle Coffee Works downtown, and at Mioposto in Mount Baker! Or I'll bet if you asked really nice, they'd do a custom order for you too.

Find out more about Mini Empire Bakery on their website.

Tuesday
Oct192010

Guest Post: How To Make Gelatin Bows by Nellie Cakes

CakeSpy Note: This is a guest post from Nellie Cakes, a blog written by Nell, a mom who taught herself how to bake so her daughter could have way cooler cupcakes on her birthday than anyone else in school. 

First thing: look at the cake on the top left of the above picture. Now, disregard the cake for a minute, and check out that bow on top! How pretty is that? And guess what! It’s completely edible.  Here’s a closer look at it:

It doesn’t actually taste like much of anything, but it won’t detract from the taste of the cake either, if you decide to slice right on through it. (Which would probably be pretty tough to do.)

Bows aren’t the only thing you can make with this method either! (Flowers and butterflies would look gorgeous too, no?)

There’s another cool thing about it too! You can use the scraps from your project to make your own home-made edible glitter for all your other pretty desserts! To do that, just take the clippings that you’d normally throw away after you finished the project and cut them into tiny pieces. When I held my clippings next to the glitter I bought, I couldn’t tell the difference at all!

You’ll have to plan a little ahead of time if you want it to be ready for that cake you made because it takes about twelve hours for it to completely dry, plus the assembly time.

Ok, here’s what you need:

  • Unflavored gelatin (like Knox)
  • Water
  • Food coloring
  • A clean paint brush
  • A non-stick surface, like a pattern board for fondant. (I used Duff Goldman’s Texture Tiles, which were at Michaels for $5)
  • Scissors

Take one packet of the gelatin (about one tablespoon) and put it in a small bowl with 2 ½ tablespoons of water. Give it enough time to soak up the water completely, about five minutes.

After that’s done, put it in the microwave for about five seconds. Gelatin melts at really low temperatures, so that’s all you’ll need to liquefy it. When you pull it out, it should look like this:

Let it cool for 5 to 10 minutes. When it cools to the right point, a layer of… well, scum, will form on the top. Take a stick of some kind and lift that layer off. If it won’t stay on the stick, let it cool for a few more minutes and try again. It should come off mostly in one piece. Discard that part. Once that’s done, it should look like this:

Nice and clear.

By this time, it will probably be too thick to do anything with, so throw it back in the microwave for another five seconds. When it comes out, add the food coloring and mix it around. To make the pink/red in the bow, I only put one drop of regular liquid food coloring in there. If you want it to be more intense, you could always add more. You can also paint the dried gelatin afterward, with a mixture of high proof vodka and food coloring, so if it dries a lighter color than you anticipated, it’s not a total loss. If you do paint it, the gelatin will warp when it gets wet. Make sure you have two non stick surfaces you can sandwich it between, and put a book or something on top until it dries again.

Once you have it the right color, dip your paint brush in the gelatin and paint it onto the non-stick surface, like this:

I made mine pretty thin, stretching the gelatin to cover two and a half boards, which worked out perfectly for the bow, which measured about five inches across. If you want the bow to be bigger or smaller, you can alter the amount. 

My original surface had a simple pattern on it, so it came off pretty easily. Be careful with patterns that are deeper. They’ll cause the gelatin to pool in certain spots, which will make it pretty difficult to peel off the board without cracking it.

Now you wait. It will begin to harden up pretty quickly, but it takes about 12 hours to fully dry. You’ll know it’s dry because you’ll hear it popping off the board. The first time this happened, I walked all over the house trying to figure out what that crackling noise was. I figured it out about a half an hour into the search. I felt like a moron.

The second time I made this, I made sure to paint it on at night so it would be dry the next morning.

Now that it’s all dry (and weirdly plastic like), slowly pull it off the board. It’s amazingly strong, so you don’t have to worry too much about ripping or cracking it.

Take out a pair of clean scissors (you could even use fancy craft scissors) and clean up the edges so it’s a nice rectangle. Then, cut the rectangles into strips. Mine were about half an inch thick. Like so:

This is where it gets a little trickier. Take the strip and bend it in half, trying not to crease it anywhere. You kind of have to fidget with it to get it right. Once it looks good, warm up some more of the gelatin (if you have some left over. If you don’t, make a tiny bit more) and dip the opposite end of your paint brush in it, and put a dot of the gelatin where you want the edges of the bow to attach. Just pretend it’s Elmer’s glue. You might have to hold it there for a little while until it stays stuck, of you could use paper clips like I did:

 While those are drying, trim a little bit off the ends of the strips you have left, and make smaller loops. And then do it again with even smaller loops. While you wait for those to dry, you can begin assembling the larger ones, if you feel they’re stable enough. Use some of the gelatin to glue the edges together, forming a star with the loops, kind of like this:

Make sure you glue everything together on top of your non-stick surface, or you’ll end up chiseling gelatin off your table. (Not that I’d know first hand or anything…)

Once that’s stable, add in the smaller ones on top of the first row, but still in between them so it looks well spaced. Repeat. You kind of have to mess around with it to see what looks best. Keep adding the loops until you feel like it’s nice and full. Also, make sure to give yourself time between each major addition, so it doesn’t all fall apart on you.

Let it dry over night.When it’s totally dry, you’d be surprised how durable it is! Now you can put it on top of a cake! I used a couple dabs of corn syrup to make it stick.

Here’s a picture of the finished bow before it went on the cake:

...and here's the cake again.

Hope you enjoyed this tutorial! For more awesome, visit Nellie Cakes!

Tuesday
Oct192010

Sweet Profiles: Wendy Sykes of Four and Twenty Blackbirds

If you're a professional CakeSpy, basically when it comes to anything sweet, you always want the backstory. So when Wendy Sykes (AKA Four and 20 Blackbirds) entered her prize-winning Rhueberry Pie in the Cake Vs. Pie faceoff, basically I had to know more. Turns out, she's not only a tremendous baker, but has recently launched a business where she will teach you how to make delicious pies, too!

Here's a bit more of the story, directly from the source!

I've always been an big baker, but my entire professional life was spent as a journalist/public radio producer. (most recently at Marketplace, but Seattleites might remember my first show, Rewind.)


Recently, I was between jobs (like sooooooo many) and I was baking and entertaining and cooking a lot.  Friends kept asking me questions about the things I made, how to do this and that - but they seemed especially befuddled by and intimidated by pie crust.


I gave a few classes for fun, to a group of friends and it just spread from there!


I really like it - it's a great fit for my personality (as it turns out, teaching is not so different from producing) and I love seeing how proud people are when they make their own little pie!


I teach the classes out of my home in Ravenna and keep them small (8-10) so everyone gets hands-on instruction. I really think that's key - you have to feel and touch the pastry dough to know how it's supposed to be. So many people in class say, "Ohhhh - that's how it should feel!"


The setting also makes for a really fun, relaxed event - it's more like having your friend teach you something, rather than learning from an "instructor."  Since I'm not a trained professional (I joke that I went to The Culinary Institute of My Mom) people seemed more apt to ask questions, joke around, be silly.


The most important thing that I want people to leave class with is confidence. I want them to know that they can do this at home. Confidence is key - because pie crust is just like dogs and horses - it can smell fear.


I have some class descriptions on my blog as well on my site; I do the pie classes, (also one for parents and kids) and then cookie classes as well. I've been making this certain sugar cookie forever and decorating them. I teach people all the little tricks to ice the cookies as well.  The cookies are so good - which is important to me, cuz sometimes those really adorable decorated sweets taste just ungodly - they're made more for looks than taste.

Want yet more? You are urged to visit fourand20blackbirds.com.

Friday
Oct152010

Awesome Overload: 50 Moments from the Sweetest Week Ever

Life is pretty sweet, no doubt about it.

But a couple of weeks ago, when I had the distinct pleasure and honor of attending CupcakeCamp in Newport, OR -- as well as several other sweet occurrences in the days following -- it was a little bit sweeter than usual.

Share the memories with me (that was a command, not a request):

  1. To warm up my belly for a long day of eating cupcakes, I was sure to stop and get a delicious biscuit first, from The Coffee House, a place with a lackluster name but amazing sweets. How far would you travel for a delicious biscuit? Consider a road trip to Newport.
  2. Arriving at the show, I felt so welcome.
  3. OMG! My artwork was on the poster!
  4. Double OMG: I think this is the first time I've ever seen my likeness on a poster. Cake celebrity!
  5. Triple OMG: Look who else is on the poster!Photo credit: Bakerella
  6. This is a big one: I finally got to meet Bakerella.
  7. Bakerella! 
  8. Finally! After all of our sweet back and forth.
  9. And I got to meet her friend "Cupcake Julie", too, who is an absolute delight and inspiration!
  10. I got to hang out with my friend (and CakeSpy sponsor) Carrie of Bella Cupcake Couture fame. This time, she was one of the judges at CupcakeCamp.
  11. I also got to meet Dianna Lopez, who is a professional cake decorator and taught a decorating class in which they used my artwork as inspiration. Cool!
  12. This time, I got to teach a class, showing children (and kids at heart) how to watercolor cupcakes. Of course, there was some confusion about this--I taught them how to do watercolors OF cupcakes, not watercolor ON cupcakes.
  13. I may or may not have felt slight pangs of jealousy when I saw the kids' creations, like this one
  14. And this one
  15. and this one
  16. and this one
  17. and this one
  18. and this one
  19. and this one
  20. and this one
  21. ...and this one too.
  22. And the adults had some nice showings too--here's Julie's (above).
  23. ...and Bakerella's (above).
  24. You'd think that after judging cupcakes at Seattle's CupcakeCamp, I'd be tired of tasting cupcakes 30 at a time. But you're wrong.
  25. There were so many delightful displays of cupcakes, but one of the standouts was definitely by Rocket Queen, whose cupcakes I have enjoyed in the past.
  26. Judging was hard, but someone had to do it, and so I tasted peanut butter filled and frosted cupcakes...
  27. ...and huckleberry cupcakes...
  28. and decorated cupcakes...
  29. and cupcakes for Halloween...
  30. and rainbow cupcakes...
  31. rows and rows of cupcakes...
  32. and cupcakes decorated to look like ice cream sundaes (!)
  33. and cupcakes made by kids (maybe some of the same kids who took my class?)
  34. and vegan cupcakes...
  35. ...and even cupcakes with fish!
  36. ...and wouldn't you believe, I was even asked to AUTOGRAPH something. I felt like a bona fide big deal, people.
  37. After all this awesome, I kind of wanted to take a nap, but I didn't. I powered on over to Portland, where my totally sweet friend Nicole was having a bachelorette weekend. I arrived just in time for cheesecake from Laurelhurst Market (good timing!).
  38. And back at the hotel room, there were cupcakes from Cupcake Royale.
  39. In the morning, we went to Mother's, where I love the biscuits and cookies...
  40. ...before breakfast, we got a cinnamon roll.
  41. ...and after breakfast, we got some chocolate cake (secret ingredient: BEETS! Pictured at top of post)
  42. ...and then after that, while browsing about, I discovered the best bike in the world: Biscuit Bike!
  43. Then, I saw some of my artwork at Presents of Mind!
  44. Back home in Seattle, Bakerella and Julie came to visit my store!
  45. ...and while they were there, I was surprised by a visit from Cake Gumshoe Phuong (here all the way from Boston!)
  46. ...and a visit too from the amazing food writer Rebekah Denn and her adorable new baby daughter, who I have taken to calling "Miss Marshmallow".
  47. All of them (Bakerella, Julie, Phuong, and Rebekah) got to meet Porkchop.
  48. I was also an expert on Questionland that week. Cool!
  49. And later on that week, a visit and little Halloween shindig with the totally awesome Alicia Kachmar.Photo Credit: Bakerella
  50. And finally, a question and answer session and book signing at Williams-Sonoma with Bakerella before we sent her on the rest of her totally sweet tour.


© Cakespy, all rights reserved. Powered by Squarespace.