Cookie Props: A Tutorial from Sugarlicious by Meaghan Mountford
 Wednesday, February 15, 2012
 CakeSpy Note: This is an excerpt from Sugarlicious by Meaghan Mountford; you can enter to win a copy here! Photography by Abby Greenawalt.
What's cuter than a cookie pop? How about a cookie prop pop? These adorable pops are decorated like accessories, so you can play with your food--and then eat it, too!
Prop Cookie Pops
Recipes
Supplies
- mustache, bowtie and eyeglasses template (link: http://www.scribd.com/doc/81007914/Prop-Cookie-Pop-Template)
- cookie or lollipop sticks
- gel paste food coloring (brown, black, white, red and blue)
- 6 decorating bags
- 3 couplers
- 4 decorating tips, two size 2, one size 3 and one size 5
- rubberbands
*Find cookie sticks, decorating bags, couplers and tips at the craft store. For food coloring, I suggest Americolor Soft Gel Pastes, found online or in specialty stores.
1. Roll out chilled cookie dough on a floured surface about 3/8-inch thick, cut out your mustaches, bow ties and eyeglasses with the templates, insert sticks and bake according to the recipe. Let cool completely.
2. Prepare royal icing according to the recipe, divide and tint. Use any preferred colors for the mustaches (such as brown or gray), bow ties and eyeglass frames. You’ll also need black and white. I used black, white, brown, bright blue and red. Prepare 3 decorating bags with couplers and 3 different size tips. Fill the bag with the size 3 tip with the black icing, the bag with the size 5 tip with the brown icing, and the bag with the size 2 tip with half of the white icing. Cover and reserve the rest of the white icing and the blue and red icing. Close the bags tightly with rubber bands.
3. Outline your eyeglasses, mustaches and bowties with the black icing as shown. Let set about 15 minutes.
4. For the mustache, pipe the brown icing to fill the mustache, piping in the direction of the “hair” growth so the lines of icing look like hair. Let dry overnight before handling.
For the eyeglasses, pipe to fill the frames with brown icing. Flood white icing in the glass area. To flood, thin the reserved white icing with water, a few drops at a time, until the consistency of thick glue. Fill an empty decorating bag with the thinned icing, snip ¼-inch from the tip, and loosely pipe back and forth to fill the cookie. Use a toothpick to encourage the icing as needed until the entire space is filled. Let dry several hours; then pipe highlights on top of the white icing with the black icing after switching to a size 2 decorating tip. Let dry overnight before handling.
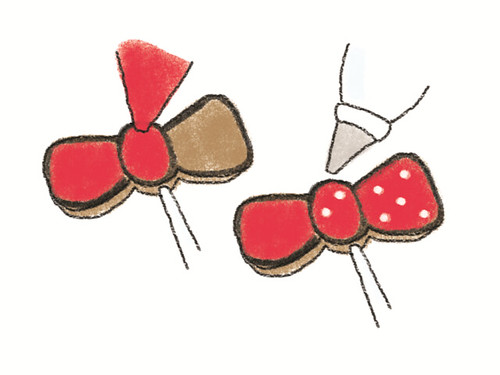
For the bow ties, use empty decorating bags to flood the blow tie with red or blue icing. Let the icing set several hours and pipe dots using the white icing in the decorating bag. Let dry overnight before handling.


Reader Comments (1)