Cool DIY Project: How to Make Permanent Marker Mugs
 Thursday, June 19, 2014
 You probably shouldn't believe everything you read on the internet, but usually I do.
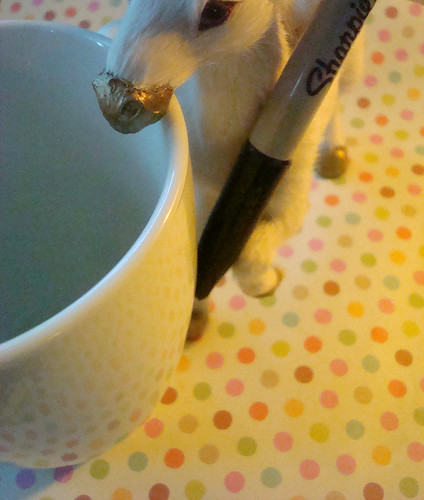
So when I came across a tutorial that told me that I could draw on a plain ceramic mug with permanent marker, pop it in the oven for a spell, and when it came out the ink would be baked in, I believed it enough to grab the closest sharpie. My friend, a unicorn named Creampuff, was eager to jump in and help.
By the way, as an aside, if you're wondering how Creampuff got her name, it had to do with this incident:

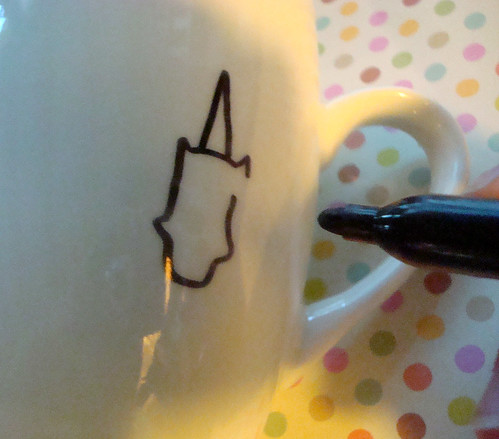
But I digress. Back to the mugs. Before, this one was plain and boring. 
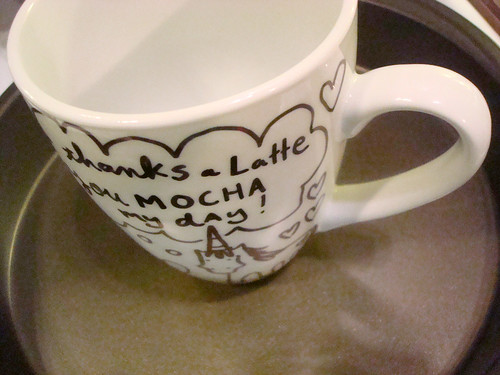
So together we drew all over the mug, then popped it in the oven for a while.
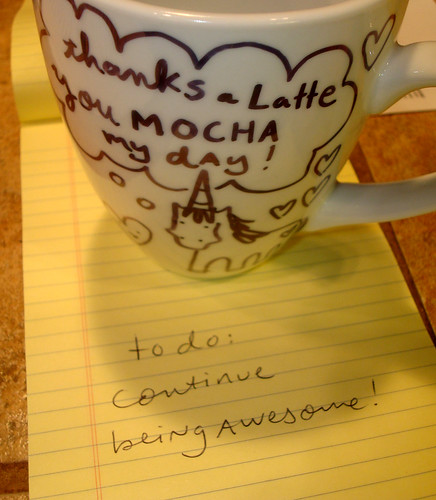
When it came out, it was too hot to touch, but after a half hour or so it had cooled. Lo and behold, that ink wasn't going anywhere! (For best results, hand wash). So I'm comfortable passing on this sweet trick I learned from the internet, to you, dear readers!
How to DIY Mugs Using a Sharpie and Not Much Else
Supplies
- Plain ceramic mugs (colored or white is fine)
- A baking tray (we used a pie plate)
- Sharpies
Procedure
- Preheat the oven to 350 degrees F.
- While the oven preheats, get artistic. I had help from a unicorn, who whispered clever sayings in my ear, but you do the best you can if you don't have a unicorn around. Try not to smear anything--it's somewhat tough on the curved surface!
- Place the mug in the center of a baking sheet or pie plate and put in the preheated oven.
- "Bake" for 30 minutes. Remove the tray gently. Even though this looks like a mug that you want to touch, DO NOT. It is very hot. I know this sounds dumb but you just wait. You will be tempted to touch it.
- Once its' cooled, use as you normally would.
 So far, mine has proven dishwasher and sink-washing safe.


UPDATE: After four washings in the dish washer, the pen started to fade off. So for best results, hand wash.
As for the easter paper behind the mug in the pictures? What can I say, the unicorn chose it. They think it should always be jelly bean season.
 crafts


Reader Comments