Homemade Honey-Wheat Bread. Yes.
 Tuesday, October 7, 2014
  Right now I am so into this bread. No, it's not dessert, but since it's baked, and since it is so, so, SO good, I deem it worthy of sharing with you.
To me, bread is one of those foodstuffs that gives me a huge sense of accomplishment to make all by myself. When I do it, I feel like king of the mountain, Martha Stewart, Alton Brown, and Portlandia character--all at once (someone please draw a portrait of that?). I'm also amazed, every time, by how not-impossible it is. I would say easy, but managing all of those rise times, etc, can be kind of tricky. But no, it's not hard to make your own bread. This is, of course, a fact that I forget almost immediately after I bake a loaf, then forking over $5 or more for a fancy loaf at Whole Foods or Sage Bakery until I feel like making bread again (this is usually a six month cycle for me).
But this loaf has me hooked. I came across it at the Bake For Good event by King Arthur Flour, where I learned to master the basic sandwich loaf (as well as the secret to perfect pie crust--check that out here!). Ever since, I've been messing with it a little bit, and this recipe is one of my recent successes. Only lightly sweet, this loaf is appropriate for any type of sandwich, but I love it best when it is lightly toasted (or fresh from the oven, in which case it remains untoasted so I can enjoy the residual heat) and smeared with chunky peanut butter, a zigzag of honey, and sea salt. This is my happy place.
Want to join me? Here's the recipe.
Honey-Wheat Bread
Adapted from King Arthur Flour
Yield: 1 large loaf
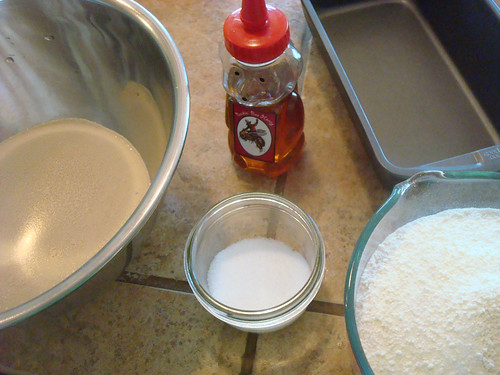
- 1 3/4 cups lukewarm water
- 2 1/4 teaspoons instant yeast (1 packet)
- 1 tablespoon honey
- 2 teaspoons salt
- 2 tablespoons soft butter
- 3 1/2 cups whole wheat flour (I used King Arthur Flour)
- 1/2 cup all purpose flour
- 1/3 cup nonfat dry milk granules
Procedure
- Combine the water and yeast. Once the yeast begins to bubble lightly, proceed.
- Mix all of the remaining ingredients with the yeast mixture in the order listed.
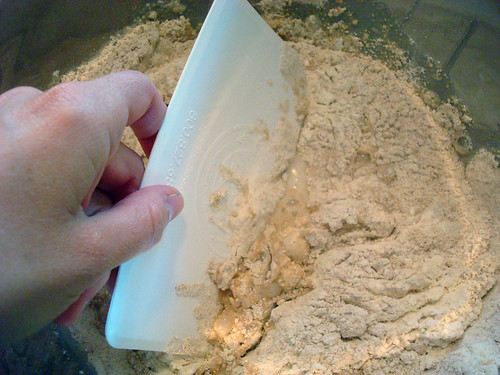
 Knead, either by hand with a dough scraper or with a stand mixer, until it has progressed past a shaggy texture to a smooth, slightly elastic-feeling dough. This can take up to 5 minutes by hand; less when using a mixer. Place the dough into a lightly greased bowl, cover it, and let it rise at room temperature until it’s quite puffy and doubled in size, 1 to 2 hours.
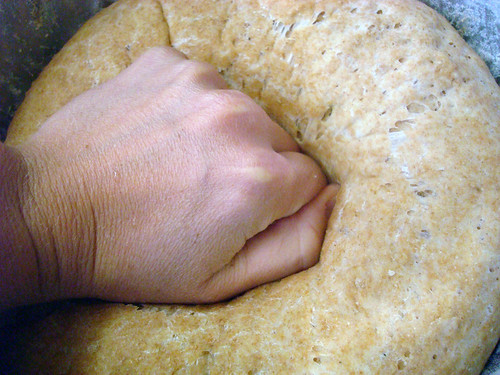
 - Gently deflate the dough with your hand (a gentle pressing, not a knockout punch), and shape it into a fat 9″ log.
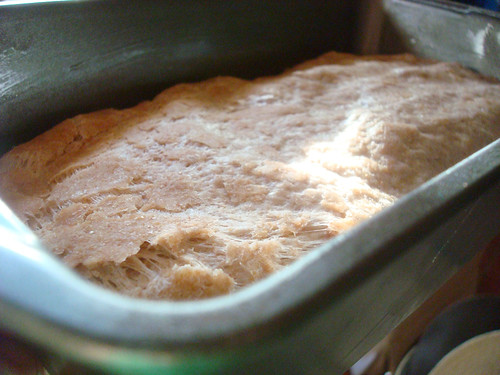
- Place it in a lightly greased 9″ x 5″ loaf pan.
- Cover the pan, and let the dough rise for 60 to 90 minutes, or until it has formed a crown which extends 1 inch or slightly more over the rim of the pan (the picture below is toward the beginning, not the end, of the rising time). Toward the end of the rising time, preheat the oven to 350°F.
- Bake the bread uncovered for 20 minutes. Tent it lightly with aluminum foil, and bake for an additional 15 to 20 minutes, or until it is golden brown on top, and when knocked lightly, yields a slightly hollow sound.
- Remove the bread from the oven, and turn it out onto a rack to cool. Go ahead, give it a taste if you can’t resist (who can resist warm bread?). When completely cool, wrap in plastic, and store at room temperature.


Reader Comments (3)
Wait, let me rephrase that:
I would have to eat it all, because I am the only one in my household who likes whole wheat bread. :)
I've used their no-knead whole wheat recipe for years- it has orange juice in it and it's wonderful.