Fall, Canadian-Style: Pumpkin Nanaimo Bars
 Monday, October 13, 2014
  Although Nanaimo bars are perfect just as they are, sometimes it's nice to get celebratory about the season.
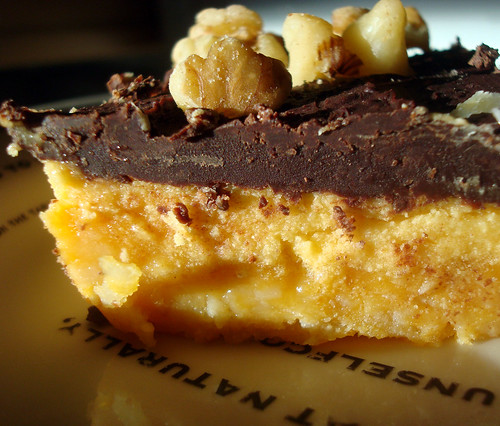
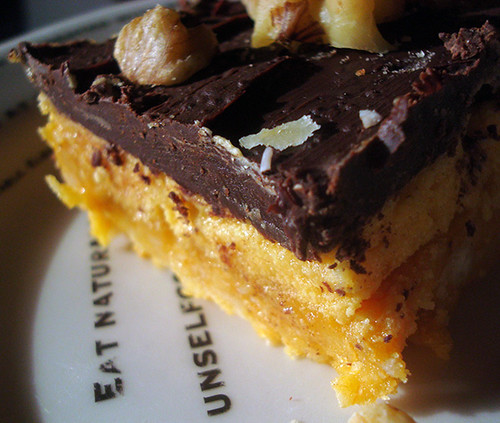
Just as people enjoy putting on sweaters and drinking pumpkin spice lattes, Nanaimo bars like to get their Fall on. These ones are a lovely fall treat, with pumpkin and pumpkin pie spice mixed into both the bottom and middle layers. Now, the pumpkin in the bottom layer does make them moist to the point that you want to keep them in the refrigerator, but I think the slightly annoying texture will be forgiven when you take your first creamy, custard-y, kissed with earthy pumpkin-flavored bite.
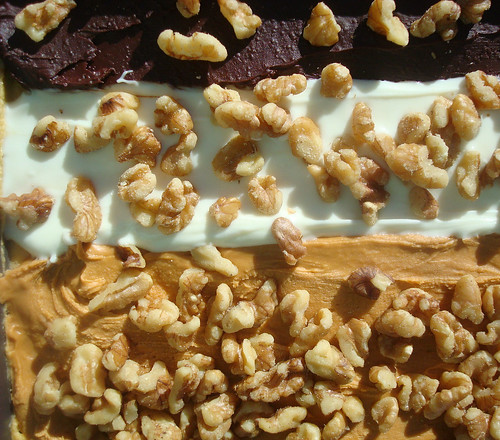
Many of the key components of a Nanaimo bar remain constant: nuts and coconut in the crust, the Bird's custard in the middle section, and of course the chocolate topping. I tested out white and butterscotch chips on the topping, and while they looked pretty, chocolate definitely won the taste test.
Feel like getting your fall on with a tasty Canadian treat? Let's go.
For the bottom layer
- 1/2 cup (1 stick) butter
- 1 tablespoon pumpkin puree
- 1 teaspoon pumpkin pie spice
- 1/4 teaspoon salt
- 1 large egg, beaten
- 1 cup shredded sweetened coconut
- 2 1/4 cups finely crushed sugar cookies
- 1/2 cup finely chopped nuts (almonds are traditional; pecans or walnuts work well, too)
For the middle layer
- 1/2 cup (1 stick) butter
- 2 tablespoons heavy cream
- 1/4 cup pumpkin puree
- 2 tablespoons Bird’s Custard Powder, or substitute vanilla pudding powder (instant)
- 2 cups confectioners’ sugar, sifted
- 2 teaspoons pumpkin pie spice
For the top layer
- 4 ounces chocolate (or white chocolate or butterscotch morsels), coarsely chopped
- 1 1/2 tablespoons butter
Step 1: Prepare the bottom layer.
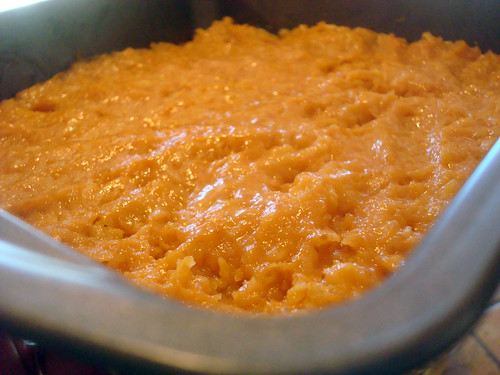
Melt the butter, pumpkin, salt, and spice in a medium saucepan over low heat until fully incorporated, but do not let the mixture come to a boil. Add the beaten egg and stir constantly until the mixture begins to thicken, less than 5 minutes. Remove from heat and stir in the cookie crumbs, coconut and nuts. Press down firmly into a greased 8″ by 8″ pan; try to make the mixture as flat as possible in the pan. Let this cool for about 20 minutes in the freezer (you want it to be as firm as possible, and the pumpkin variation never becomes quite as firm as the bottom of a traditional Nanaimo bar).
Step 2: Prepare the middle layer.
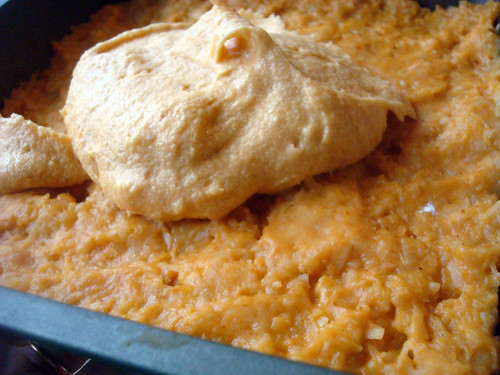
In a stand mixer fitted with the paddle attachment, cream the butter, cream, pumpkin, spice, custard powder and confectioners’ sugar together until very light and fluffy, 3 to 5 minutes. Spread over the bottom layer, taking care to spread it as flat and evenly as possible. Consider flattening with an offset spatula.
Basically, the flatter this level, the flatter the chocolate will lie on the top. Return the pan to the refrigerator while you prepare the topping.
Step 3: Prepare the top layer.
Can't decide whether you want chocolate, white chocolate, or butterscotch? Do as I did and make three separate batches! Or, stick to one fave.
In a medium saucepan or double boiler, melt the chocolate and butter over medium heat, stirring often to ensure that the mixture doesn’t scorch. Remove from heat. Let sit until the mixture is still liquid but very thick, then pour it over the second (middle) layer and gently spread it with a spatula to ensure even coverage
Note: Work carefully, because the still-warm chocolate will get messy if you press too hard while spreading it and tear up the buttery layer below.
Be sure to score the tops of the bars before the chocolate totally sets on top. This will make slicing them much easier later.
Typically, Nanaimo bars are sliced in fingers rather than squares. You can slice them any way you like, of course, but for an authentic look, split into eight rows in one direction and six rows the other way, so that they are slightly elongated when sliced.
Let the chocolate set on the bars, then place in the refrigerator for at least 20 minutes before serving. Run a knife under hot water and then dry off before slicing; this will help the knife go through the bars easily. Clean the knife frequently between cuts.
Have you ever tried a Nanaimo bar? If not, check out these other tasty variations:
 fall,
fall,  nanaimo bar,
  pumpkin,
  recipes




Reader Comments (5)
@Peabody: If offered the position, I would totally act as ambassador for the Nanaimo bar to different cultures and countries. I kind of feel like I already do that, actually ;-)