Sweet Fancy: Magical Princess Cupcakes inspired by Amy Atlas
 Wednesday, May 2, 2012
Please just buy Amy Atlas's new book already. Entitled Sweet Designs: Bake It, Craft It, Style It, this sweet book is chock-full of amazing party ideas and as packed as a cup of brown sugar is for a cookie recipe, with delicious recipes and adorable tutorials.
But don't just take my word for it: check out this cute tutorial.
In the book, there's a recipe and tutorial for "Wicked Pumpkin Cupcakes" which employ overturned ice cream cones for witch hats and candy corn for noses. How cute!
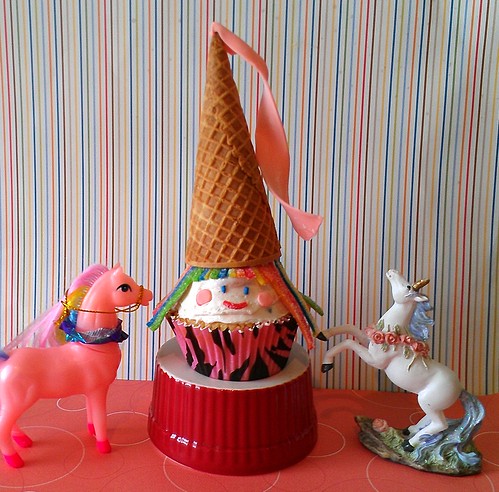
Of course, since it's months from Halloween, I figured it would be pretty adorable to adapt this into a "Pretty Princess Cupcake". Yup, still adorable. And proof that you can use this book as a template to come up with your own party ideas too! Choose your own adventure, yo.
Pretty Princess Cupcakes
adapted from Wicked Pumpkin Cupcakes from Sweet Designs: Bake It, Craft It, Style It.
Makes 12
- One batch homemade Funfetti cupcakes (recipe here)
- One batch vanilla buttercream (recipe here), tinted whatever color you'd like
- 12 sugar cones
- shoelace licorice or (even better) rainbow Airheads candy, cut into 3-inch lengths and 1/2 inch lengths
- 24 chocolate m&m's for the eyes, or sprinkles for tiny eyes
- "Bubble Tape" - one package
- gel writing icing for faces
Assemble your cupcakes. Frost each, spreading until smooth on the cupcakes.
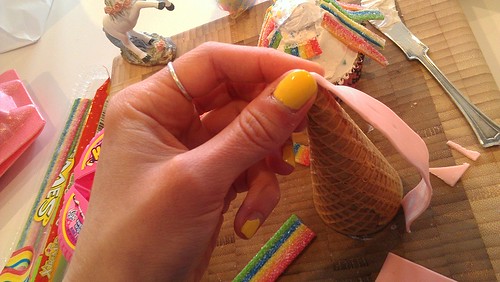
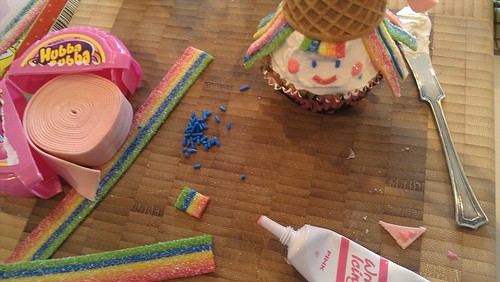
Adhere an approximately 4-inch piece of bubble tape to the top of your ice cream cone, to form a little veil at the top of the hat. You know, how princesses like to do. I adhered it by putting a tiny dab of frosting but then really just gently pressing the gum around the top of the cone; they stayed in place long enough to serve and be devoured. Repeat with remaining cones. If desired, add a little "twist" to the veil.
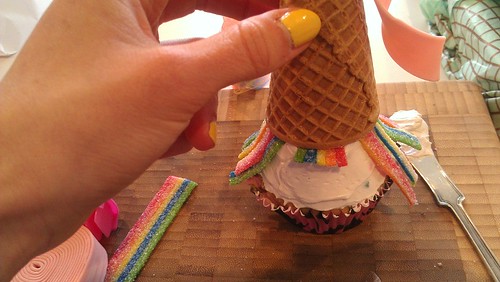
Place an ice cream cone "hat" onto each cupcake, making sure to leave enough frosting showing for the face. Place the longer licorice strands around the sides, for hair; use the shorter stands in front, for "bangs". I even cut along the color divisions for a nice little fringe on the bangs.
Note: you can also do the hair first and then stick the "hat" on, but sometimes it doesn't stick as well (the cone won't stick as well to the frosting when the candy is already on it!).
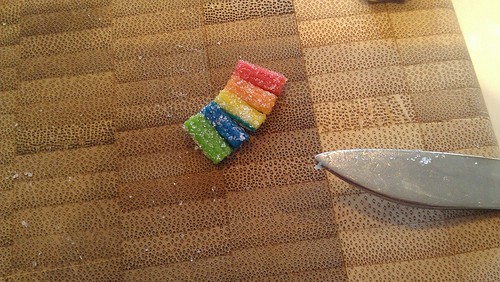
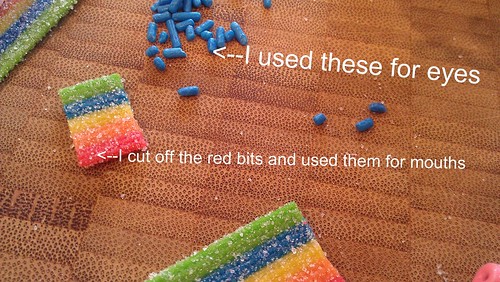
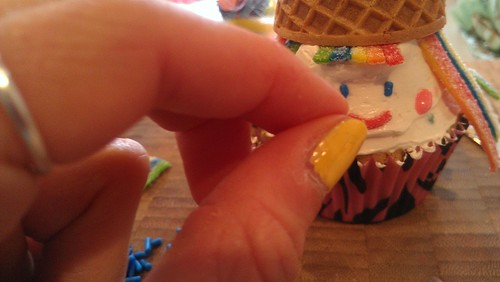
Create faces using your candy--you can use m&m's for the eyes, but I actually found that using small bits of sprinkles was decidedly adorable too. Using small bits of the leftover Taffy candy, I cut out 1/2 inch segments of the red section and used it as smiling faces, and formed tiny pieces of bubblegum from the bubble tape into tiny pink cheeks.
 recipes


Reader Comments (1)