Home Home Home Home Home Home Home
CakeSpy

Featured: 

My adventure at Ben & Jerry's in Vermont!


Unicorn Love: the Eating Disorder Recovery Blog


 Buy my brilliant books!

Buy my new book!

Buy my first book, too! 

CakeSpy Online Retail!


Archives
Gallery

Fantastic appliance for cake making on DHgate.com

everyrecipe.co.nz

Craftsy Writer

Entries from September 1, 2014 - September 30, 2014

Tuesday
Sep162014

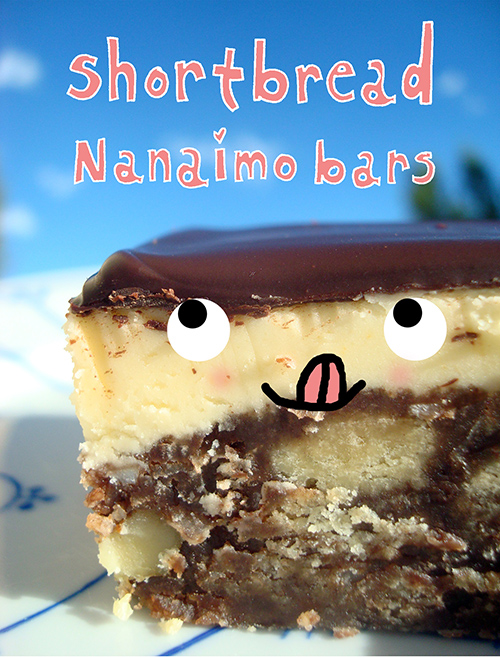
Short and Sweet: Shortbread Nanaimo Bars

It's a fact: Nanaimo bars are a practically perfect foodstuff. 

Gifted to the world from a blue collar city not too far from Vancouver, these bars are the stuff of dreams. If you've never heard of them, a brief intro to the classic version: 
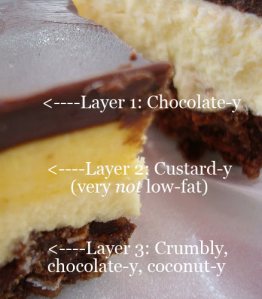
  • The top layer is a solid chocolatey layer, which is firm but not hard.
  • The middle layer is a buttery, frosting-y, creamy, custard-y stuff that is so much the opposite of low-fat that it makes you want to weep with pleasure.
  • The bottom layer is a sturdy, tightly packed layer of chocolate, graham cracker and coconut, bound together with melted butter.
That is to say--super yum.

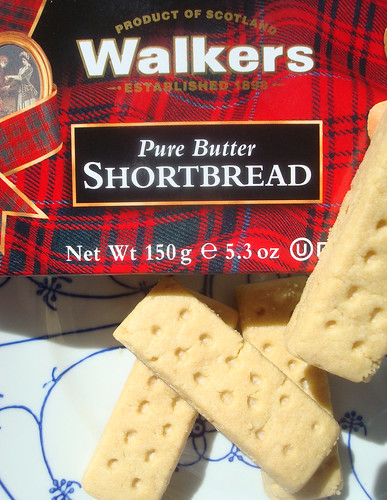
As much of a classic as they are, though, I think I have finally figured out the way to make them better: I ditched the traditional graham crackers in the crust and swapped in shortbread instead. I had the idea for these bars when I was contacted by Walkers Shortbread to make a recipe for their site. They offered to pay me for a recipe and send me samples of the shortbread to bake with, so I figured it had to be a good one. Time to call in the Nanaimo bar aces! 
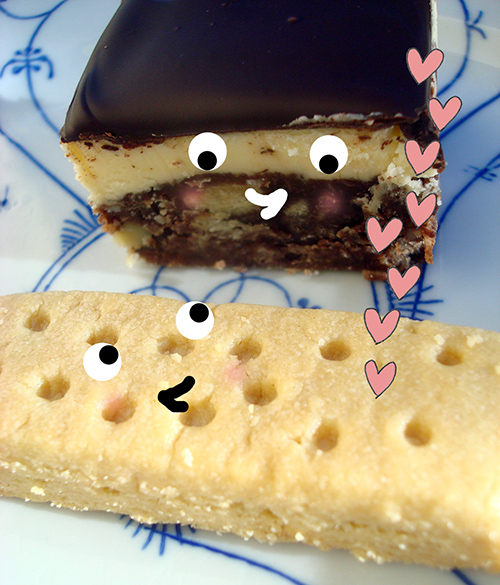
Shortbread and Nanaimo bars: both practically perfect.

So what happens when you combine two practically perfect foodstuffs in one recipe? Oh, my word. Amazing things. The crust has a distinct shortbread crunch and touch of saltiness which elevates the bars from great to "omigod how quickly can I eat my weight in these?". Promise me that you will make them, and the sooner the better. You'll thank me, and so will every single person you share them with.

Shortbread

Here's how to make this magic happen in your own home.

Shortbread Nanaimo Bars

Makes 16-24 bars, depending on how you slice 'em

Ingredients:

For the bottom layer

  • 1/2 cup (1 stick) butter

  • 4 tablespoons cocoa

  • 1 large egg, beaten

  • 1 cup shredded sweetened coconut

  • 14-16 fingers finely crumbled Walkers shortbread (each package has 8; I used 14 and snacked on the remaining two, but you can have willpower and use both packages for the crust if you prefer)

  • 1/2 cup finely chopped nuts (I used walnuts this time)

For the middle layer

  • 1/2 cup (1 stick) butter

  • 2 tablespoons heavy cream

  • 2 tablespoons Bird’s Custard Powder, or substitute vanilla pudding powder (instant)

  • 2 cups confectioners’ sugar, sifted

For the top layer

  • 4 ounces chocolate, coarsely chopped

Directions:

Step 1: Prepare the bottom layer.

Melt the butter and cocoa in a double boiler until fully incorporated, but do not let the mixture come to a boil. Add the beaten egg and stir constantly until the mixture begins to thicken, less than 5 minutes. Remove from heat and stir in the cookie crumbs, coconut and nuts.
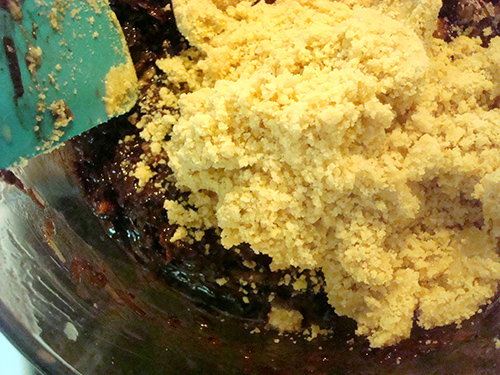

Press down firmly into a greased 8″ by 8″ pan; try to make the mixture as flat as possible in the pan. Let this cool for about 20 minutes in the refrigerator.
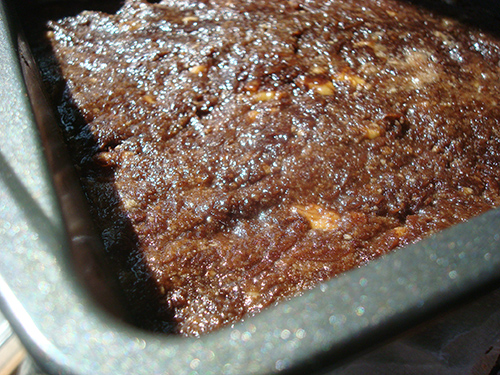

Step 2: Prepare the middle layer.

In a stand mixer fitted with the paddle attachment, cream the butter, cream, custard powder and confectioners’ sugar together until very light and fluffy, 3 to 5 minutes.
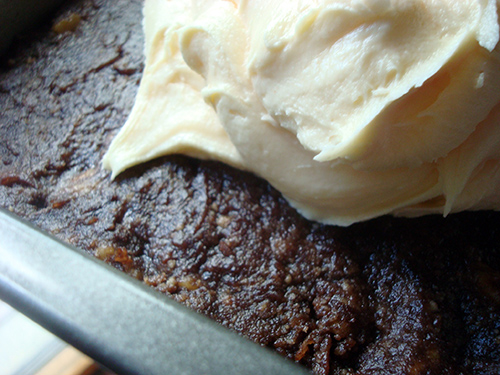

Spread over the bottom layer, taking care to spread it as flat and evenly as possible. I like using a pastry scraper to do this.
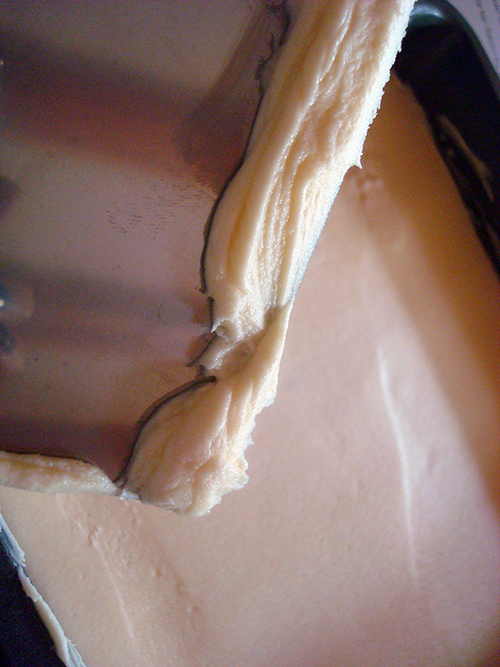

Basically, the flatter this level, the flatter the chocolate will lie on the top. Return the pan to the refrigerator while you prepare the topping.

Step 3: Prepare the top layer.

In a medium saucepan or double boiler, melt the chocolate over medium heat, stirring often to ensure that the mixture doesn’t scorch. Remove from heat. Let sit until the mixture is still liquid but very thick, then pour it over the second (middle) layer and gently spread it with a spatula to ensure even coverage.
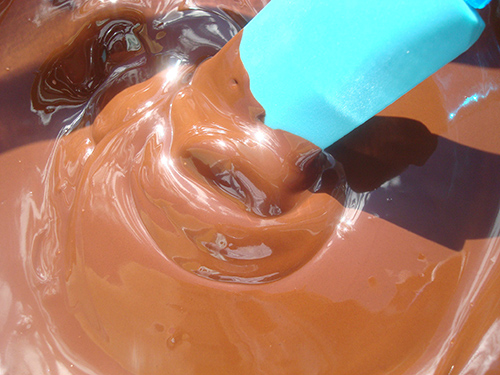

Note: Work carefully, because the still-warm chocolate will get messy if you press too hard while spreading it and tear up the buttery layer below.

Be sure to score the tops of the bars before the chocolate totally sets on top. This will make slicing them much easier later.
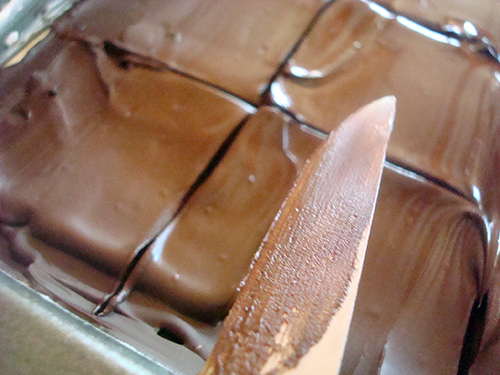

Typically, Nanaimo bars are sliced in fingers rather than squares. You can slice them any way you like, of course (and to prove that point I did them in squares this time because I wanted bigger bars and fewer servings), but for an authentic look, split into eight rows in one direction and six rows the other way, so that they are slightly elongated when sliced.

Let the chocolate set on the bars, then place in the refrigerator for at least 20 minutes before serving. Run a knife under hot water and then dry off before slicing; this will help the knife go through the bars easily. Clean the knife frequently between cuts.
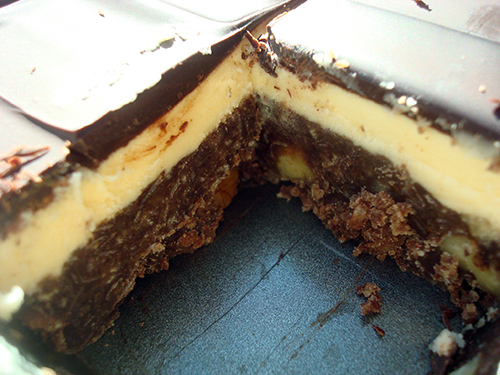
Have you ever heard of a dreamier food than this?

Tuesday
Sep162014

Sweet Discovery: Legit Organics Candy Bars

Legit Organics

If you regularly read this website, you should be pretty aware that a long list of ingredients isn't going to scare me off if the foodstuff in question is delicious. Like Pop-Tarts or Snickers bars. My approach is willful ignorance: what I don't read on the label can't hurt me.

All the same, I'm not opposed to a higher quality version of junk food which contains ingredients I can actually pronounce. I've enjoyed myself a homemade Pop-tart and homemade girl scout cookies over the years, and enjoyed every moment of them.

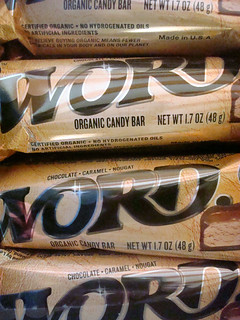
So when Legit Organics contacted me to ask if I'd sample their candy bars, which are fancied-up, organic, non-GMO, sans hydrogenated oil bars with flavor combinations eerily reminicent of some popular store-bought varieties, I said sure.

When I got the box, I eagerly opened it. This was where I encountered what would be the only confusion in the taste experience.

The packaging. 

Legit OrganicsLegit Organics

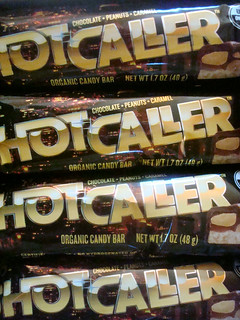
Don't get me wrong here: I think the design itself of the candy bar wrappers is very nicely done and slick. However, the style looks more like the type of packaging I'd expect on energy bars or protein bars. What do you think?

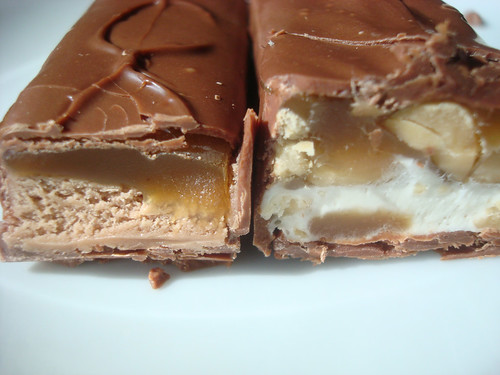
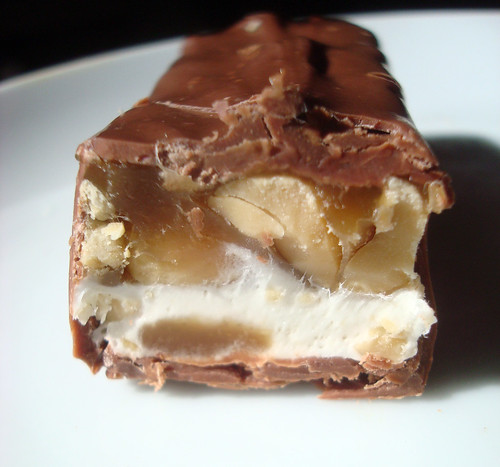
But I didn't let this moment stop me. I opened up the "Shot Caller" first, which is described as "roasted peanuts. Soft caramel. Airy nougat. Rich milk chocolate. Wholesome organic ingredients. The boss of all candy bars."

Legit Organics

And I have to say...it was pretty darned good. From the get-go it was apparent that this was a superior product to a candy bar you'd buy at the drugstore checkout: the chocolate didn't taste waxy, and the flavors were all clear and well combined. Everything kind of melted together in the mouth, and it made you wonder if maybe this is how candy bars tasted back in the day before everything was chock full of additives. 

Legit Organics

Next up was "Word", described as "Soft salted caramel. Pillowy malted nougat. Rich milk chocolate. Wholesome organic ingredients. Word."

Legit Organics

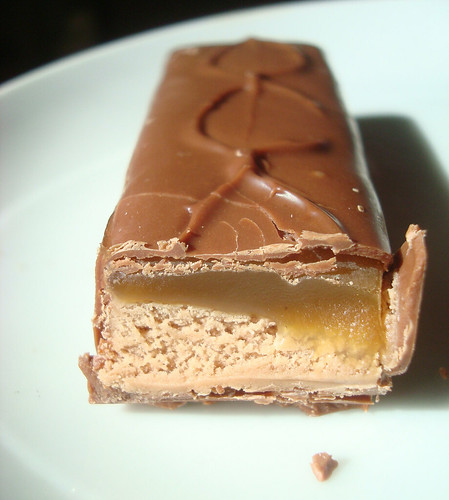
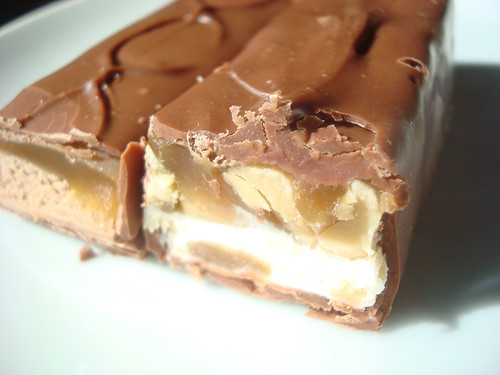
This bar was my kind of word. To me, malted nougat of the sort featured in a popular candy bar named after musketeers is kind of like crack, and this was a well made version of it. It was a soft nougat which worked beautifully with the thick, flavorful caramel on top. And the chocolate coating around it, once again, was superior in taste to typical candy bars, making it an overall delightful treat. 

Legit Organics promoted the bars as a more virtuous alternative to the crappy Halloween candy out there (I am paraphrasing, here). Well, I'm not one to knock tradition, but if you're looking for something you can feel less bad about sharing during this candy-rich season, I will say that these bars by Legit Organics are a fine option for you. 

Legit Organics

Plus, since they're big bars, you can be the cool house on the block that quickly becomes known as "giving out full bars!" (trust me--I was a kid, not that long ago. That info will travel fast.)

To find out more, visit legitorganics.com.

Monday
Sep152014

Pillsbury Bake-Off Countdown: Chocolate-Toffee-Peanut Butter Crunch Bars

CakeSpy Note: OMG! It's getting to be that time of year again. The Pillsbury Bake-Off is coming in November! Since I so deeply loved attending the 45th Bake-Off as well as the 46th Bake-Off, I thought I would get you excited the 47th one early by sharing all of the sweet recipes in the running. I will focus on sweets! You can follow them by clicking the bakeoff tag below to see the recipes posted so far (as well as recipes from previous Bake-Off events). 
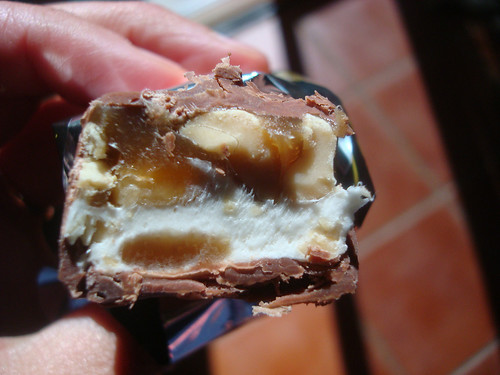
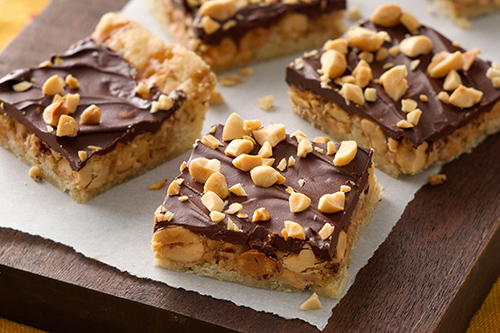
I love cookies...but I super-mega-mega love bars. They're like cookies with the best parts condensed, and typically layered with more awesome stuff. And these ones are a fine specimen of what makes a great bar cookie. Starting with sugar cookie dough, a handful of ingredients including dry roasted peanuts, peanut butter, and chocolate come together to make them a crave-able dessert. When finished with toffee bits, they become downright addictive. This recipe comes from Joanne Opdahl of Venice, California, who has been to the Bake-Off before...could this be her big year?

Chocolate-Toffee-Peanut Butter Crunch Bars

Prep Time: 25 Min
Total Time: 1 Hr 45 Min
Makes: 48 bars
Ingredients
  • 2 1/2 cups salted dry-roasted peanuts
  • 1 roll Pillsbury™ refrigerated sugar cookie dough
  • 1 cup Jif® Extra Crunchy Peanut Butter
  • 1 1/4 cups toffee bits
  • 1 bag (12 oz) semisweet chocolate chips (2 cups)

Procedure

  1. Heat oven to 350°F. Spray 15x10-inch pan with sides with Crisco® Original No-Stick Cooking Spray. Line bottom of pan with Reynolds® Parchment Paper. Finely chop 1/2 cup of the peanuts; set aside.
  2. Break up cookie dough into pan. With floured fingers press dough evenly in bottom of pan.
  3. In small microwavable bowl, microwave peanut butter uncovered on High 15 to 20 seconds or until slightly melted; spread over dough. Sprinkle with remaining 2 cups peanuts and the toffee bits. Bake 20 to 25 minutes or until edges are golden brown. Sprinkle chocolate chips over bars; return to oven.
  4. Bake 1 minute or until chips soften; spread over bars. Sprinkle with reserved peanuts; press in lightly. Cool 30 minutes in pan on cooling rack. Refrigerate about 25 minutes or until chocolate is set. Cut into 8 rows by 6 rows. Store covered.
Monday
Sep152014

Desserts Served in Bowls

When it comes to dessert, bowls are the new plate! At least you might believe that after browsing this awesome post I did for Craftsy about single serving desserts served in bowls. It's fun, clever, and tasty. Check out the full post here.

Sunday
Sep142014

Using Grids to Create Realistic Artwork

If you have trouble drawing a certain thing, or are intimidated by a large scale representation, using grids is a great way to break down the image into "bite sized" manageable portions. Check out this post on Craftsy where I teach you how to use grids in your art!

Saturday
Sep132014

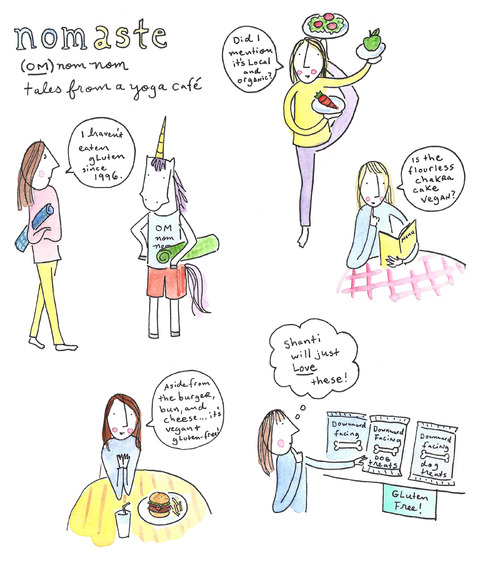
Nom-aste: Cartoon of a Fictional Yoga Cafe

I love doing yoga, but I can't help poking fun. Click on the image for the full sized version. Enjoy!

Saturday
Sep132014

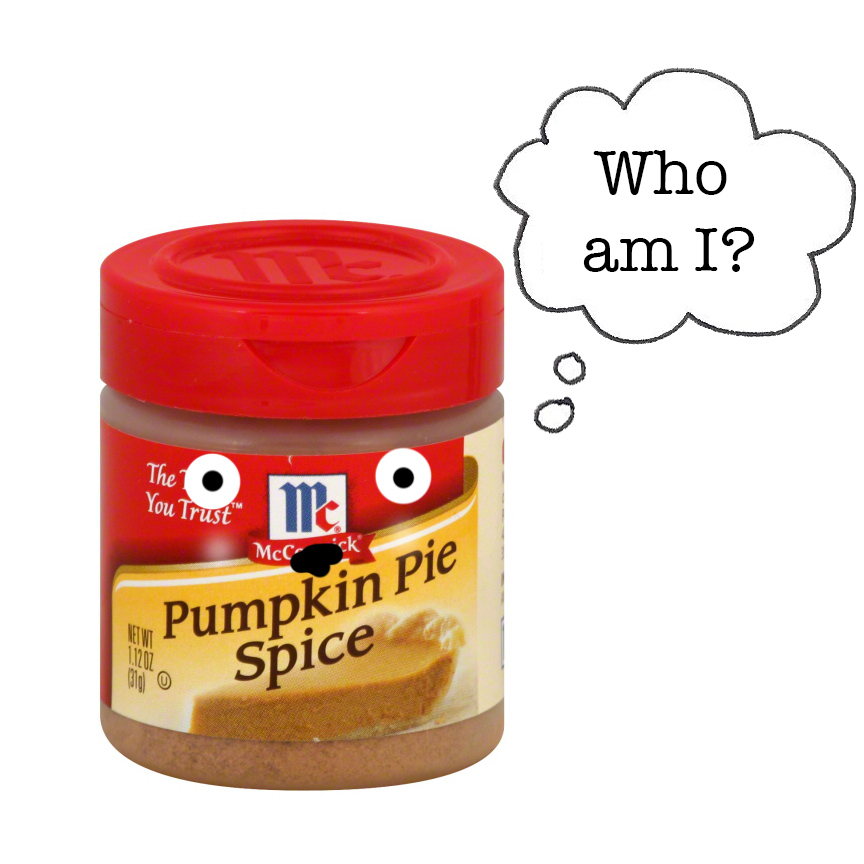
What is Pumpkin Pie Spice? Recipe, Lore, and More.

With the season of fall baking upon us, I have one big question before I break out the stand mixer:

What is pumpin pie spice, anyway?

You've definitely tasted it, and you've more than likely seen it listed in the myriad of fall themed recipes that abound at this time of year. Pumpkin pie spice is a melange of spices that instantly evokes the taste of fall: it's the flavor equivalent of driving along a stretch of fiery fall foliage, apple picking at an orchard, the crisp air as you pull a fuzzy sweater over your head. 
In a technical sense, it is a mixture of warming spices, typically composed of cinnamon, ginger, nutmeg, cloves, and allspice. 

The history of using spices to fancy up pumpkin is nothing new. It dates back to the times of the pilgrim. Pumpkin was a staple crop in the new world, and they were pretty much forced to develop a taste for it. Early on, pumpkin preparation often involved the whole gourd, stuffed with apples, spices, and sugar, and then baked whole. While the shell was eventually discarded, the spices remained a constant, giving a distinct flavor to an otherwise somewhat bland food.

So...why these particular spices? Well, spices were a big deal in the colonies: spice trading was a huge part of commerce in the middle ages and right on through colonial days. Spices were used not only as a taste enhancer, but as a preservative and for food safety--many spices have antimicrobial properties. Here's a brief review of the spices in question, created with much help from this list:

Allspice

Remember columbus's discovery of America, kind of by accident? That was a spice journey, and among the finds in the new world was Allspice. It kind of tastes like a mixture of cloves, cinnamon, and nutmeg.

Nutmeg

Nutmeg was long prized for its healthful qualities. It was also the subject of trickery--at seaports, peddlers would sell small wood carvings made to look like nutmeg pods for a dishonest profit. This is said to be why Connecticut is known as the "Nutmeg State".

Ginger

Hailing from Jamaica, ginger would have been known to settlers: it had come to Europe as early as 1585, and had long been used as part of gingerbread, and renowned for its curative and preservative properties. 

Cloves

Cloves were an early West Indies discovery: their smell is so intense they can be detected from a distance. They not only added a delicious scent to food, but could also be used as a natural moth repellent.

Cinnamon

Cinnamon was a valuable spice to colonists: not only did it enhance flavor and add a warming quality to food, but it had a variety of curative properties. Used as a digestive aid, anappetite stimulant, and even a cure for colds, cinnamon was a prized spice

How it came together

I have not been able to find specific mention of who first had the idea to put these spices together and call it "pumpkin pie spice". But if I may surmise...

It seems in my research that all of these spices were basically in the right place at the right time. They were all being used actively in baking by the time the first spice mill in the US was founded in Boston in 1821. Through this, pre-packaged spices (including mixes) were available as one of the first "convenience foods". (source

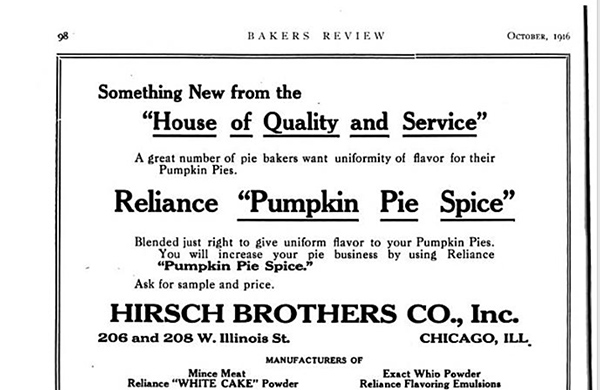
It seems to me that once the spices were being mass produced, the natural next step would be sales and marketing--and I have a hunch that this is where the "pumpkin pie spice" angle might have come into play. The first mention I was able to find of "pumpkin pie spice" listed in print was in this 1916 edition of Baker's Review, a trade publication.

Please, do correct me if I'm wrong here or if you're able to find anything more concrete!

Interestingly, while the components of pumpkin pie spice can be used for a number of other baking projects--spice cookies, cakes, sprinkled atop cappuccinos, or even sifted through a stencil for a cake or cookie decoration, its most famous use, very largely owing to the name, is in pumpkin pie.

With the classic flavor of pumpkin pie (thanks to the spice, of course) in mind, I'll finish with this poem, and then a recipe for pumpkin pie spice that you can make at home. 

What moistens the lip and what brightens the eye,
What calls back the past, like the rich Pumpkin pie?

- John Greenleaf Whittier

And OK, here's the recipe.

-----------------------------------------------------------

Pumpkin Spice Recipe 

  • 1/3 cup ground cinnamon
  • 1 1/2 tablespoons ground ginger
  • 1 tablespoon ground nutmeg
  • 1 1/2 teaspoons ground cloves
  • 1 1/2 teaspoons ground allspice

Mix the above together until completely combined, and place in an airtight jar. Use as garnish, as part of recipes calling for pumpkin pie spice, or to sprinkle atop lattes. 
Friday
Sep122014

Baker's Dozen: A Batch of Sweet Links!

Guest Post, Milk Shake Factory

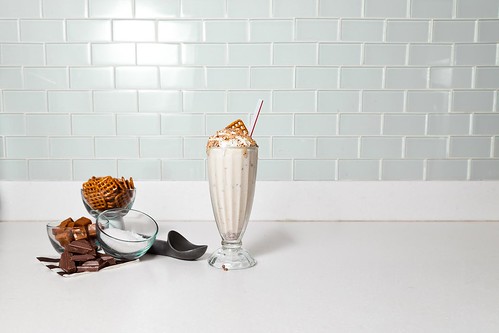
Today is National Chocolate Milkshake day! Enjoy this sweet recipe (pictured above).

Because, quite frankly, it still feels like summer to me: how to make ice cream without an ice cream maker.

It's not something I have ever thought about, but it's true: before there was cooking, there was just food.

A sweet recipe for French "conversation" tarts--and the conversation-starting story behind them.

How to turn your art into greeting cards! 

Add collage to your pen and ink work: a sweet tutorial by me.

Nostalgic snack round-up: how many of these do you remember?

Shoe Bakery. OMG WANT IT ALL.

Fun read: biggest food flops of the boomer generation.

Helpful if you're making pie: apple buying guide.

The history of cornstarch and corn syrup. An interesting read. Pecan pie recipe included.

Strawberry pudding cheesecake cookies. OMG!

An awesome collection of historic NYC restaurant menus.

Biscuits with sugar butter. Yes, it's a good idea.

Book of the week: The Ministry of Thin: How the Pursuit of Perfection Got Out of Control by Emma Woolf. This beautiful book describes our obsession with looks. In addition to touching on creepy plastic surgery and beauty standards, there is also a huge chunk of the book devoted to the obsession with being skinny. Basically, it amounts to this: food and joy are so much better than skinny.

Thursday
Sep112014

Guest Recipe: Dark Chocolate Sea Salt Caramel Snappers Milkshake

Guest Post, Milk Shake Factory

Make National Chocolate Milkshake Day full of magic by whipping up this Dark Chocolate Sea Salt Caramel Snappers Milk Shake. Prominently featured in the recipe are "chocolate snappers"--a confection dreamed up by Edward Marc chocolates and utilized by the company's retail drinkery, Milk Shake Factory, in Pittsburgh, which is credited with the recipe below. 

Dark Chocolate Sea Salt Caramel Snappers Milkshake

  • 10 oz. Chocolate Ice Cream
  • 5 oz. Whole Milk
  • 1 cup Hot Fudge
  • 2 tbsp. crushed Pretzels
  • 1 tbsp. of Mini Dark Chocolate Chips
  • 1⁄2 tsp of Sugar
  • 1⁄2 tsp of Sea salt
  • Toppings: Whipped Cream and a Dark Chocolate Sea Salt Caramel Snapper

Blend together everything except the toppings until fluffy and combined. Top with the whipped cream and confection. Enjoy. Makes either one generous shake, or two mini ones.

Visit the themilkshakefactory.com for more information.

Thursday
Sep112014

Pillsbury Bake-Off Countdown: Toffee Roundabout Sandwich Cookies

CakeSpy Note: OMG! It's getting to be that time of year again. The Pillsbury Bake-Off is coming in November! Since I so deeply loved attending the 45th Bake-Off as well as the 46th Bake-Off, I thought I would get you excited the 47th one early by sharing all of the sweet recipes in the running. I will focus on sweets! You can follow them by clicking the bakeoff tag below to see the recipes posted so far (as well as recipes from previous Bake-Off events). 
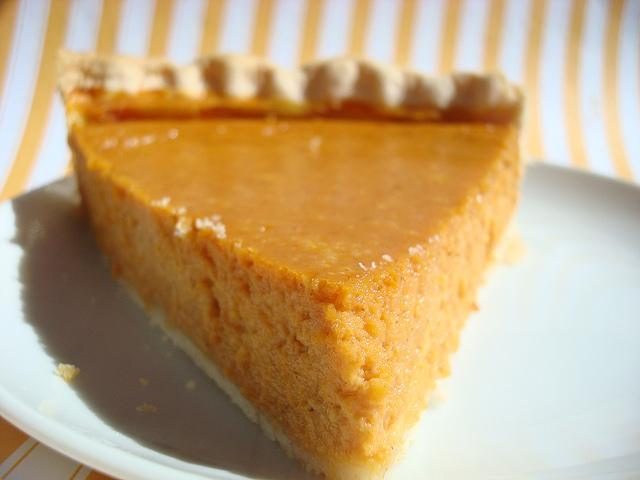
The first recipe I came across on the Bake-Off media page was a winner, all right: Toffee Roundabout Sandwich Cookies. Seriously, you don't even need to taste one to know they're good. The recipe was developed by Joanne McGhee of Dothan, Alabama, and is described like so: "There's a dreamy, creamy, chocolate filling sandwiched between peanut butter cookies and then rolled into crunchy toffee bits."
I'm feeling more and more ready for the Bake-Off every moment!

Toffee Roundabout Sandwich Cookies
Prep Time: 30 Min
Total Time: 2 Hr 10 Min
Makes: 12 sandwich cookies

Ingredients

  • 1 roll Pillsbury refrigerated peanut butter cookie dough
  • 1 package (8 oz) cream cheese, softened
  • 1/2 cup Chocolate Flavored Hazelnut Spread
  • 3/4 cup powdered sugar
  • 1/2 teaspoon Vanilla Extract
  • 1/2 cup milk chocolate toffee bits (from 8 oz package)

Procedure

  1. Heat oven to 350°F. Let cookie dough stand at room temperature 10 minutes to soften. Line cookie sheets with parchment paper.
  2. Shape dough into 24 (1-inch) balls. Place 2 inches apart on cookie sheets.
  3. Bake 9 to 12 minutes or until edges are golden brown. Cool 1 minute; remove from cookie sheets to cooling racks. Cool completely, about 15 minutes.
  4. Meanwhile, in large bowl, beat cream cheese, hazelnut spread, powdered sugar and vanilla with electric mixer on medium speed about 2 minutes or until smooth.
  5. For each cookie, spread 1 heaping tablespoon cream cheese mixture onto bottom of 1 cookie. Top with second cookie, bottom side down; press together gently until cream cheese mixture just extends past edge of cookie. Roll cream cheese edge of cookie sandwiches in toffee bits to generously coat.
  6. Refrigerate 1 hour or until filling is set. Store covered in the refrigerator.
© Cakespy, all rights reserved. Powered by Squarespace.