Home Home Home Home Home Home Home
CakeSpy

Featured: 

My adventure at Ben & Jerry's in Vermont!


Unicorn Love: the Eating Disorder Recovery Blog


 Buy my brilliant books!

Buy my new book!

Buy my first book, too! 

CakeSpy Online Retail!


Archives
Gallery

Fantastic appliance for cake making on DHgate.com

everyrecipe.co.nz

Craftsy Writer

Entries in recipes (704)

Monday
Jun022014

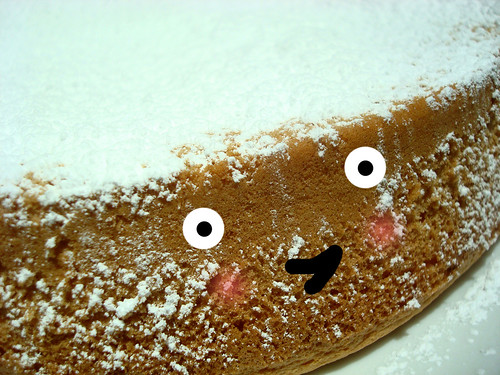
Cake it, Don't Fake It: How to Make Marquesote

Marquesote

When I say the word "marquesote", what pops up in your mind?

Maybe you think of quasi-royalty, like a marquise, or it calls to mind matinees, like marquee. All of these associations are wrong.

Because what marquesote should conjure up in your mind is this: Mexican cake bread.

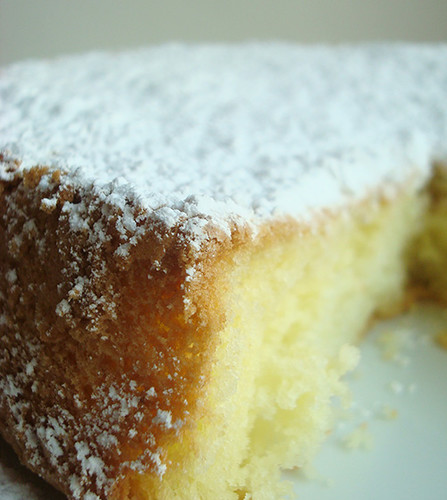
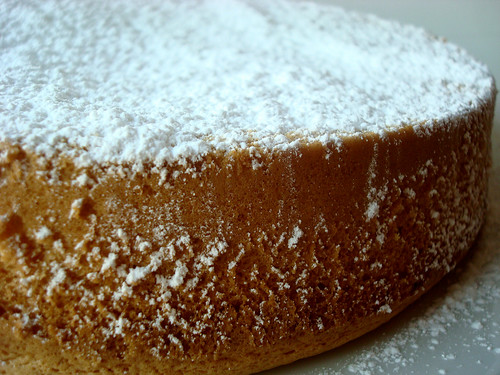
What is this marquesote-Mexican-cake-bread-thing, exactly? It's an interesting little morning bread, very light and not too sweet, somewhat dry, but perfect with a sprinkle of confectioners' sugar and a strong coffee. 

Marquesote

I came across the term "marquesote" while poring over New Mexico literature in the history museum. Turns out, because of the proximity to (old) Mexico, you'll see marquesote every now and again. In searching for recipes I found a number of them, so it was difficult to discern which was "authentic"--with or without yeast? With cake flour, all purpose flour, or, like the one I settled on, made with cornstarch? 

Marquesote

This version, which I adapted from a version on What to Cook Today?, makes a weird little cake. It's light as air, and highly delicious, but it goes stale so, so fast. This is not such a terrible thing if you're smart about it: enjoy it plain, or with confectioners' sugar or a smear of sweet butter, OR BOTH, right after you make it, but if it's more than a few hours old, resign yourself: you're going to have to enjoy it with ice cream, whipped cream, or some other tasty thing that will add moisture. Poor you. 

As a bonus, if it's up your alley, as far as my googling expertise goes, the fact that this recipe employs cornstarch instead of flour makes it gluten-free.

I tend to think it would taste great as a base for strawberry shortcake: more interesting than mere sponge cake, and perfect for soaking up all the tasty flavors. 

Give it a try and see which way you like it best. It's easy to make, and smells like heaven whilst it bakes. 

Marquesote

Marquesote

Adapted from What to Cook Today? - Makes 1 cake

Ingredients

  • 4 eggs, separated
  • 1/4 cup sugar
  • 1/2 Tbsp baking powder
  • 3/4 cups cornstarch
  • 1/4 cup butter, melted
  • 1 teaspoon vanilla

Procedure

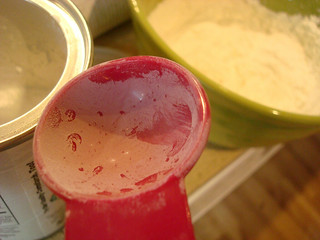
  1. Preheat the oven to 375 F. Grease and flour a loaf pan or 9-inch cake pan.
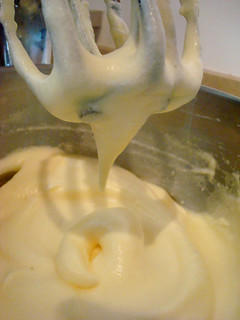
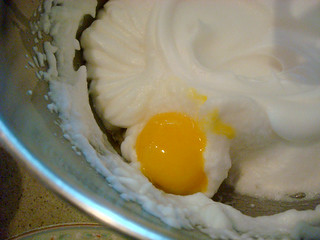
  2. In a large bowl, beat the egg whites until they form stiff peaks. Fold in the yolks one at a time, beating on low speed.
  3. Marquesote
  4. In a separate bowl, combine the sugar, baking powder and starch. Mix thoroughly. Fold this mixture gently into the eggs and add the melted and cooled butter and vanilla extract. Mix just until combined.
  5. Marquesote
    Marquesote
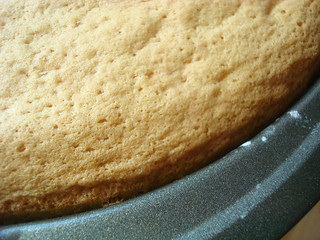
  6. Pour into the prepared pan and bake for about 25 minutes or until it is golden brown. It may begin to slightly shrink from the sides of the pan.
  7. Marquesote
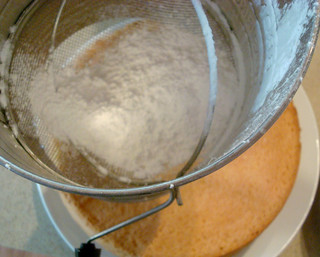
  8. Immediately after removing from the oven, run a sharp knife along the perimeter of the pan to loosen the sides. Let cool for about 15 minutes, then invert the pan onto a serving platter. I served my cake upside-down like this, dusted with confectioners' sugar. Actually, more than dusted. What's the word for "dump a whole ton of sugar on top, but delicately so it looks like snow"?
  9. Marquesote


Enjoy!
Wednesday
May282014

Magical Unicorn Cloud Mousse

Hovering dessert

Picture a unicorn, surrounded by rainbows and munching on a cloud in the sky. Don't you want to know what that cloud tastes like?

Well, finding out is not all that difficult. Because this vanilla marshmallow fluff mousse tastes exactly like that imaginary magic cloud. In fact, so much that I'm going to dub this recipe Magical Unicorn Cloud Mousse.

Click to read more ...

Wednesday
May142014

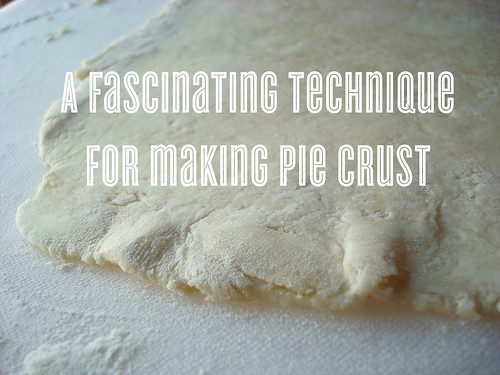
The Secret to Perfect Pie Crust? It's in Your Hands (Plus a Giveaway)

Pie crust technique

Note: this post includes a giveaway at the bottom! Lucky you.

You're always taught the same basic rules with pie crust. Cut small pieces of cold butter into a mixture of flour and salt; blend until the pieces are like peas. Add cold water, a little at a time, until the dough will come together in a clump. Gather, flatten into a disc, chill, and proceed. 

But recently, I learned a method that basically rocked my everloving, pie-eating world. Because it involves using your fingers to attain the perfect consistency.

This was very exciting to me because I actually kind of despise most kitchen tools. Especially the pastry cutter, because it is such a pain to wash. In general, the more functions I can get out of one tool, the more I like it. Wooden spoons and wire whisks? Awesome. Garlic press? Not so much. 

But enough about me--back to the pie. You're probably wondering some things. Let me try to answer:

Where the method came from

I learned this method at the Bake For Good event in Los Angeles, part of the Bake For Good Tour, where baker Robyn told us it was a method she'd learned from famed foodie Marion Cunningham.

By the way, if you want to know more about the event, check out this video.

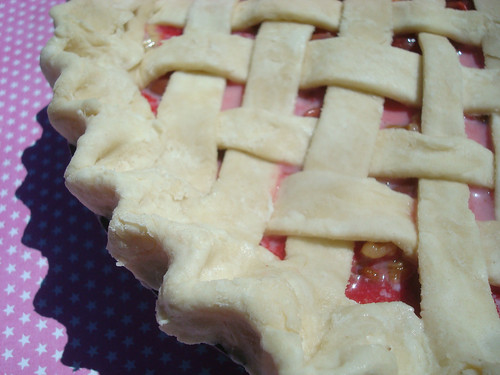
Cherry cream walnut pie

How it works

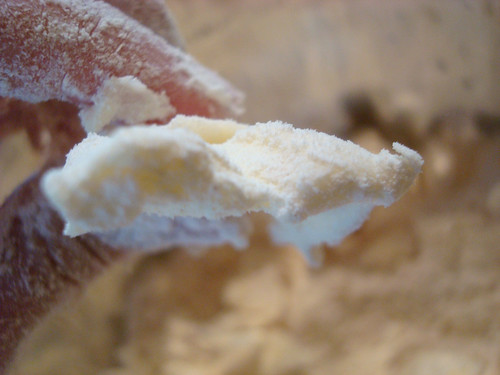
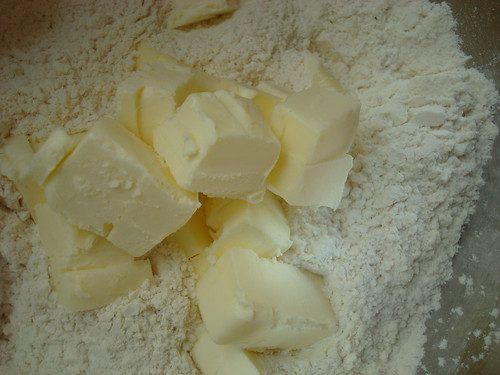
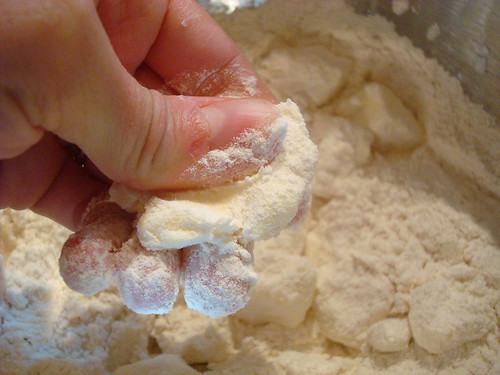
Basically, the method includes working in larger than usual hunks of butter, and instead of mashing them with a pastry cutter, you squeeze the butter pieces with your fingers to flatten them.

    Cherry cream walnut pie

Why you should immediately adopt this practice

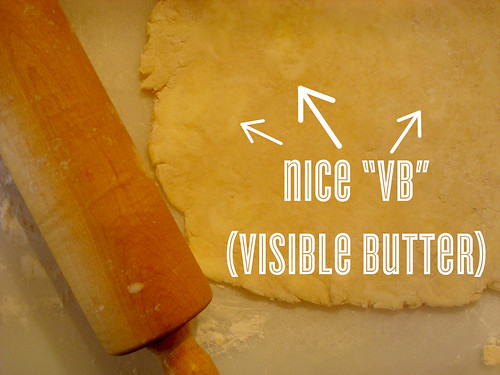
Those pieces of flat butter will make for the coveted "VB" (visible butter) in your rolled crust, and the taste is flaky and fantastic on your resulting pie.

Pie crust technique

I have co-opted and adapted it for my own use at home with a sort of mashup between traditional and by hand methods. Best of both worlds, and still, minimal stuff to clean.

And here, I will share it with you. Aren't you lucky?

Making Pie Crust with Your Hands

adapted from King Arthur Flour, who adapted it from Marion Cunningham

enough for a double crust pie

  • 2 1/2 cups flour
  • 1 1/4 teaspoons salt
  • 1 cup (2 sticks) cold unsalted butter
  • 1/4 to 1/2 cup very cold water

Procedure

  1. Sift together the flour and salt in a large bowl. Set to the side.
  2. Size your butter. One stick cut into small pieces, the other cut into fairly large pieces (double the size you'd usually cut for a pie crust.
  3. Cherry cream walnut pie
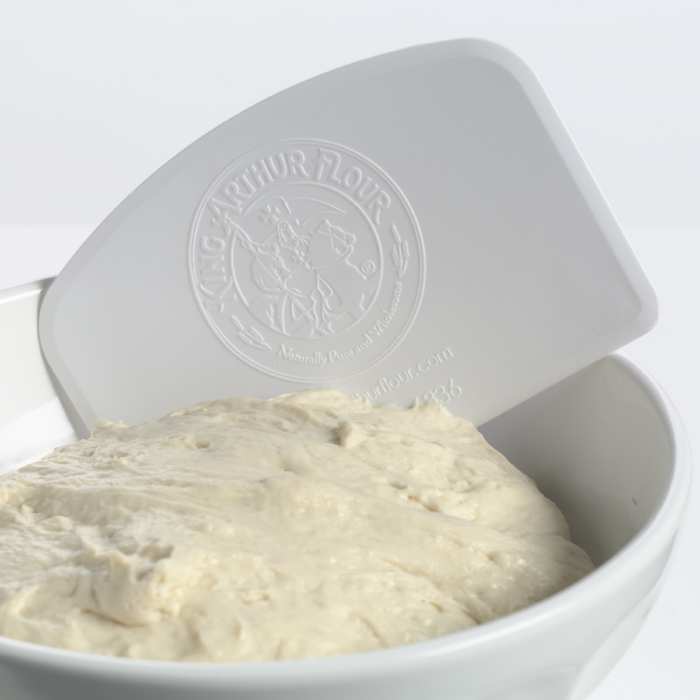
  4. Work in the stick of smaller butter with a plastic dough scraper (my new favorite tool and very easy to clean). It's not going to have the same impact that double the butter would in terms of working in, but go for the regular pea sized consistency.
  5. Now, add the bigger hunks of butter. Gently coat them with flour in the mixture, so they won't stick to you when you squeeze them. 
  6. Cherry cream walnut pie
  7. Now, one by one, squeeze all of those pieces of butter until they're flat like pancakes. Cherry cream walnut pie You don't have to be too precious about it. Grab, squeeze, then move on to the next one.
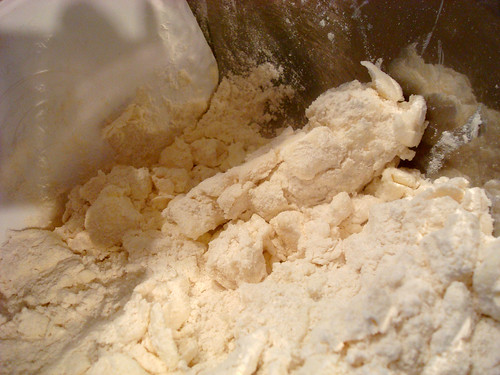
  8. Got 'em all? OK. Give the mixture another stir with your pastry scraper. Now, start adding the water. Switch back to your dough scraper.
  9. Keep on adding it bit by bit until the dough forms a shaggy consistency, still floury but you can clump it together.
  10. Pie crust method
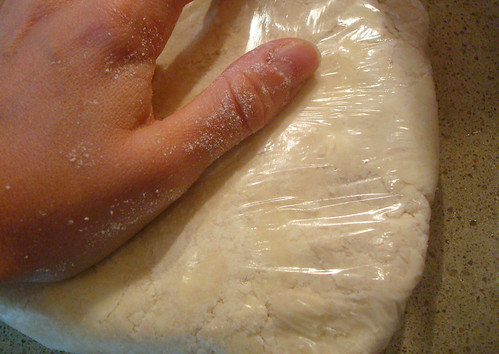
  11. Gather, form into a ball, and place on top of a sheet of plastic wrap. Wrap the plastic on top of it, not too snugly, and then flatten it into a disc with your hand. Doing it this way, I learned, helps the dough spread out into the plastic and is just less messy.
  12. Pie crust method

Proceed with your recipe as usual. 

GIVEAWAY!

Hooray! King Arthur Flour has offered to reward one lucky reader with one of their mega cool dough scrapers, a cookbook, AND some of their highly patented and extremely delicious boiled apple cider (perfect for flavoring apple pie and using as a slightly fancy pancake syrup). Want to win? All you have to do is leave a comment (don't panic if it doesn't pop up right away; comment moderation is enabled) answering the following question:
What's your favorite type of pie to eat, and how do you like it served?

Apple pie with cheese for breakfast? French silk pie à la mode for dessert? It's all game here. I'll choose a winner by EOD Pacific time one week from today!
Tuesday
Apr222014

Recipe for Unicorns: Rainbow Gelatin Squares

Unicorn food

Good news for me: I got a review copy of a book in the mail. My bookshelf is happy!

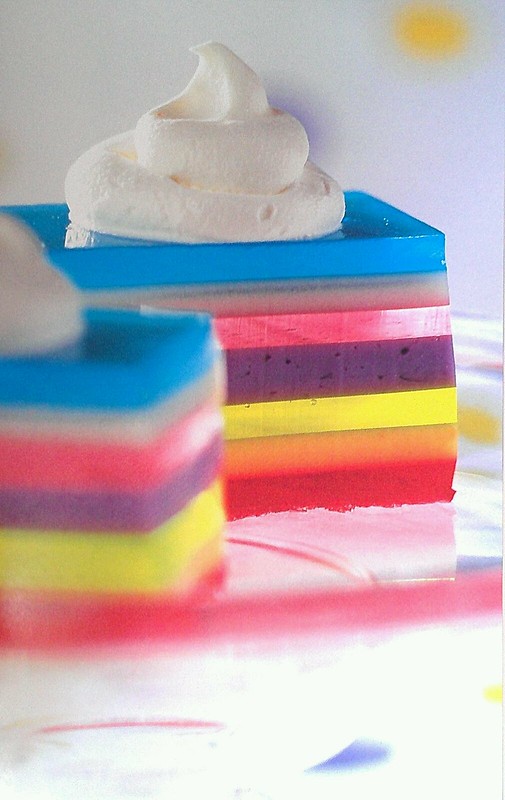
Good news for you: in this book, entitled The 250 Best Brownies, Bars and Squares, there is a recipe for UNICORN FOOD! 

Now, in the book they call it Rainbow Gelatin Squares, but I'm not fooled. And happily, I'm allowed to share the recipe! Here it is, courtesy The 250 Best Brownies, Bars and Squares. So here it is for you, so you can create this magic at home!

Unicorn food

Makes 30 or so

For the clear / translucent layers

  • 4 packages (4 servings each) gelatin mix, assorted flavors
  • 3 cups boiling water, divided
  • 3 cups cold water, divided

for the creamy layers

  • 3 packages (4 servings each) gelatin mix, assorted flavors
  • 2 1/4 cups boiling water, divided
  • 3/4 cup cold water, divided
  • 1 1/2 cups evaporated milk, divided

whipped topping and fruit to top, if desired.

You need: 13x9-inch cake pan, greased

  1. Prepare the clear/translucent layers. In a bowl, combine gelatin dessert mix with 3/4 cup boiling water, stirring until completely dissolved. Add 3/4 cup cold water and mix thoroughly. Pour into a prepared baking pan and refrigerate for 35 to 40 minutes, or until almost set. 
  2. Prepare the creamy layers. In another bowl, combine gelatin dessert mix with 3/4 cup boiling water, stirring until completely dissolved. Add 1/4 cup cold water and 1/2 cup evaporated milk. Mix thoroughly. Spoon over chilled translucent layer and refrigerate until almost set.
  3. Repeat the translucent and creamy layers, making 7 in all, chilling each layer before adding another. You can stack colors in whatever way you'd like. 
  4. When all of the layers are completed and the gelatin is set, cut into squares. Decorate squares with topping and garnish of your choice.
Monday
Apr212014

Millionaire's Shortbread Using Cookie Dough From a Tube

I know, I know--I'm amazing. I figured out a way to streamline the process of making Millionaire's shortbread by employing sugar cookie dough from the refrigerated tube. I win at life!

This easy Millionaire's shortbread recipe comes together quickly, and tastes awesome. How could it not--it has all of the major food groups: cookie, caramel, and chocolate! I strongly suggest you give it a try. Recipe here. 

Saturday
Apr192014

How to Make Homemade Jelly Beans with Peanut Butter

Seriously. You can make your own jelly beans! They're not as pretty as the commercial kind but they taste a million times better. And--importantly--learning how to make homemade jelly beans is easy.

I made mine with peanut butter for a post for the ever-lovely Peanut Butter and Company, but you could omit the pb and use other flavorings, too. Recipe and tutorial here

Wednesday
Apr162014

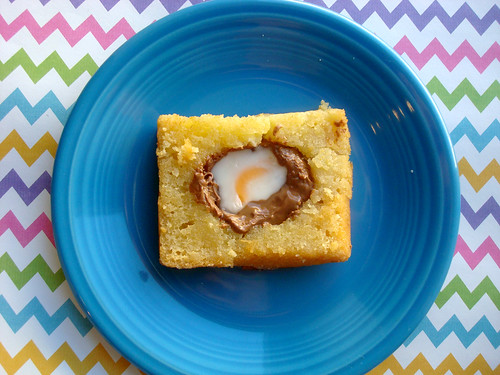
Cadbury Creme Egg in Hole Toast

Cadbury creme egg in hole toast

Yes, I went there, and it tasted glorious. Find the recipe here.

Cadbury creme egg in hole toast

Inspired by the use of Cadbury Creme Eggs in recipes? Be sure to check out my suite of Easter recipes using the creamy eggs, including Cadbury Creme Eggs BenedictDeviled Cadbury Creme EggsCadbury Creme Egg Foo Young, and Cadbury Creme Egg Salad Sandwiches.

Tuesday
Apr152014

Gluten-Free Tart Crust Recipe

I don't care if you need to be gluten-free or not. But I do care about you eating deliciously. Here's a delicious recipe for a tart crust using nut flour...which happens to be gluten-free. Check it out here. 

Sunday
Apr132014

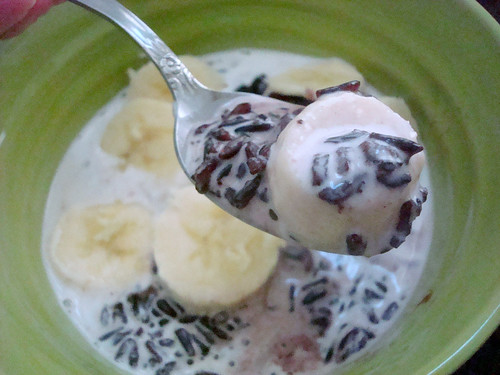
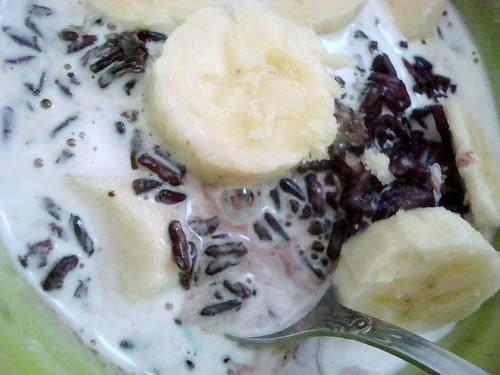
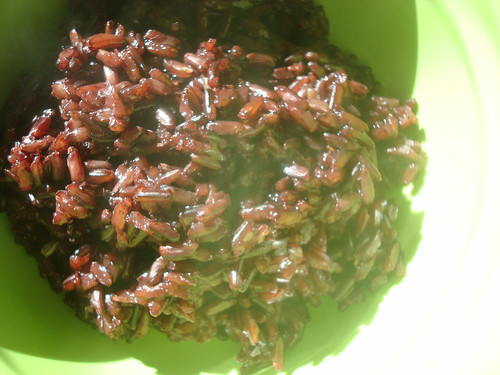
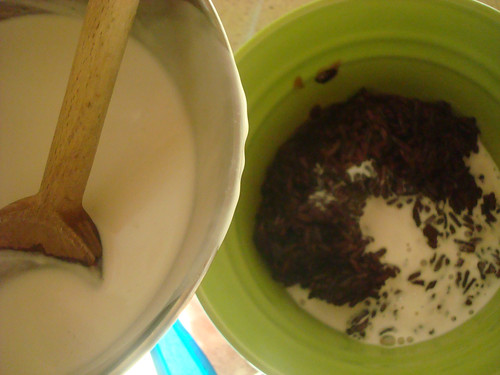
Bali Diary: How to Make Black Rice Pudding

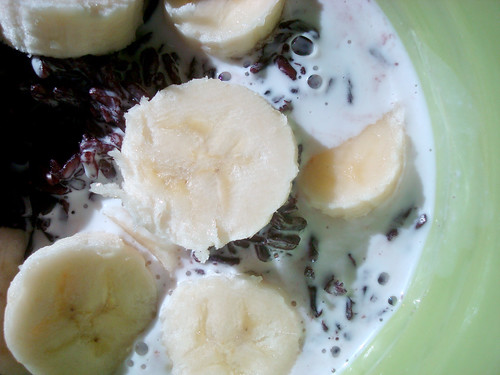
Homemade black rice pudding

During my time in Bali, it didn't take too long for me to become obsessed with black rice pudding.

So you can bet your bottom donut that as soon as I got back stateside, I set forth to recreating this bali magic in my own kitchen.

As it turned out, the most difficult part was sourcing the ingredients. I assumed (with a typical American sense of entitlement, I suppose!) that I could get all of the typical Balinese ingredients at my local grocery store or Asian grocer. Ultimately, I was able to find almost everything, but it took a number of stops.

Homemade black rice pudding

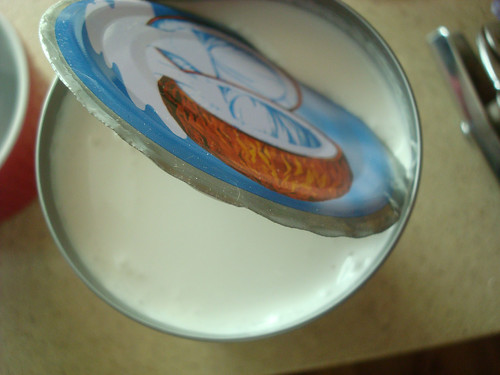
The coconut cream was easy; that was in the grocery store. The black rice, in theory, shouldn't have been difficult to locate, but they happened to be out of it at the Asian grocer, so I had to buy it at Whole Foods for a slightly more premium price. As for the bananas, I sought out firm, ripe ones that I felt could best replicate the dense and super-sweet variety I tasted in Bali. 

Homemade black rice pudding

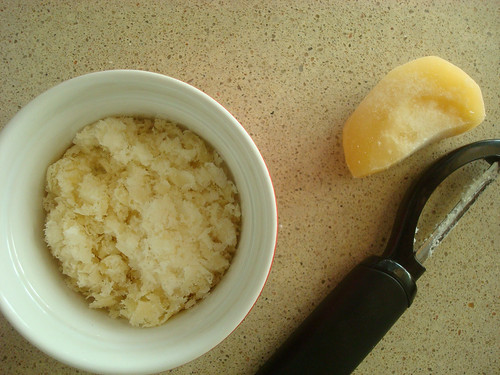
The two hardest ingredients to find were the palm sugar and panadus. After searching a number of stores for dark palm sugar I still came up dry, so finally I settled on this more honey-toned version, which did work just fine. But keep in mind that if you shave it, don't shave too much, as the sugar will harden in a couple of hours. If you couldn't find palm sugar or just can't be bothered to go and seek it out, brown sugar would do.

The panadus leaves, often used as a flavoring, were tougher to source. After scouring the web for possible substitutes I couldn't find any that quite sounded right, so I just used vanilla extract for flavoring. Maybe not traditional, but highly delicious. 

Homemade black rice pudding

Whew! That having been said, this recipe is worth seeking out the ingredients. This lovely morning porridge is almost caramelly when the sugar meets the rich coconut cream; the bananas bring all of the flavors together into an earthy, creamy, caramelly form of edible bliss.

Here's how you make this traditional Balinese treat. 

Black Rice Pudding (printable version here)

adapted from Indonesian Cakes and Desserts, a Periplus Mini Cookbook

6 servings

Ingredients

  • 1 3/4 cups uncooked black glutinous rice (or Asian black rice)
  • 6 cups water
  • 2 panadus leaves, tied into a knot (I used 2 teaspoons vanilla extract)
  • 1/4 cup (or more, to taste) shaved palm sugar
  • 1 can coconut cream (14 ounces or so) 
  • pinch of salt

Procedure

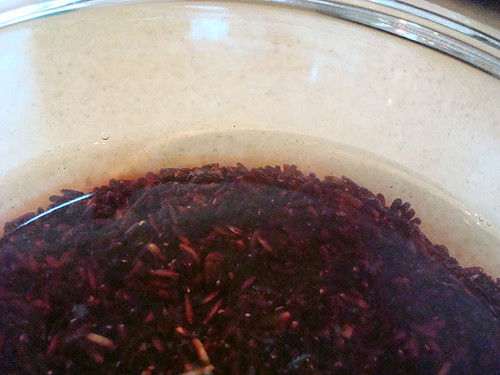
  1. Rinse the rice in two to three changes of water, or until the water runs clear. Once clear, place the rice in a bowl and cover with clean water. Let it soak overnight (I did this on the countertop).
  2. Homemade black rice pudding
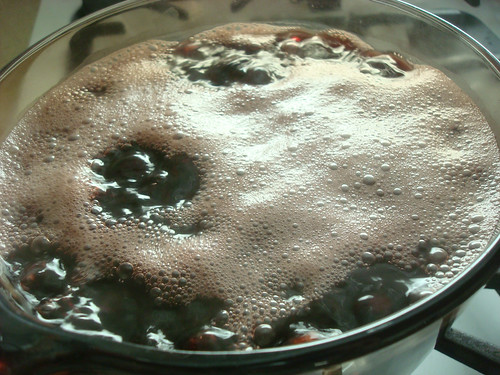
  3. In a saucepan, bring the rice, along with 6 cups of water and the panadus leaves (if using vanilla extract don't add it yet, though), to a boil over medium heat, and simmer uncovered for about 40 minutes, stirring occasionally until the rice is softened to a slightly al dente consistency. Discard the panadus leaves, if using. Add the sugar and vanilla (if using) and let the mixture continue to simmer on low heat for about 5 more minutes. 
  4. Homemade black rice pudding
  5. Remove from heat. Set to the side for the moment.
  6. In a bowl, combine the coconut cream with a pinch of salt and mix well.
  7. Homemade black rice pudding
  8. To serve, place a healthy spoonful of the rice mixture into a bowl. Homemade black rice pudding
  9. Spoon coconut cream on top to taste. Enjoy immediately. 
  10. Homemade black rice pudding

If storing, keep the coconut cream and the rice separate, and combine before serving.

Have you ever tried black rice?

Wednesday
Apr022014

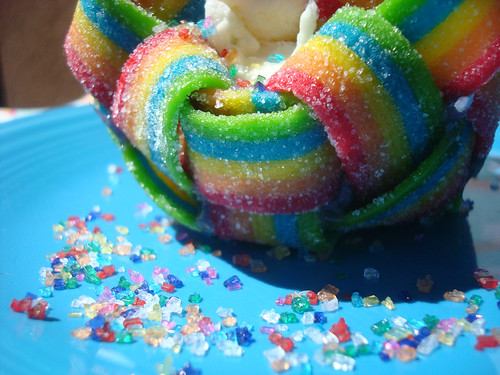
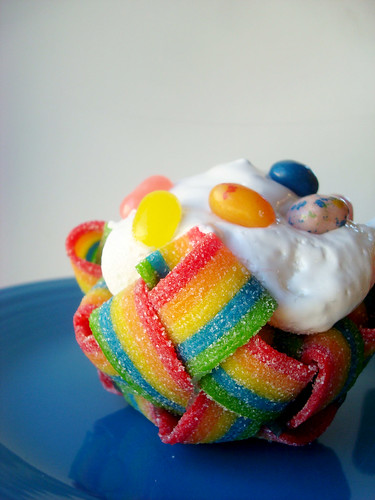
Magic in the Airheads: Magical Rainbow Candy Bowls

Rainbow candy baskets

April showers bring May flowers. But let's not get all doom and gloom and April-is-the-cruelest month, OK? Because where there are rain showers, there is bound to be a rainbow or two. Or ten!

To celebrate this magical rainbow-filled month, I would like to present a project sponsored by Airheads candy which has attained this site's highest status as unicorn-approved: rainbow candy dessert bowls. 

Rainbow candy baskets

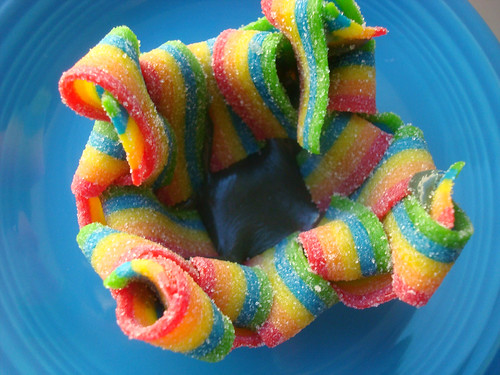
These confections are woven from candy, and are a perfectly magical setting for all of your favorite desserts. You could fill them with whipped cream or marshmallow fluff for a light and sweet cloud-like treat, or you could place an entire cupcake inside. They could even be used as decorative candy bowls at parties for a sweet table setting. 

Rainbow candy baskets

I should tell you too that this project was inspired by my time in Bali. Perhaps not for the reason you think, though! 

You see, I had agreed to come up with a project for Airheads before I left, and I figured "meh, I'll find someone's oven to bake in.". Well, as it turns out, they don't have ovens in Bali! So I had to revise my plans and figure out a no-bake treat. I thought back to my friend Not Martha's bacon bowls and an idea was born--a sweet idea, indeed.

Rainbow candy baskets

I have to say, I was rather pleased with my experimentation. It took a little figuring out, because once I wove the rainbows I had trouble getting them to stay together while I shaped the baskets. By employing regular Airheads candy, I melted them down and then used them as a sort of sealant for the inside of the baskets. It helped keep the candy together, and as an added bonus, sealed the inside so that if eating ice cream or something of the like, it would stay contained in the basket. 

You could go for a plain, cloud-like look with the finished baskets, or include additional rainbows. Definitely not excessive.

Rainbow candy baskets

Anyhow, I know that you're probably keen to make this magic happen in the comfort of your own home, so here's how I did it. I realize it seems like a long process based on my writing, but it's really not; I just wanted to be thorough in my explanations. You're welcome!

Rainbow candy baskets

You'll need:

  • 1 cupcake tin
  • double boiler
  • a spatula for stirring, a spoon, and a knife

Rainbow candy baskets

Ingredients

(Per basket)

  • 10 strips Airheads XTremes Sweetly sour candy, in berry rainbow
  • 3 small Airheads candies, unwrapped (choose similar colors for best results)
  • 1 teaspoon water
  • 3 2 tablespoons confectioners' sugar

Procedure

Grab a work surface and let's get weaving. First, grab yourself 10 strips of the rainbow colored Airheads Extreme candy. Line five strips side by side, so that the ends are facing you. 

Leaving an inch of space on the top, begin to weave one of the remaining strips of candy horizontally, over and under the vertical rows.

Grab your next piece, and weave it directly below the previous one, weaving under-and-over so that it forms a basketweave pattern.

Continue alternating with the remaining strips. 

Here's a photo-collage of the process if that all seems confusing:

Weaving a rainbow

OK, set this woven piece of rainbow art to the side for the moment. 

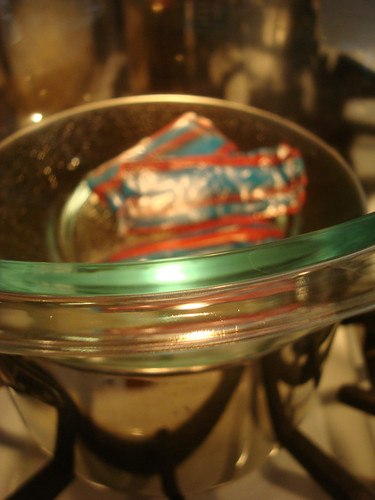
Now, set up your double boiler. Place three Airheads candies (the regular kind) in the top, along with the water and confectioners' sugar. 

Heat on medium, stirring every few minutes. While at first the sugar, water, and candy will remain quite separate, as it melts, the mixture will become thick. You'll see now why it was a good idea to use candy in the same color scheme--the color melts together. It might be ugly if you use different colored candies (like I did the first time) but it will taste fine. Promise. But even so, this won't be the prettiest part of the process.

Rainbow candy baskets

Once the mixture is lightly bubbly, remove from heat. You'll want to work without hesitating at this point as the candy is easier to use while still quite liquid. Gently spoon the candy in the center of your basketweave square. Use a spoon or knife to spread it to cover the woven portion as thoroughly as possible. 

At this point, I decided that rather than slice off the extra bits, I would fold over the non-woven portions. This is easier to do if you start with the pieces which are "under". They will adhere easily to the still sticky candy.

The four corners, I sliced off.

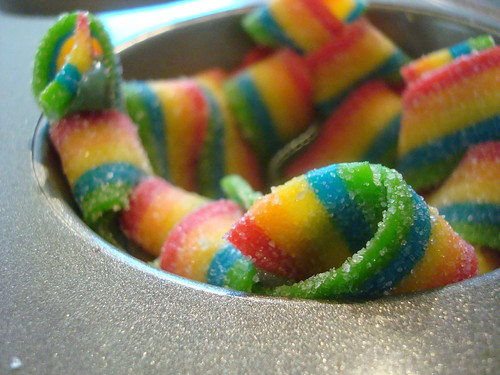
Give it about five minutes for the candy to set slightly, and transfer the candy bundle to your cupcake tin. Gently place it, centered, on top of one of the cups. Using your fingers, gently finesse it into a bowl shape.

Once again, here it all is in pictures. My apologies again for the weird melted candy color. Folding basket

Rainbow candy baskets

Repeat, making as many bowls as you'd like.

To help the bowls "set", I put them in the freezer (right in the cupcake pan) for about 5 to 10 minutes. They easily popped out of the cupcake tin at this point.

Rainbow candy baskets

Fill the bowls with whatever toppings you'd like. If you're not using them immediately, keep them in the cupcake tin so that they will retain their shape.

What would you put in a rainbow bowl?

© Cakespy, all rights reserved. Powered by Squarespace.