Guess what I did this weekend?
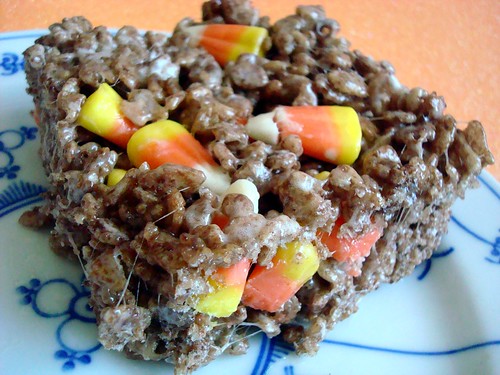
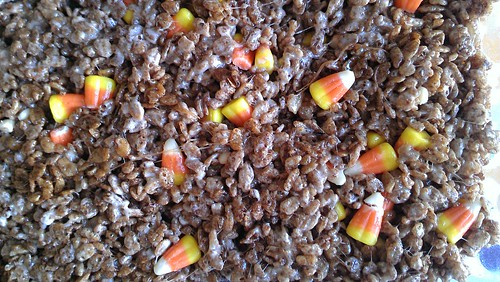
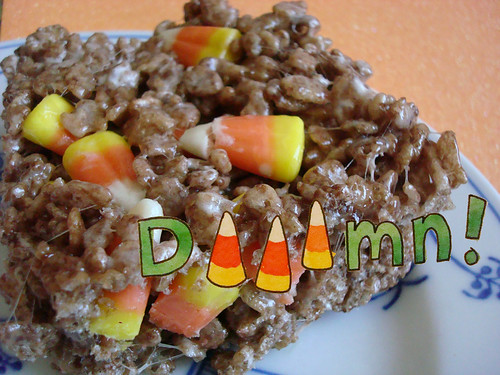
If you guessed "um, make cereal treats that are tricked-out with the magic of cocoa and candy corn"...well, you are correct.
I made some crispy cereal treats. They are inspired by Rice Krispies Treats (ever heard of 'em?) but a bit more magical. That is for a few reasons.
1. They have roughly double the butter.
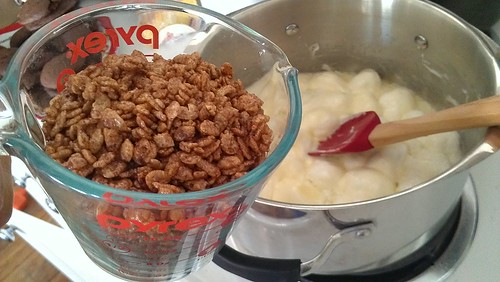
2. Mine are made with Cocoa Krispies, not regular Rice Krispies.
3. They get a boost of sweetness from the not-so-secret Halloween ingredient called Candy Corn.
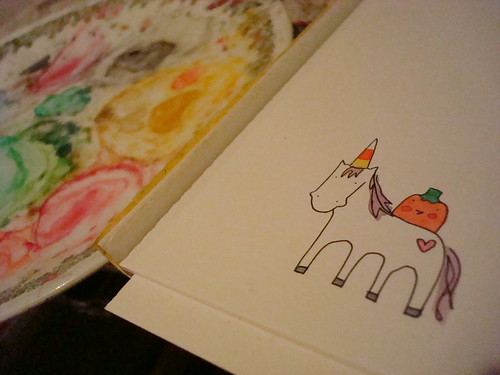
How do these tricked-out treats taste? Like magic, fool! As magic as this illustration I worked on after making the treats.
 They have all of the good attributes of a classic Krispie treat, but are richer and more interesting than the original. Plus, the candy corn makes them very cute, which is important when dressing up for Halloween. Speaking of Halloween, have you ever noticed that costumes all seem to be either cute, clever, or kind of slutty? Well, these treats fit the former two categories. Cos seriously, I just can't place Rice Krispies Treats in the latter category. I wonder if anyone ever has?
But I digress. No more talking about sexy Krispie Treats. We are now talking about how you get these buttery delicious ones out of your dreams and into your mouth. Wait, they just did start sounding sexy...
Cocoa Krispies Treats with Candy Corn
Makes 24
- 1/2 cup (1 stick) butter
- 1 bag (10 ounces or so) Marshmallows - I used jumbo but you can use Mini too
- 7 cups Cocoa Krispies cereal
- pinch of salt
- 1 cup Candy corn
- Generously grease (go ahead, line it with parchment too) a 9x13-inch pan. Set aside.
Procedure
- In a large saucepan over low heat, melt the butter. Add the marshmallows and stir frequently until they're melted.
- Remove from heat and stir in the cereal. Stir with a wooden spoon until fully coated. Add that pinch of salt.
- Add the candy corn, stirring until it's evenly distributed. Turn the mixture out into the prepared pan, and smooth it evenly. Using a piece of waxed paper, flatten the treats so that they are pressed nice and tight in the dish. Let sit for about 2 hours or until they're fully set. Use a sharp knife to cut them when you're ready, and clean it between cuts to keep everything from sticking.
You're welcome.
